Years ago, I'd got my Seig C2 and a small micro Mill and wanted to start seriously playing with Steam Engines.
I had not discovered this forum yet and joined the Unnoficial Mamod and Other Steam Forum.
One of the members there, had a Stuart 10V that would not run. He was in the USA. I said to him, send me the engine, I'll get it running. I actually had no idea whether I could (get it running) but in for a penny.
The original Restoration thread is here.'
https://www.tapatalk.com/groups/modelsteam/stuart-10v-hugh-rebuilds-martellus-engine-t77602.htmlBut Ill summarize below.
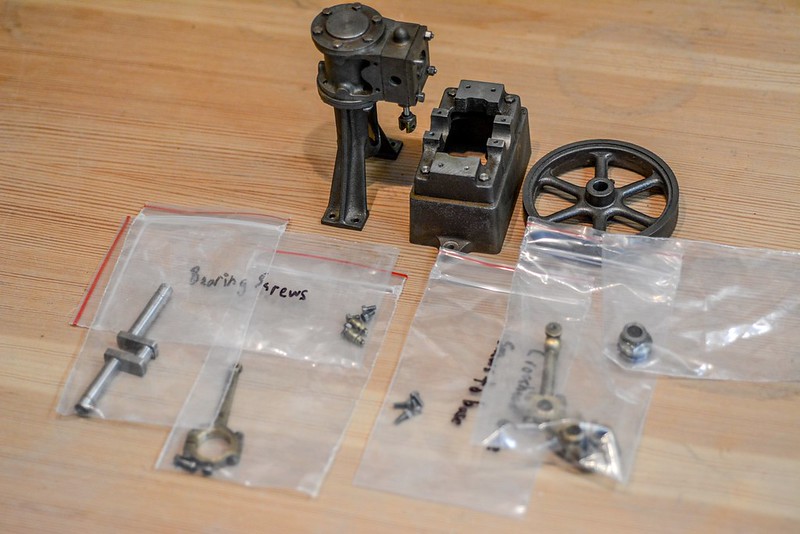
The engine arrived disassembled, shipped safely from the US to Australia via UPS.
Of course the first item on the agenda was to check it all over and see if there was anything obviously wrong.
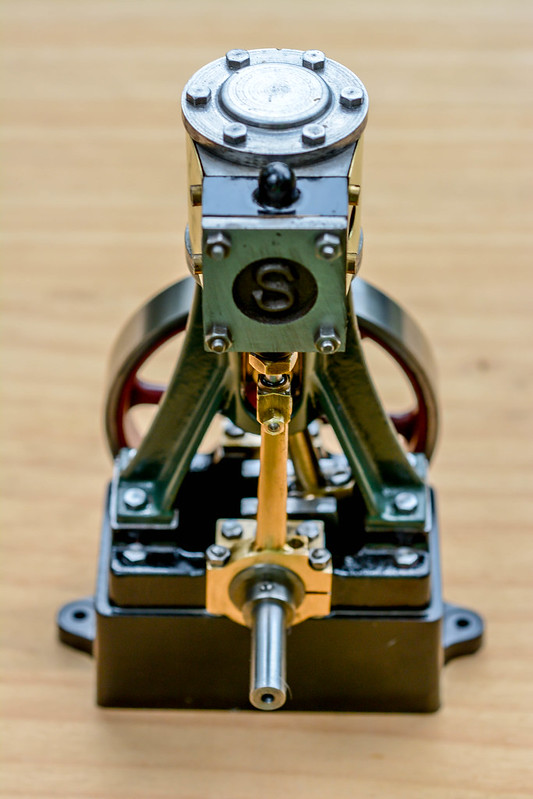
The overall machining standard is very nice. But there are a few areas that stick out like a sore thumb.

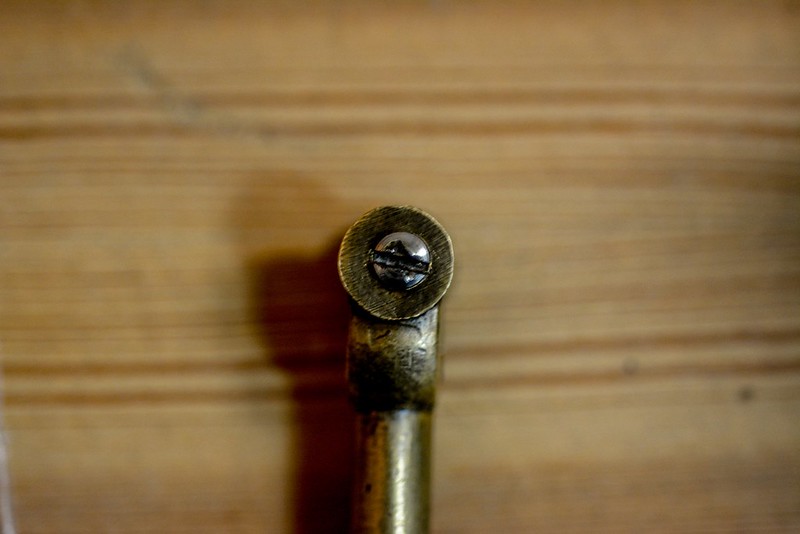
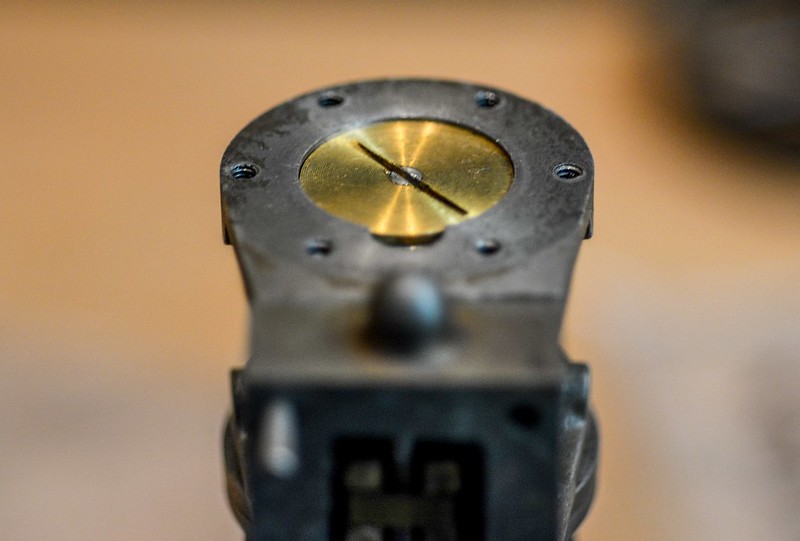
Firstly, there is an errant stud in the Steam Chest with no thread on it. Secondly, the hole in the Conrod where it couples with the cross slide is out of centre. Both easily fixed, in fact, I'm not even sure that the Conrod needs fixing (I initially thought that the hole was out of round, but my eyes seemed to be playing tricks on me.
Next I started to put it all together. I found that the bearings were not completely free but a new (straight) crank may cure that but by the time I got the standard bolted on and tried to turn it over, I noticed the main problem. Whoever had built the engine, had got his lengths a bit wrong and there needed to be a shim between the standard feet and the sole plate in order for the piston not to make contact with the top end cylinder cover.
Once the shims were in though (15 thou) I found that the piston was then making contact with the bottom cylinder cover so I screwed the piston rod out from the cross slide a turn and tried again Now I had clearance at both ends of the stroke, but the crank made a worrying knock at bottom dead centre Not sure where this is coming from yet. Ill re-assess when I am putting it back together after a few remedial amendments.
Loosening the bearing bolts off a little seemed to reduce the knock somewhat though, and I started fiddling with the valve timing. A few minutes fettling and fiddling with timing positions and I got pretty much to where I wanted with equal port opening at top and bottom dead centres (the eccentric is at about 90 degrees to the crank.
Next I wacked some light oil on all the moving parts and pulled my old airbrush compressor off the shelf where it has been gathering dust for the last few years.
Fired it up and clamped the hose against the steam inlet Turned the flywheel and
It started slowly but was soon chuffing away at about 90 RPM on about 10 PSI.
So, it runs, but it needs some TLC before it will be a reliable runner. Martellus initial problem was the crank. Yes, it is bent. Yes it needs to be remade. But that is only one of a few little jobs that Ill be doing before I am happy to send it back to him.
Now it will get stripped down again and all the parts will be checked against the drawing so I can see if I can find where the length error comes from. Id kind of like to get it together and running without shimming, but if that's all that is needed in the end, then that's not at all bad.
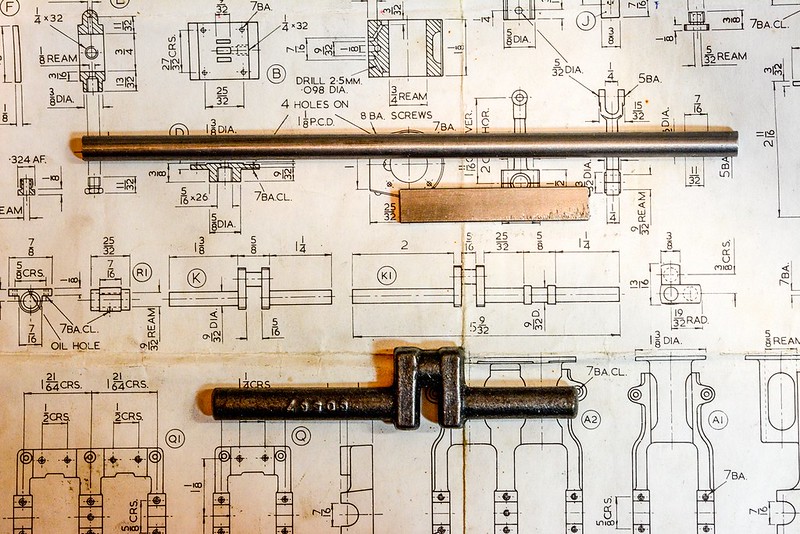
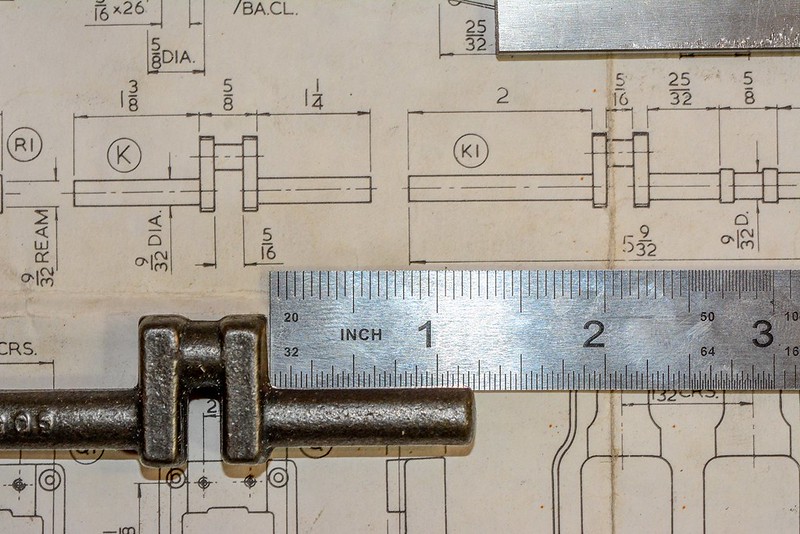
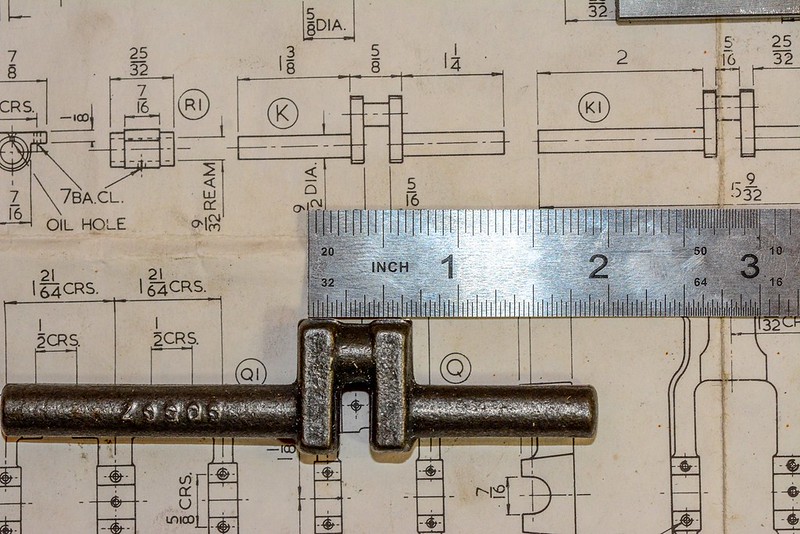
I stripped her down again and cleaned all the bits off and then proceeded to measure everything up against the drawings.
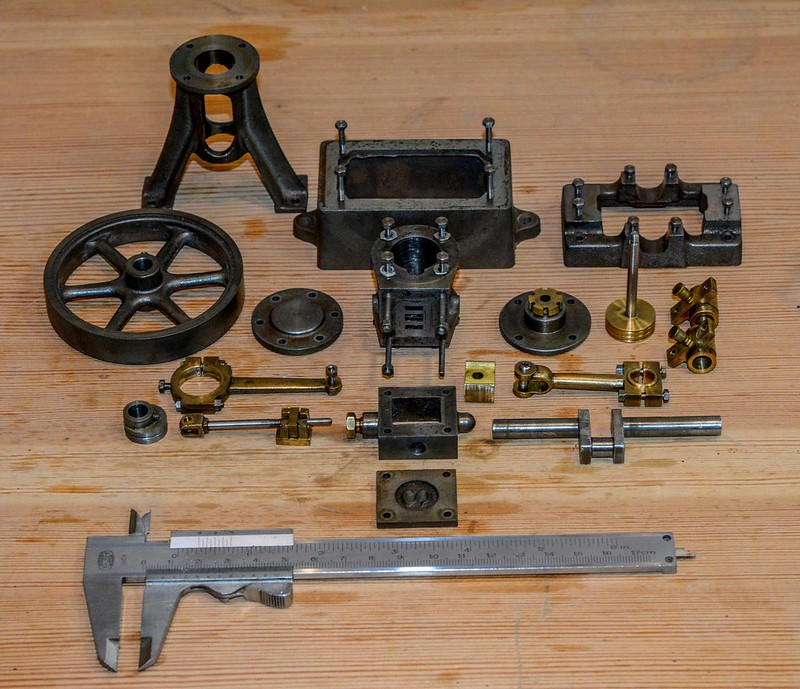
Everything was pretty good. There was maybe 1/64 here and there to quibble about.
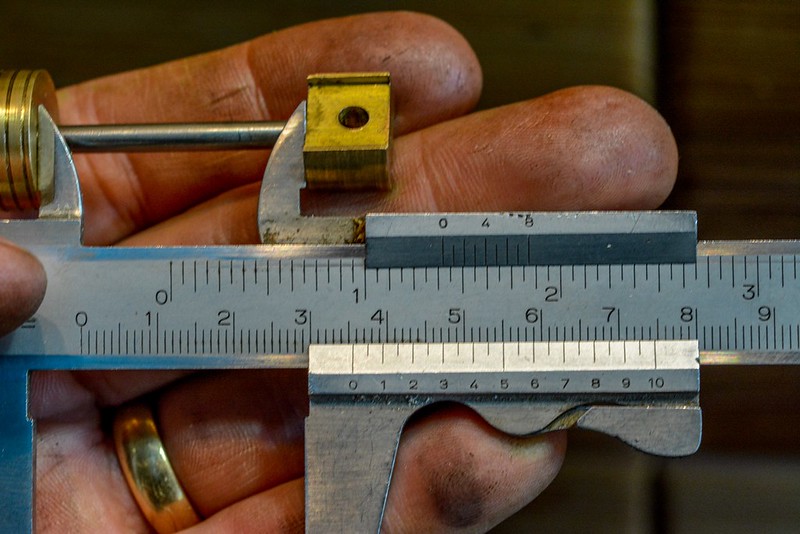
The bearings and conrod both seemed happy to spin freely on the piece of 9/32 bar stock that came in my 10H kit. So I was starting to scratch my head as to why there seemed to be too much throw on the crankshaft... and then it hit me. There is too much throw on the crank shaft.
Not easy to measure accurately without a very time consuming setup, but I can confidently say that instead of the 3/8" (0.375) throw that the crank is supposed to have, it has more like 0.400" throw.
That explains everything!
As it turned out, the original Crank was 0.409" throw rather than the required 0.375". So a new one was a definite necessity.
The two options for making a crank shaft that come with Stuart Kits from various periods are either a forged blank (Earlier Kits) or from a piece of 9/32 Carbon Steel rod and a bit of 3/32 x 3/8 rectangular section.
I pondered which was the better way to go, and stood scratching my head... Either bite the bullet and turn up the Forged Blank or go the easy way out and fabricated from the Bar stock.
The lathe called to me.
The Forged blank was going to give me the required lengths - Just.
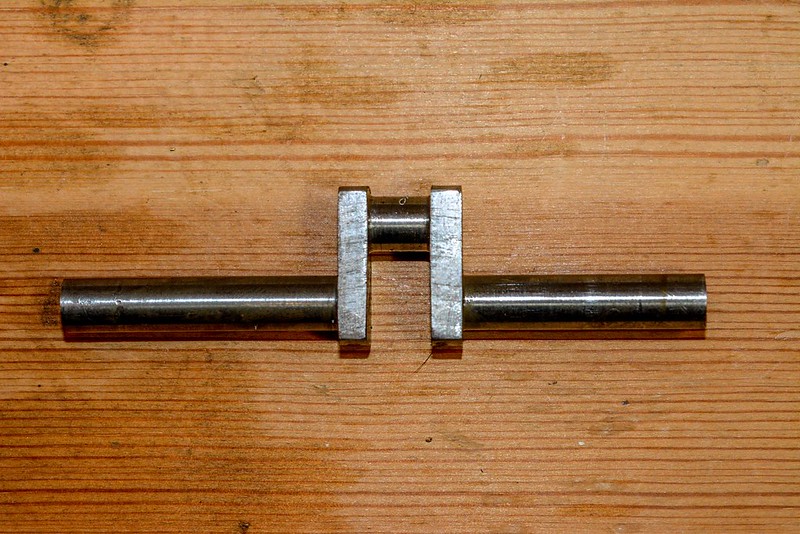
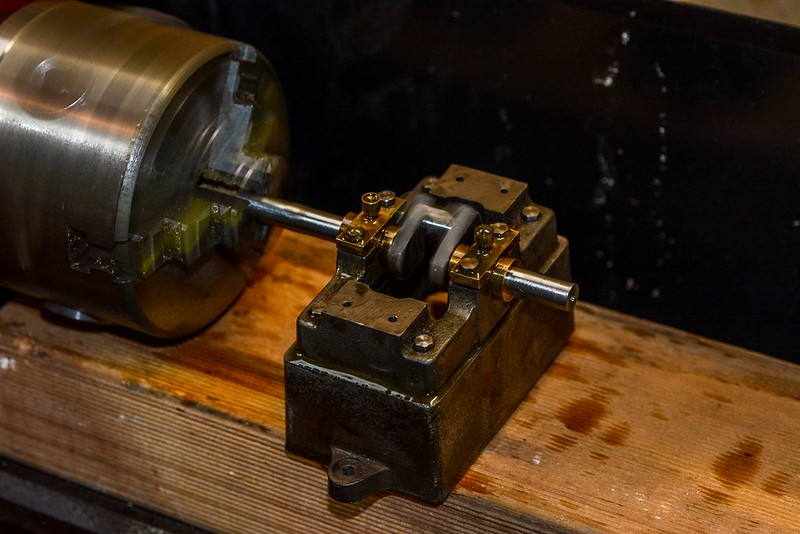
So I chucked up forged blank and faced and centre-drilled both ends.
In a very short time, I had turned both ends of the main shaft between centers to the required 0.280".
Then I grabbed a piece of aluminium bar stock and faced both ends square, then put that on the mill and drilled and reamed a 9/32" hole 3/8" off Center.
Then I put that back in the lathe and inserted the shorter turned end of the blank in this hole. This Was a tight fit. Ideal.
A length of Brass, turned to a point was used as a center mounted in a drill chuck in the Tail Stock. I used this to place pressure against the unchucked end of the blank.
I then proceeded over a few evenings, to very carefully turn the crank section. This was heart in mouth stuff. The part was not held rigidly enough to be able to take very large cuts... the most I was able to take at any one time was 5 thou. And there was an awful lot of taking the tool back to the grinder for another sharpen.
Eventually, I had the crank finished.
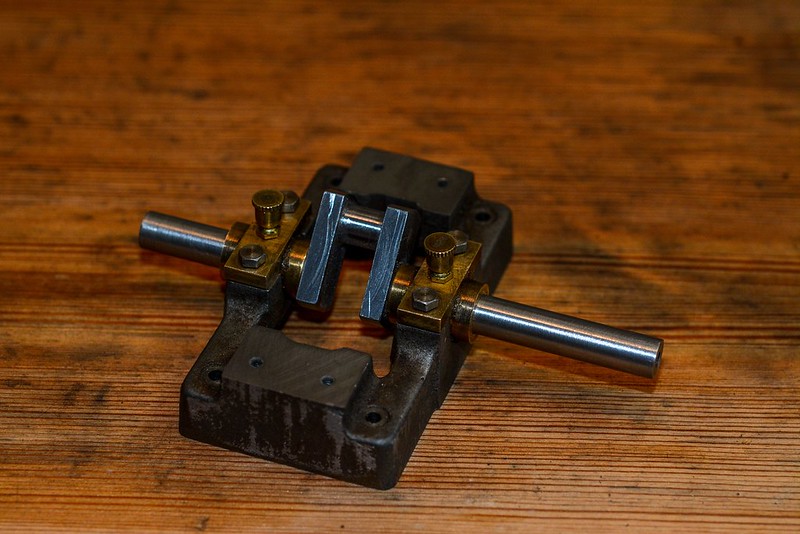
Now to run the bearings in to the finished crank.
This was done using the Lathe to drive the crankshaft with the base resting on a piece of timber... and LOTS of oil. I started with the bearing bolts quite loose and every so often, nipped them up a bit. Eventually, after running the crank, cleaning the gunk out, running the crank, cleaning the gunk out... etc. etc....
I had the crank freely running in the bearings.
I disassembled and reassembled a number of times... each time, running in the lathe again to ensure that the crank was running freely.
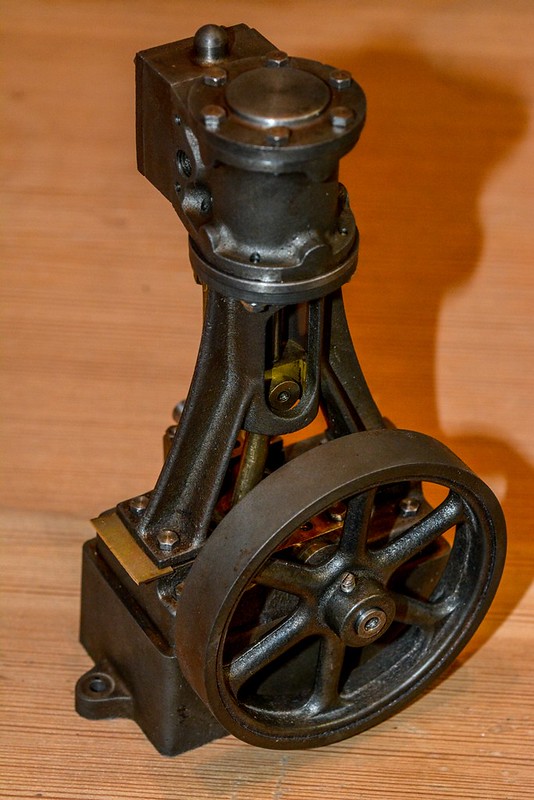
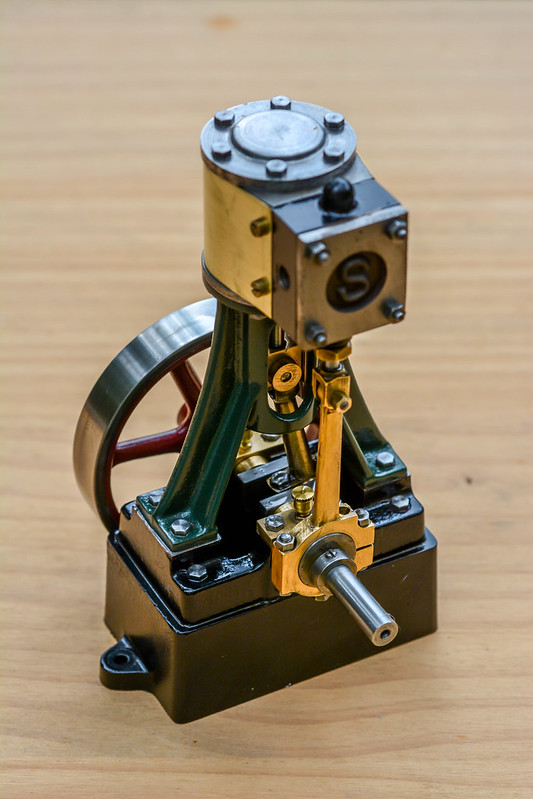
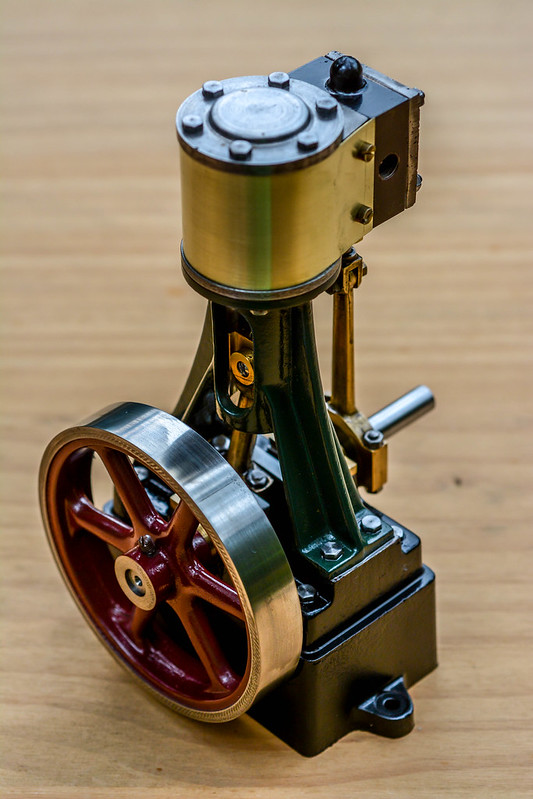
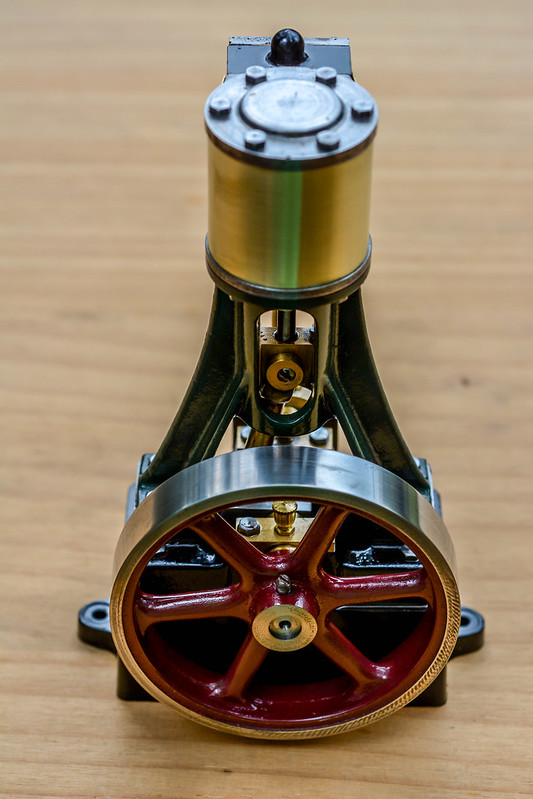
And late this afternoon, just before I fired up the BBQ, I assembled the standard, con-rod and cross guide, and turned it all over by hand.
I made up some gaskets and re-assembled the engine.
Great care was taken to ensure that all components were properly aligned and that there was no interference of any component.
Then I fired up the airbrush compressor again and turned her over.
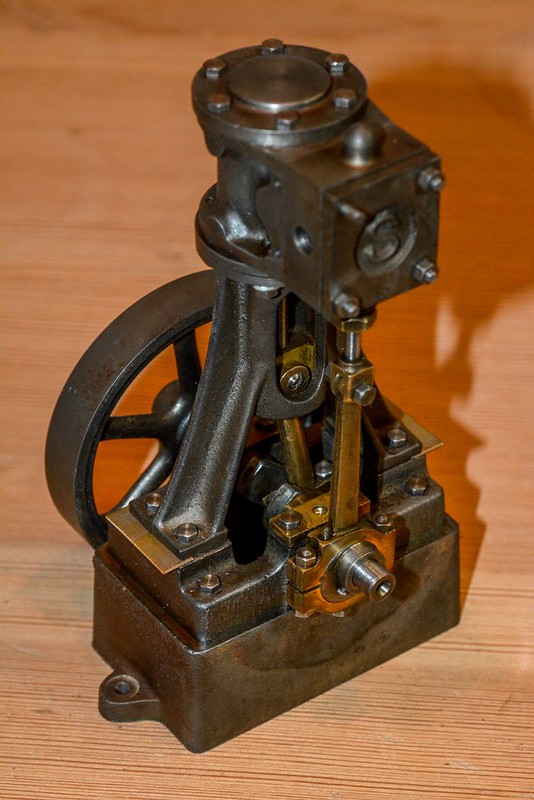
She was almost self starting. The slightest flick of the flywheel saw her ticking over like a well oiled... well, like a well oiled steam engine.
She ticks over slowly on as little as 2 and a half to 3 PSI and I think she might even slow down even more after running in properly.
I have spent a lot of time reassembling and tweaking to ensure that this engine will be able to be taken apart and put back together without any problems.
Not that any Stuart is ever going to be a "slap it together and hope for the best" job and neither it should.
Someone has gone to great effort to build this engine nicely, notwithstanding the mistake on the crank shaft and a stud that was not threaded on both ends.
The rest of the workmanship on this engine is very nice indeed.
I turned up an adapter for the seam inlet this afternoon and
hooked it up to my Airbrush Compressor... listened to the bearings and all other moving parts for noise that shouldn't be there. Ran nicely on down to 1 PSI or less... Ticking over at much less than 60 RPM.
https://www.youtube.com/watch?v=B___PZCqIHwApart from already mentioned niggling issues, there was a pin hole in the steam chest cover plate casting. I have put a thin brass shim under this to seal it.
I sent it back to the US finished and the owner was rapped.
After this, I bought some 10H castings from Stuart and built it. It was never as a nice a runner as the 10V i restored, but it might one day be.
Now, I have a Twin Victoria in progress, a Beam in progress, a couple of other 10V casting sets lying around (one purchased new and the other part built from older (Very nice) castings).
Anyway, thanks for reading this far. I hope if I post a new build thread it will be as entertaining.
Cheers,
Hugh


