More progress - I finished the crankshaft (perhaps, but more on that later)
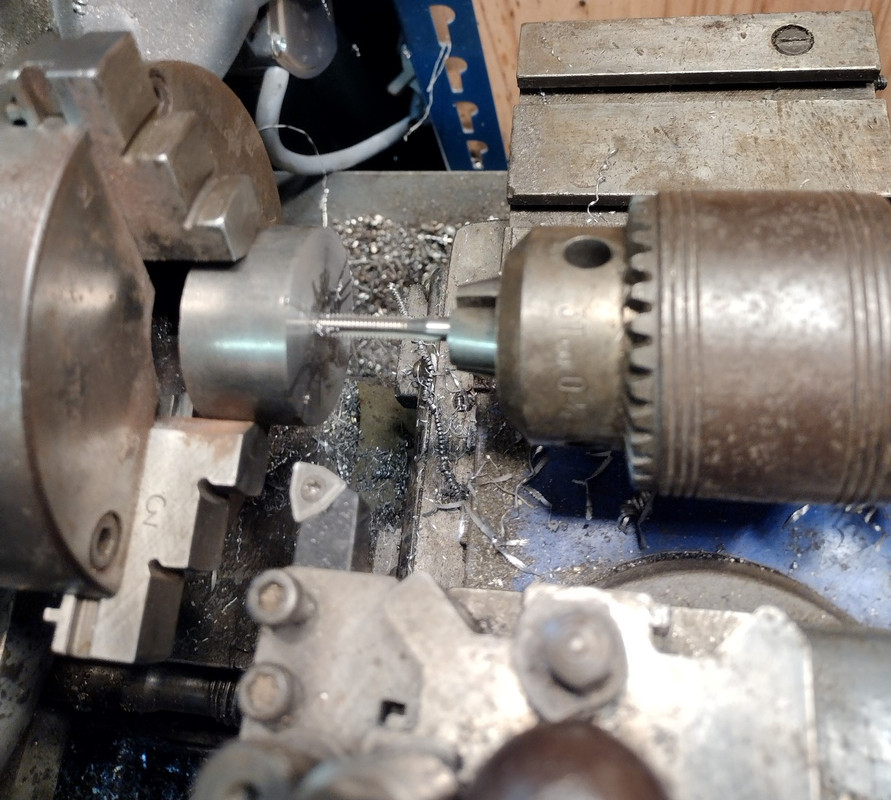
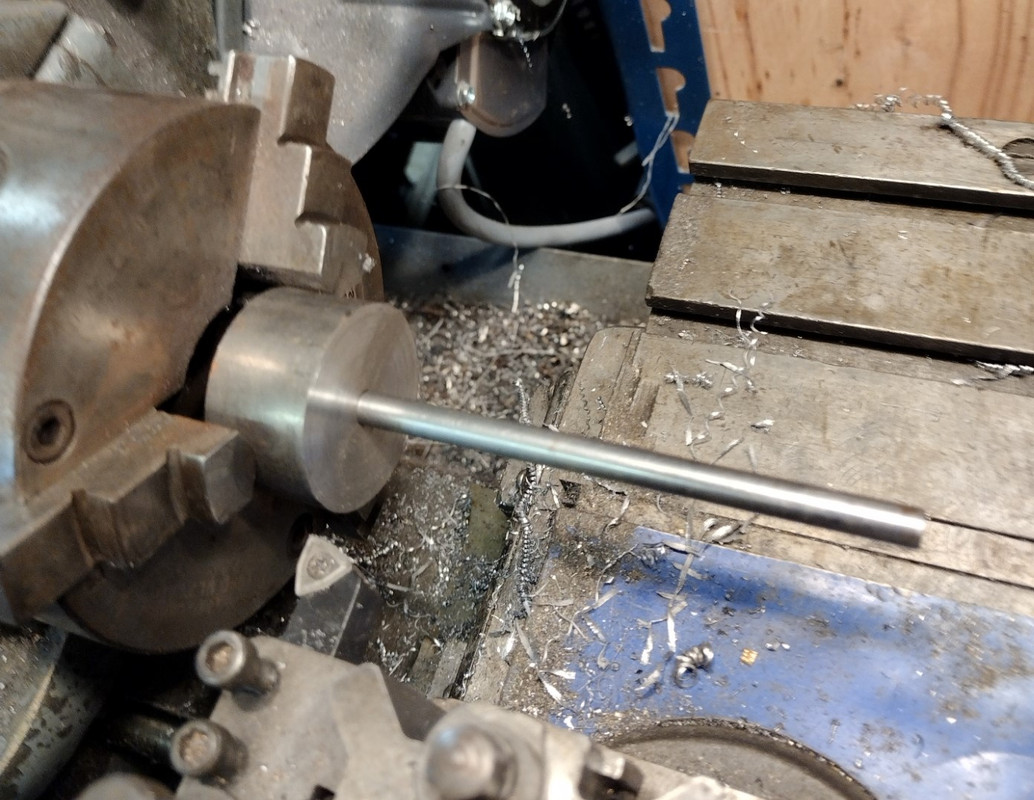
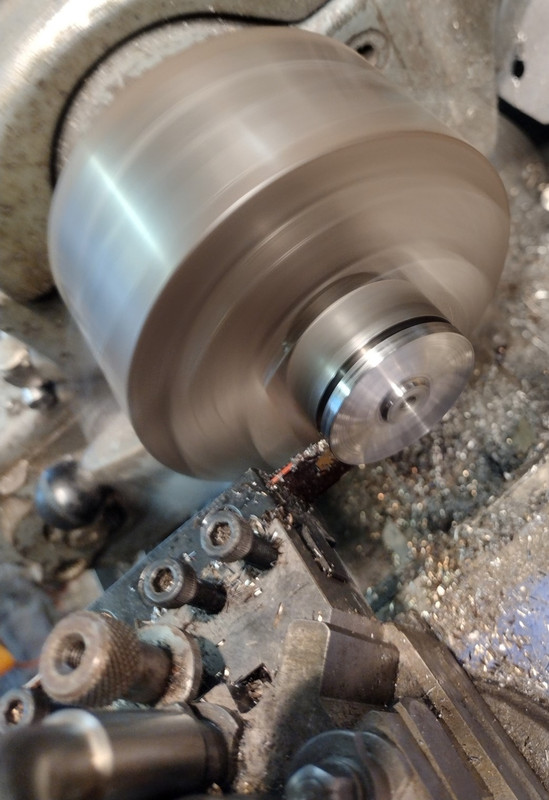
They provide a length of 1-1/2" mild steel bar which has lots of meat on it (as previously discussed), although it is barely a thou over the required size, so I took the view that no one will notice if I skimmed about 0.2mm off the OD to get a nice machined surface (I hope we can keep this between ourselves - you won't go ratting on me will you). I started by drilling it 4mm and tapping it 2BA - I tapped it all the way through with a plug tap in case I wanted to have a second attempt with the left-over material:
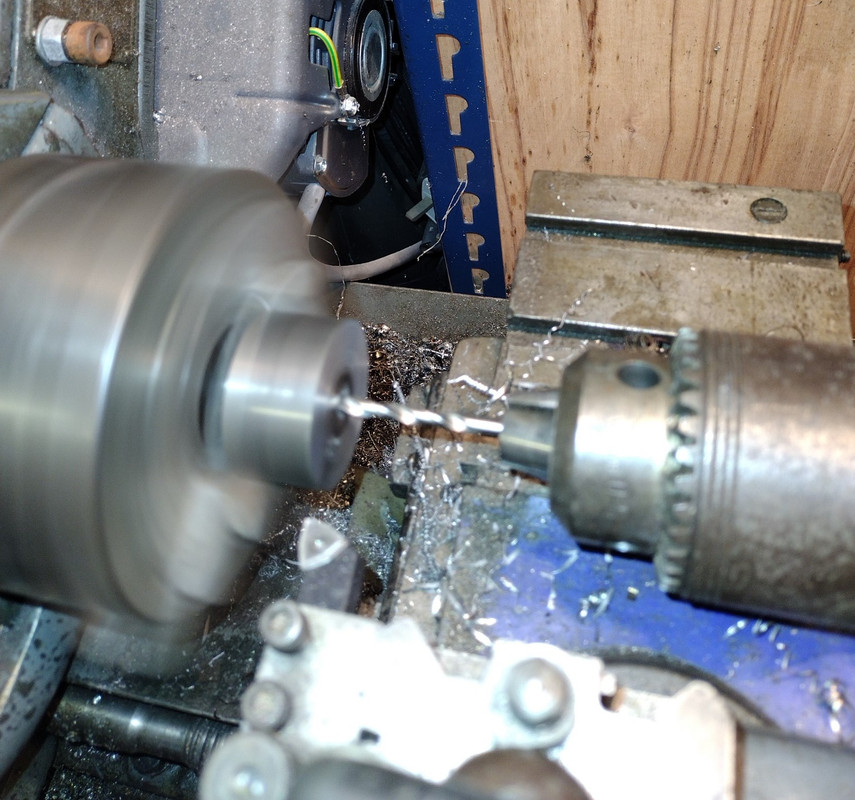
ThIs photo shows I'm lazy and impatient because I use the VFD in revers at low speed to wind the tap out again, and I do it fast enough for the tapping oil to get thrown outwards...
A quick trial fit with the shaft showed all was well.
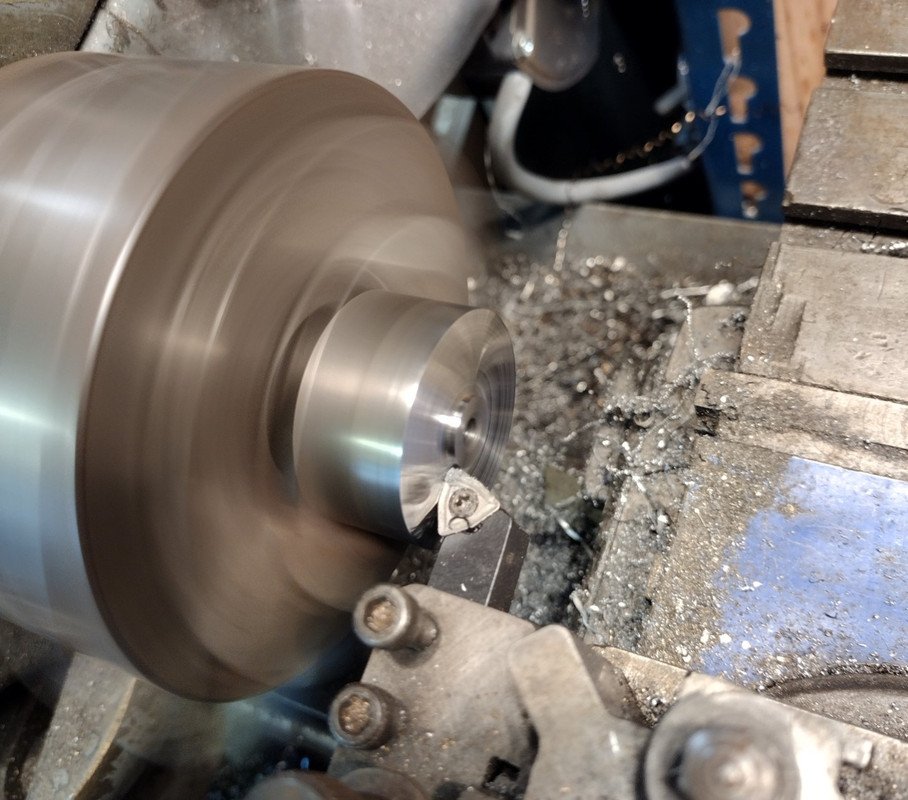
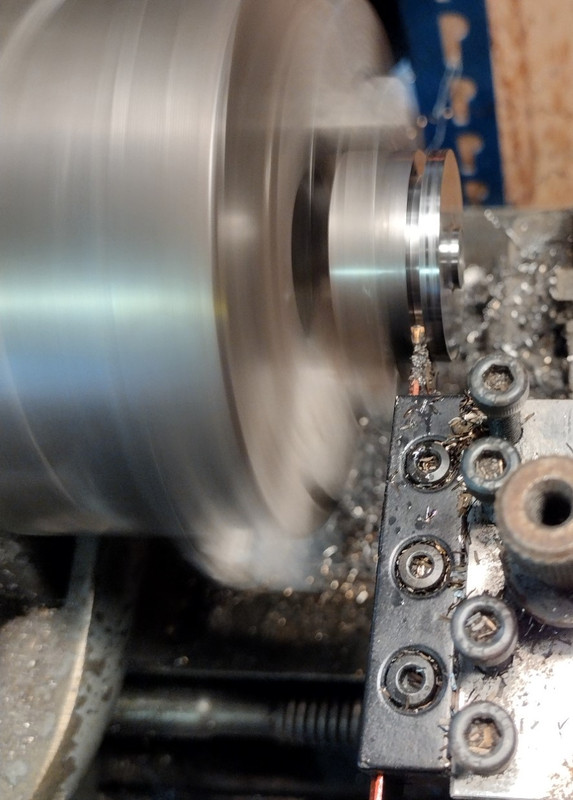
Next came turning the front face with the raised central boss:
And then it was ready to cut off. The web is only 1/8" thick, so there's a lot of material to lose. I resisted the temptation to reverse it in the chick and remove the excess as swarf(!), but because I'm lazy I was reluctant to use a hacksaw. So I decided to start parting it to get as far as I could before it got chattery - received wisdom is that parting off this amount in a Myford is likely to be problematic, but I thought I'd give it a go. This parting tool is the one ArcEuro sells - a 2mm blade holder with a GTN2 carbide insert. I've found then to be very good in steel (but I've wrecked a couple in cast iron when the hard lumps tear the insert out of the holder). I locked the saddle and started at 1,100rpm with a little lube brushed on and started parting. I kept the feed slow but steady - keeping a constant pressure on the blade, backing out periodically to remove chips and refresh the lube. After the first 3/8" I backed the tool out, moved it 0.2mm closer to the chuck and widened the groove before returning the blade to it's original position to continue.
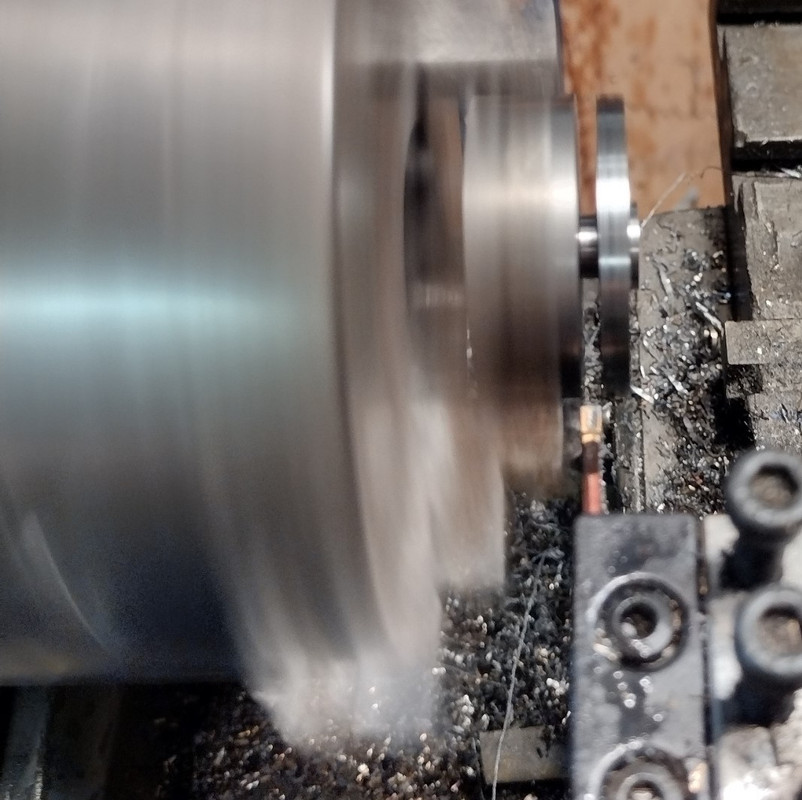
As the cut got deeper and the diameter smaller I progressively increased the speed to around 1.800rpm
I'm confident that I could have fully parted it without trouble, but I stopped when I got to here because I had visions of the part leaping off and making a dash for Mordor. So I hacksawed this last bit.
 Et voila
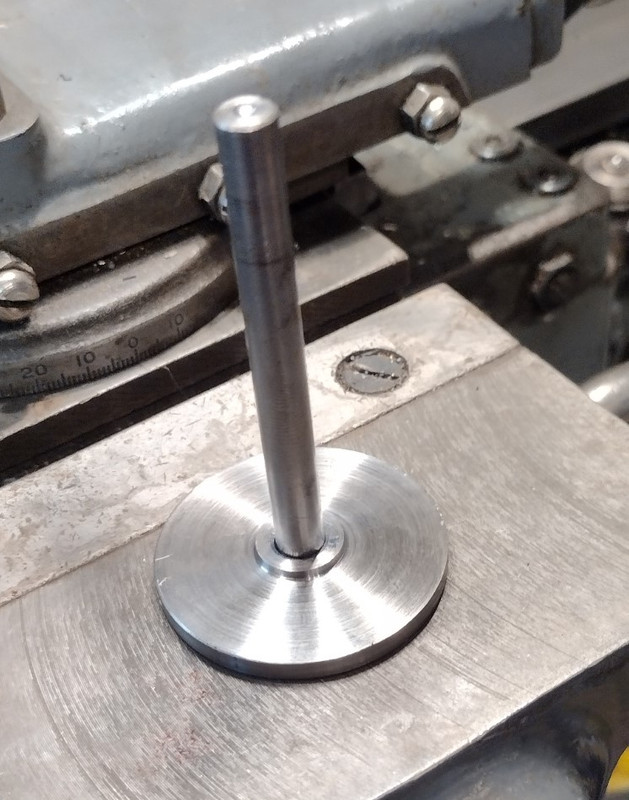
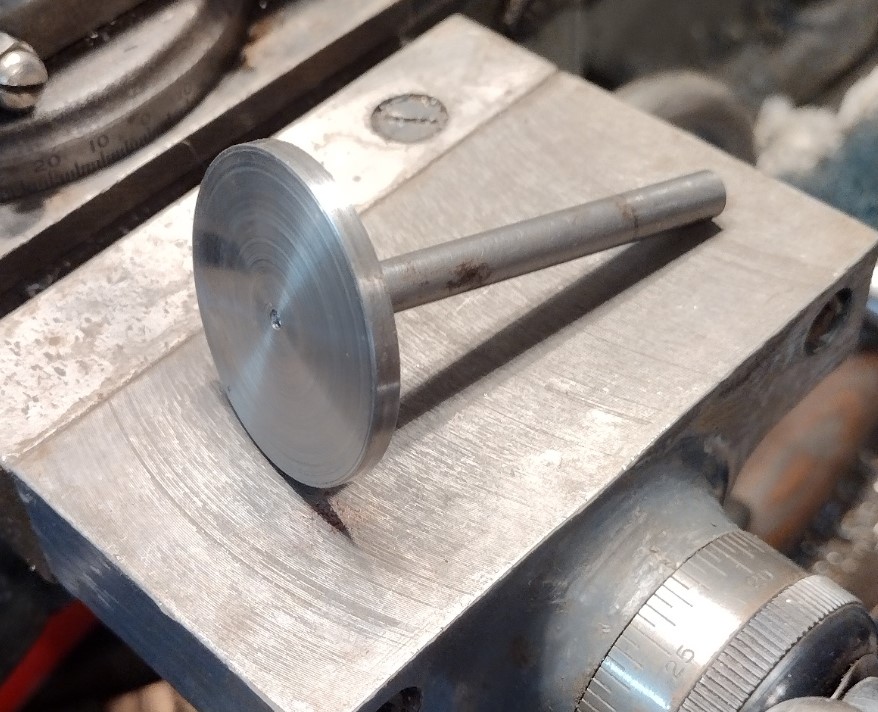
, I had my shaft and duly loctited it in place before grabbing some lunch:
On returning from lunch I realised that the Feck-up Fairy works weekends - I had loctited the shaft before trimming it to length. I didn't want to start heating things to soften the bond so the only way I could see the fix this was to turn it as-is using a steady, which worked successfully. I was thinking about this afterwards and I'm fairly sure this is the first time I've used it:

With that done I reversed it in the chuck, and gripping it by the shaft withe the centre boss pushed up to the jaws I was able to face off the rear of the crank (and the excess shaft protruding through it) to the required thickness without difficulty:
I then transferred it to my "mill" - it's a cheap and cheerful Seig X2p benchtop machine with a few mods - when you know its limitations you can do stuff with it, but it's cutting performance has been likened to a cold knife through granite. But nothing ventured...
I set it up in an ER32 collet on the RT and registered the centre in the back of the shaft, setting my cheap DROs to zero. With the RT set on zero I moved out 5/8" to drill the tapping hole for the crank pin:
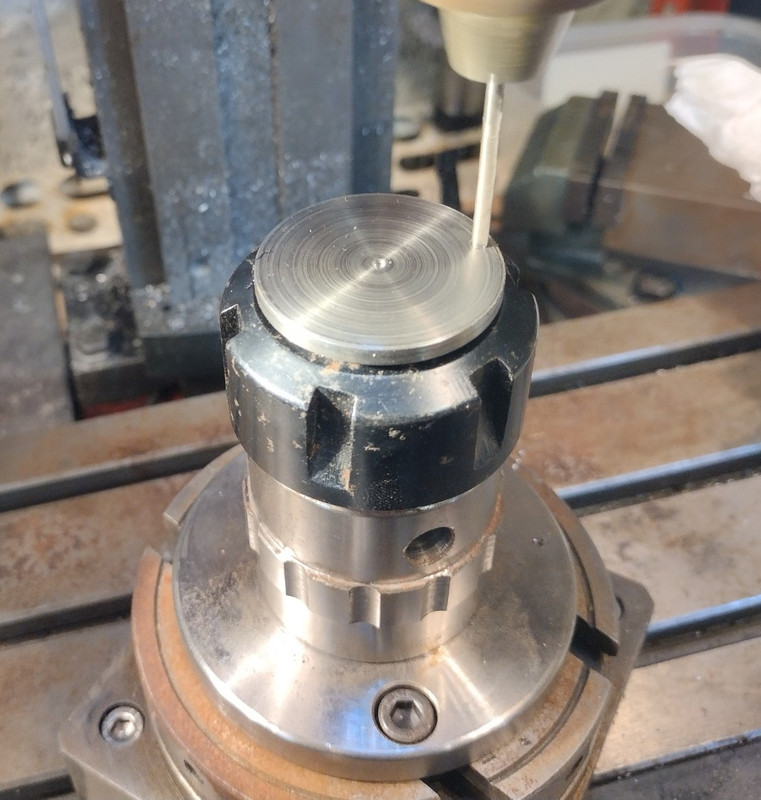
I also drilled a 1mm hole and loctited in a short length of 39thou music wire as a "mills pin". Now to the controversial bit...
The angle between the flats was 37.5degrees, so I rotated the RT through 18.75 degrees (half). The distance from centre for this flat was 0.425", so there was about 8mm to cut off [this mixture of metric and inferial units will be a feature of this build - in fact it's about to get worse, so bite me!] so I toggled the DRO to inferial and moved the table 425thou, and then zero'd the DRO. I then looked through my cutter collection and selected a nice sharp (unused) 8mm 3-flute cutter. I have several of these and they work well. So I took off the drill chuck and fitted an ER32 collect chuck with the 8MM cutter. I then toggled the DRO back to metric, advanced it a further 4mm and zero'd it again. If I had done this all correctly the zero position on the DRO would mill the required line. But I shared concerns raised by others that the whole setup would be too floppy, or that the part would move in the RT. I marker a couple of tell-tale lines across the part and the collet nut so that I could see if the part moved in the collet, and I clamped it up very firmly. Then I hedged, but setting the depth of cut to half the thickness of the web (1/16" cut), set the speed to 2,500rpm (this machine loves to run fast) and I did a series of light, slow cuts, typically 1mm at a time with the final cut being 0.2mm away from my zero line. It all went like a dream - nothing slipped, nothing chattered, it just cut cleanly. I did wonder if I could take deeper cuts, but decided that experiment could wait for another day:

So I dropped the cutter a smidge over 1/16" and repeated the process, before making the final 0.2mm cut across the whole depth:
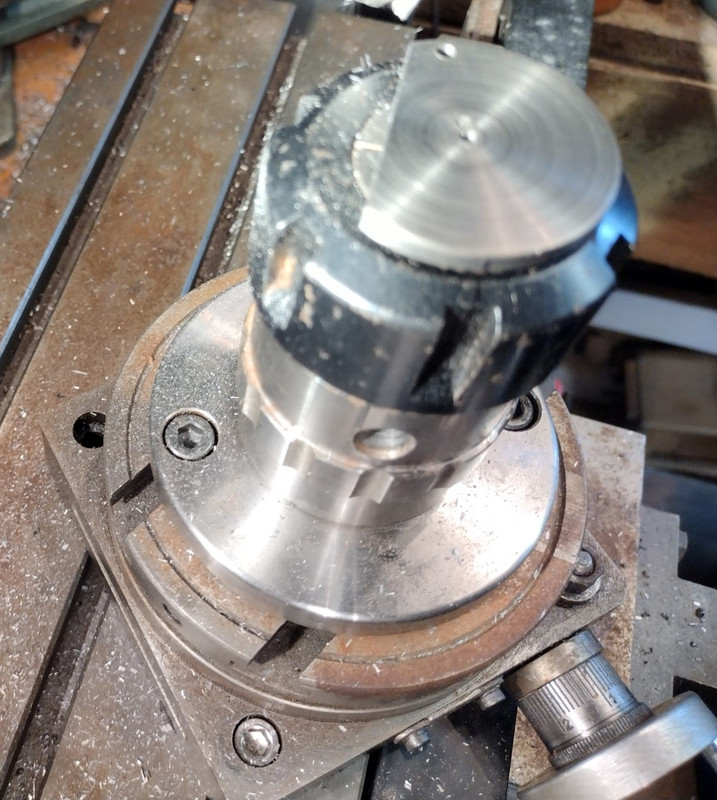
I rotated the RT to -18.75degrees, moved the table by 0.850", zero'd the DRO, switched to metric and then moved it another 8mm to set the new zero, and then repeated the process for the second side. In this picture you can more clearly see the half-depth cut and (more to the point) those sharpie tell-tales!
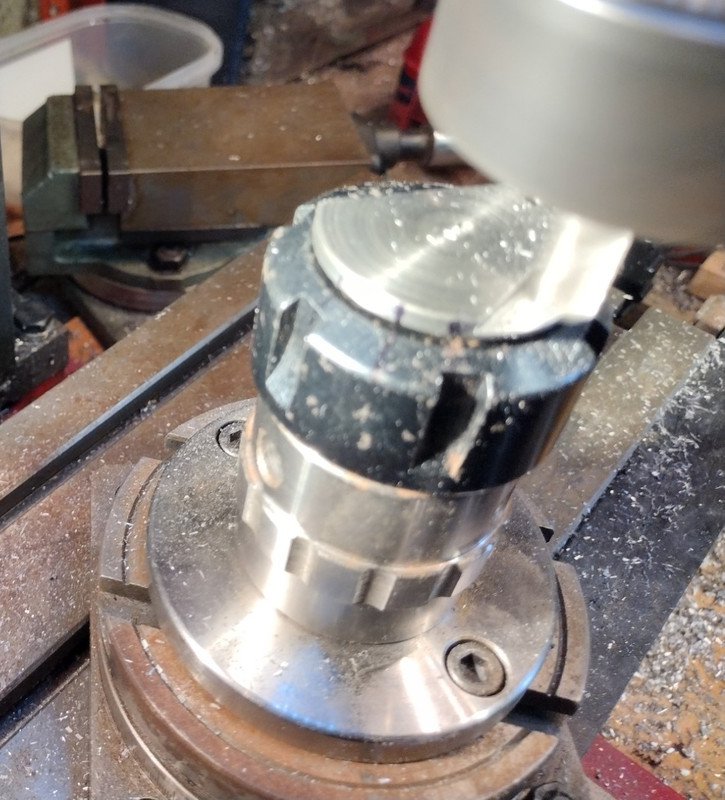
And that was essentially that:

I swapped back to the drill chick, moved the table to the DRO location for the crank pin hole then slackened the collet so that I could raise the part by half an inch and (with a reversed drill in the chuckand fet through the hole) I clamped it again. Then I tapped that hole 5BA, lightly deburred the back of the hole and the part was finished:
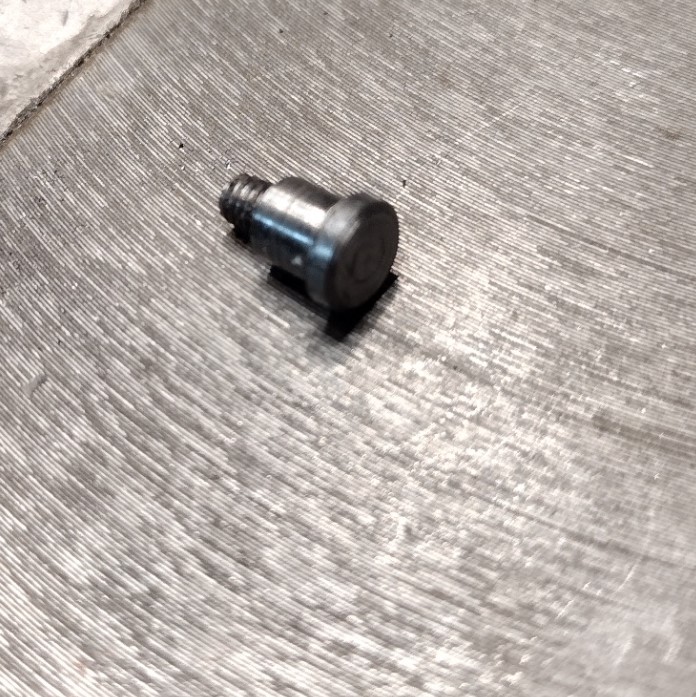
I made the crank pin. I'm going to gloss over that because I'm not very happy with it and I'm probably going to make another one, but it allowed me to do a trial assembly:
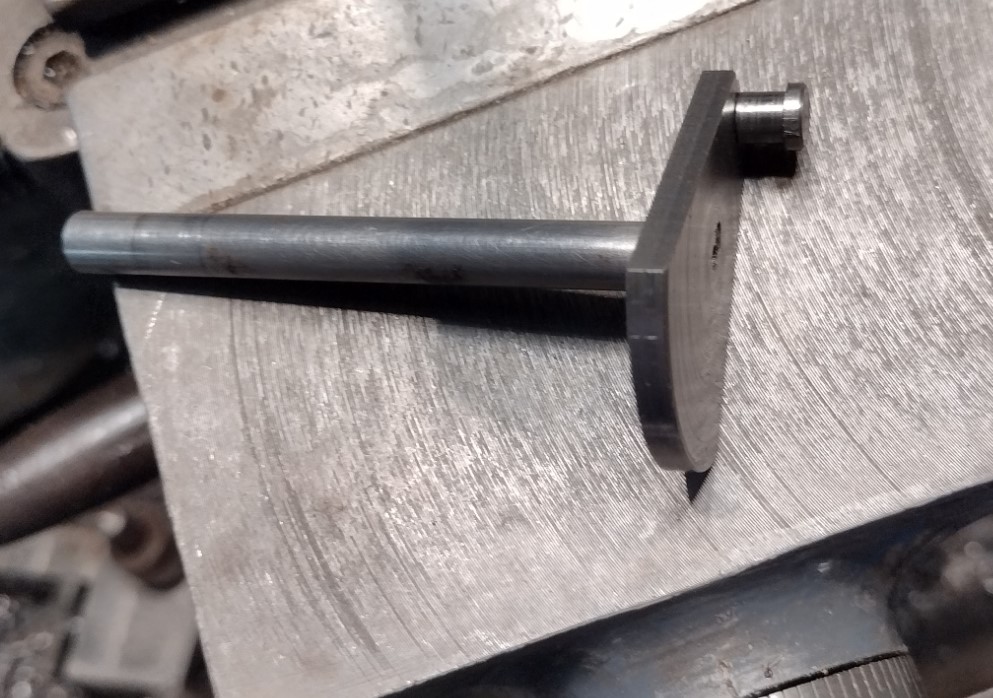
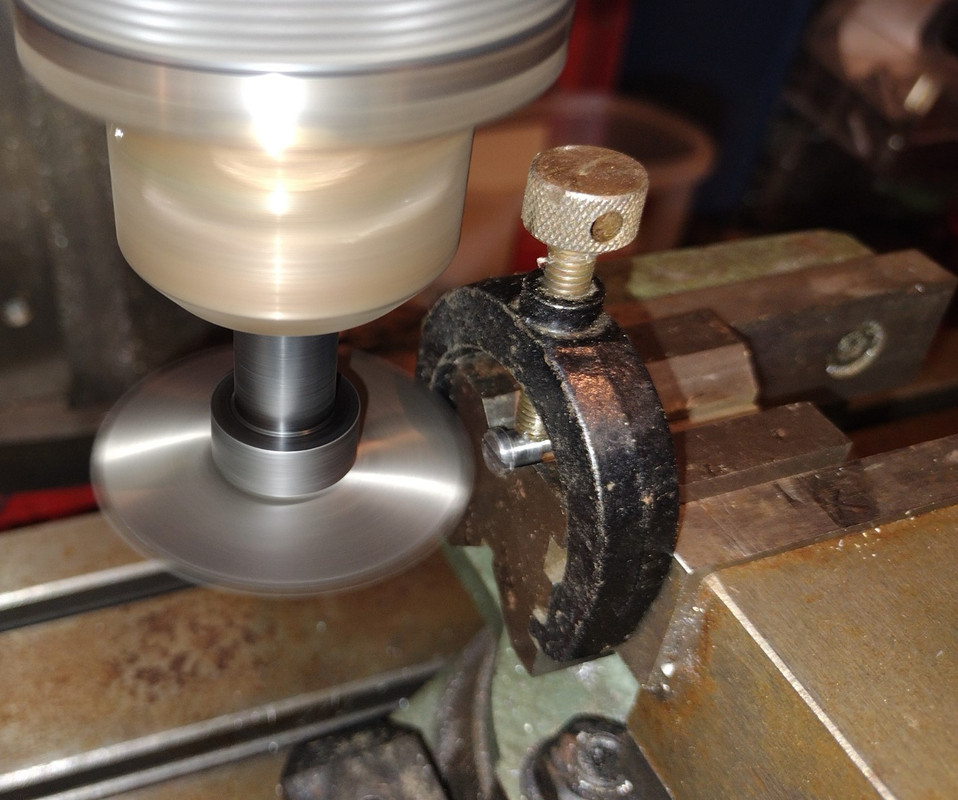
It also allowed me to try out a setup for cutting the screwdriver slot, although Feck-Up Fairy clearly stopped for coffee and cakes before departing as I made a complete hash of the calculation for the Z dimension (more obvious in the final picture). This is just an Arc 50mm slitting saw (0.8mm) which cut very nicely despite my arbor being 1/2" instead of 13mm:
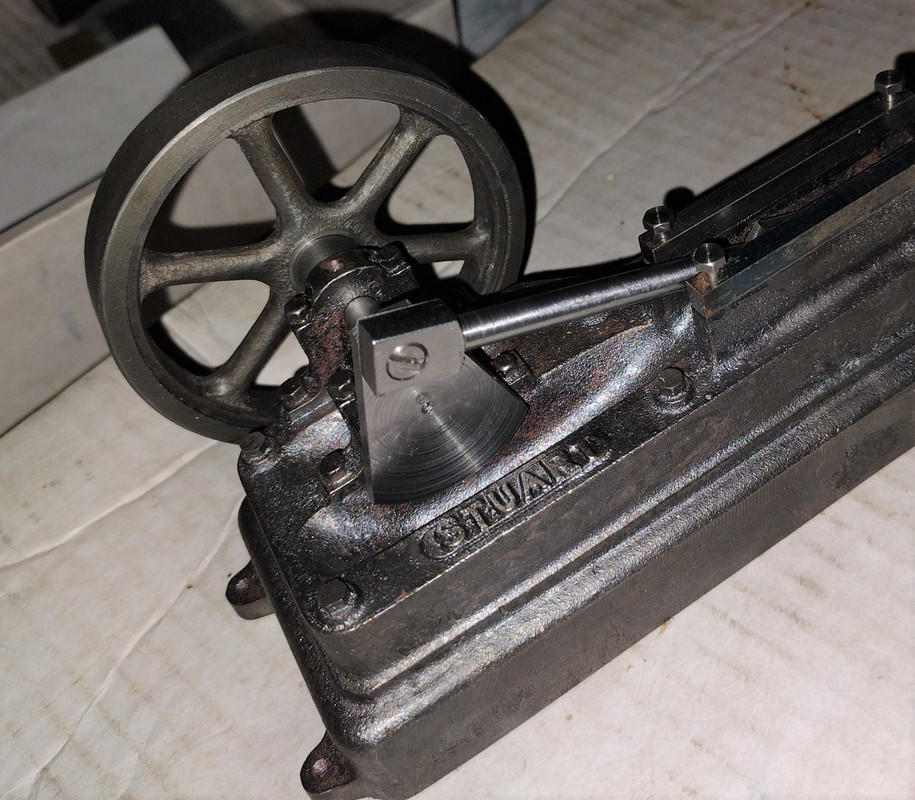
That concluded the days activities, but I couldn't resist a quick trial assembly:
To be continued...
AS


