Recent Posts
21
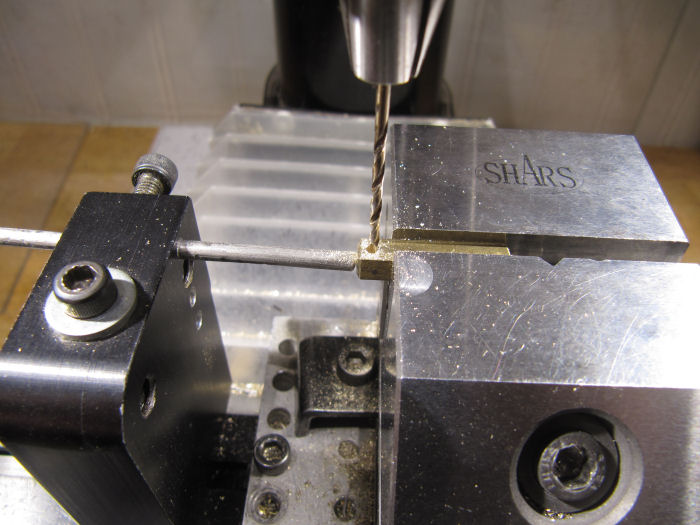
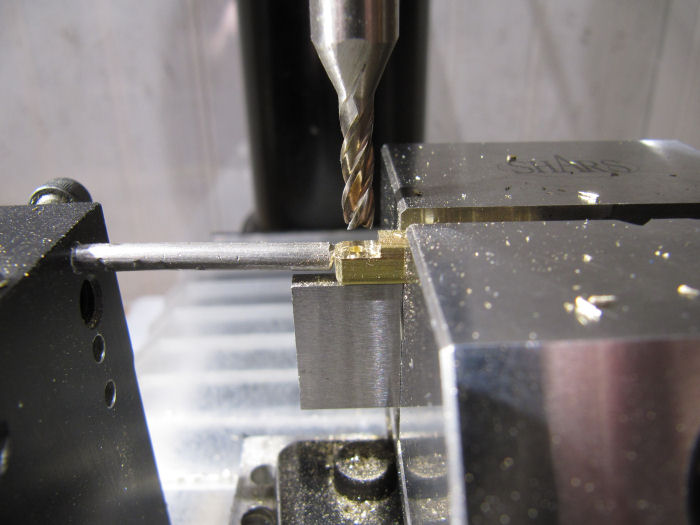
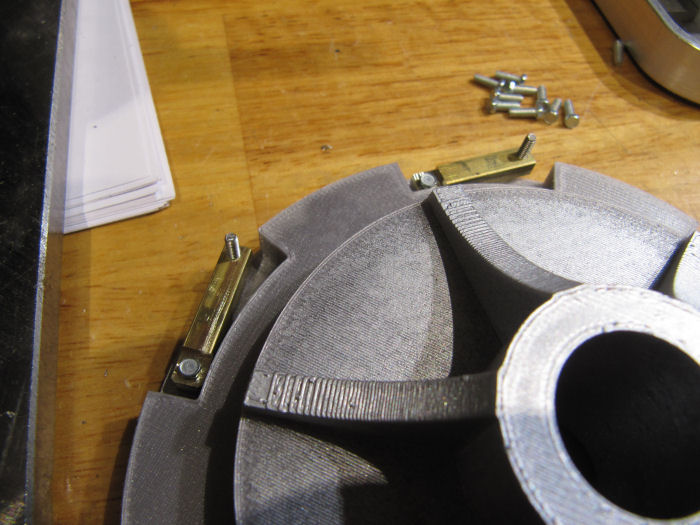
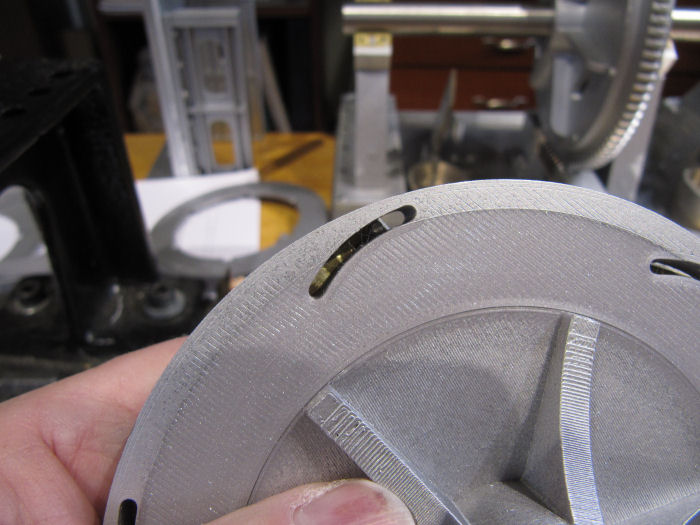
Your Own Design / Re: Kearsarge Windlass Engines
« Last post by Kim on April 22, 2024, 05:56:40 PM »That's a very interesting mechanism, Chris! 

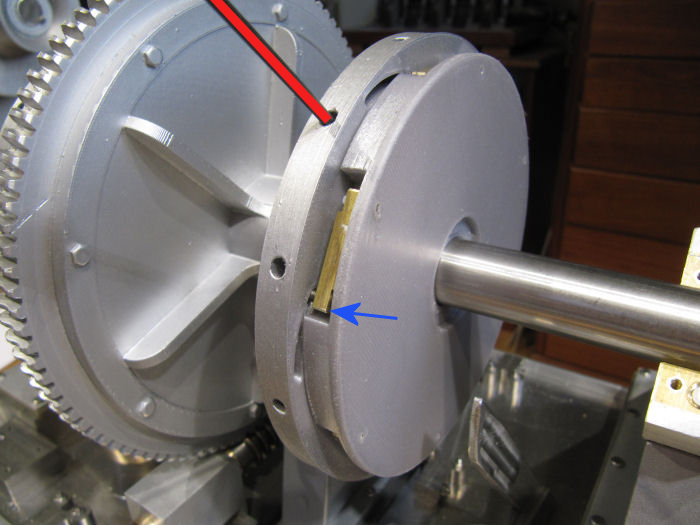
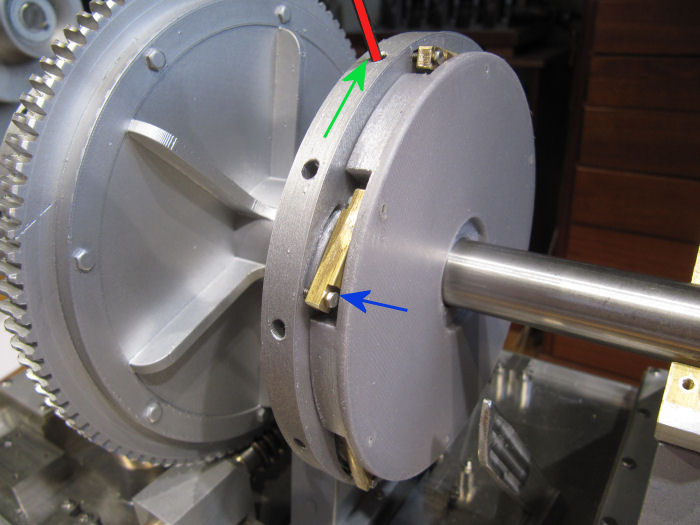
Now I just have to see how the control disk is rotated to control the pawls. The control disks are fixed to the rotating main shaft, correct? So that would seem to complicate controlling them a bit. Looking forward to seeing how it all works!
Kim
Now I just have to see how the control disk is rotated to control the pawls. The control disks are fixed to the rotating main shaft, correct? So that would seem to complicate controlling them a bit. Looking forward to seeing how it all works!
Kim


 I think we both enjoy that challenge.