Recent Posts

Pages: [1] 2 3 ... 10
1
Chatterbox / Re: Still working on it
« Last post by Captain Jerry on Today at 05:17:11 AM »

If I were going ro build this design, I would make the block as a two part construction,  There are a number of reasons to do it this way. The most important is the ability to create decent port size and location.  I have worked on this all evening so I'll hold of on the details for now.  I'll get to it tomorrow if I can. zzzzzzzzzzzzzzzz


<a href="https://www.youtube.com/watch?v=lJVNXSjY_h8" target="_blank">http://www.youtube.com/watch?v=lJVNXSjY_h8</a>


2
Your Own Design / Re: Kearsarge Windlass Engines
« Last post by crueby on Today at 01:25:53 AM »
Hi Willy,


No, since the teeth were prestarted with the normal cutter, the hob cutter, the tap, spun the wheel by itself. Started at slow speed with the tap teeth loosely into the precut teeth, and moved in slowly, increasing the spped a bit by the end. The cuts were very light, only moved it into the cutter a few thou after the wheel turned several full turns since the previous moves.


I watched some videos on youtube, some skipped the precut stage, and it was hit and miss whether it worked out. Precutting makes it an almost sure bet, a very neat process.


Chris
3
Vehicles & Models / Re: Pennsylvania A3 Switcher (Kozo)
« Last post by crueby on Today at 01:19:39 AM »
Great progress on the cab!   :popcorn:
4
Your Own Design / Re: Kearsarge Windlass Engines
« Last post by steam guy willy on Today at 12:46:41 AM »
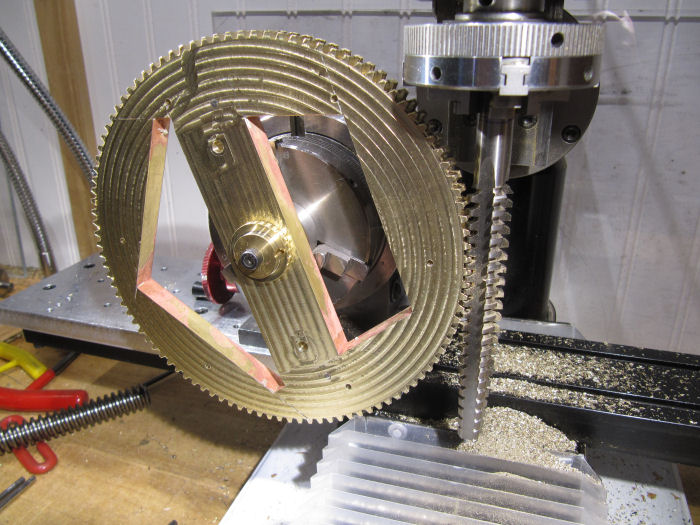
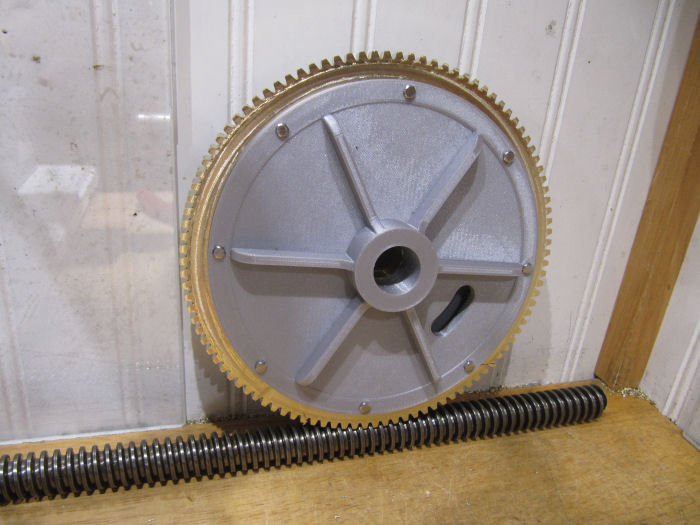
And today is Hobbing Day!  With the gear held in an arbor that lets it spin freely, the Acme tap held in the chuck, it was adjusted till the teeth in the tap meshed with the precut gear teeth, such that if I turned the spindle by hand it would advance the gear without much binding. The cutter was set towards the front slightly, since the blank is over-thick still and the back side will be trimmed off. Started the motor on a slow speed, and started to move the mill table over to start cutting. Every few full turns of the gear the table was moved over another few thou, letting it cut all the way around the gear several times for each position. After a while, got down to full depth.

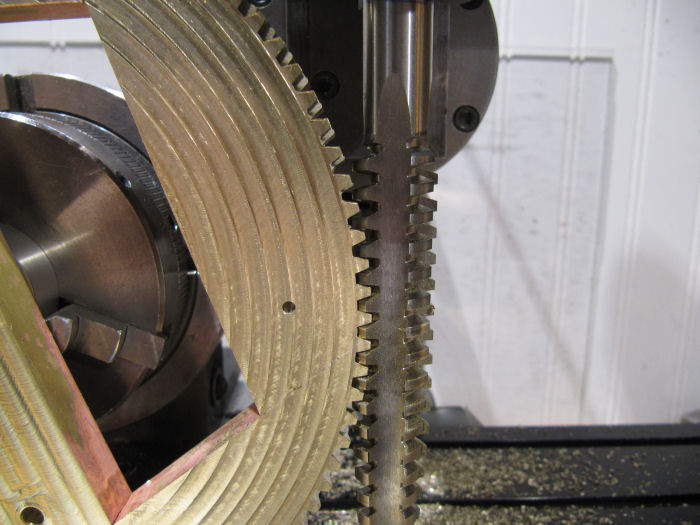
Closer look at the cutter and the tee

Hi Chris ,  I have allways wanted to cut some gears like this but have never had the need to do it ...did you have to rotate the gear by hand on all the cuts  or just the first rotation  ??  cool stuff and very satisfying to see it working !!! :ThumbsUp: :ThumbsUp:

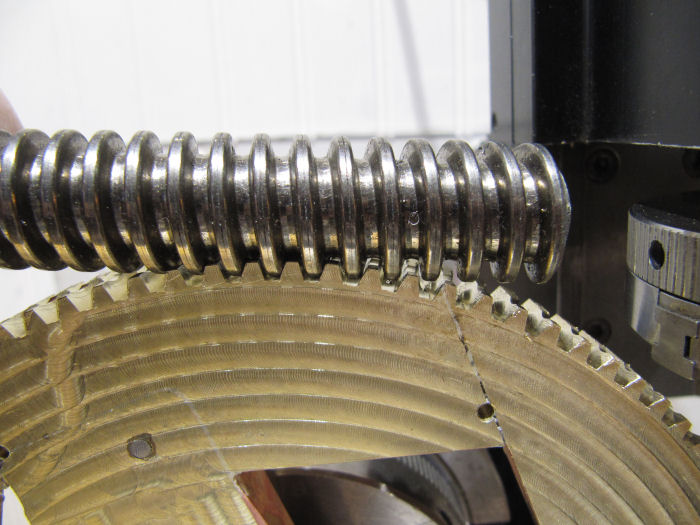
Test fit of the threaded rod on the teeth as I went as well

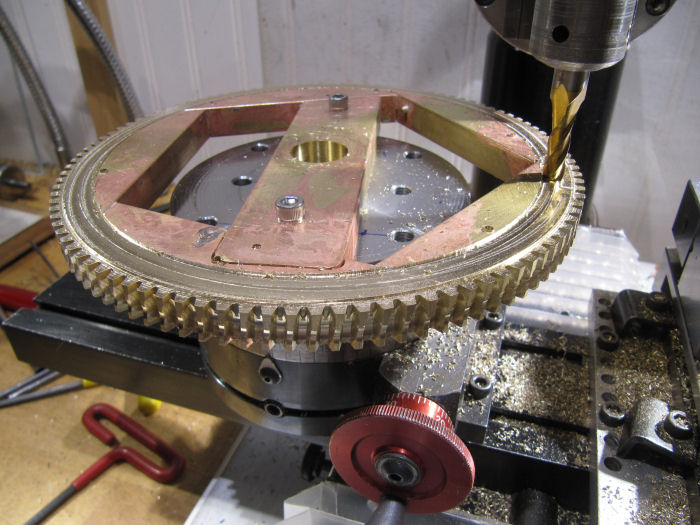
When happy with the depth, it was set down horizontal again to trim off the second side

Here is the finished (well almost, need to cut a keyway in the center hole) gear with the side plates screwed on:

This gear is too big for my plating tank, may just paint it instead...
5
Your Own Design / Re: Kearsarge Windlass Engines
« Last post by steam guy willy on Today at 12:37:00 AM »
looking good and I like the graphics   getting there slowly  :ThumbsUp: :ThumbsUp: :popcorn: :popcorn:

Willy
6
From Plans / Re: Upshur's twin opposed cyl. engine
« Last post by Brian Rupnow on Today at 12:25:21 AM »
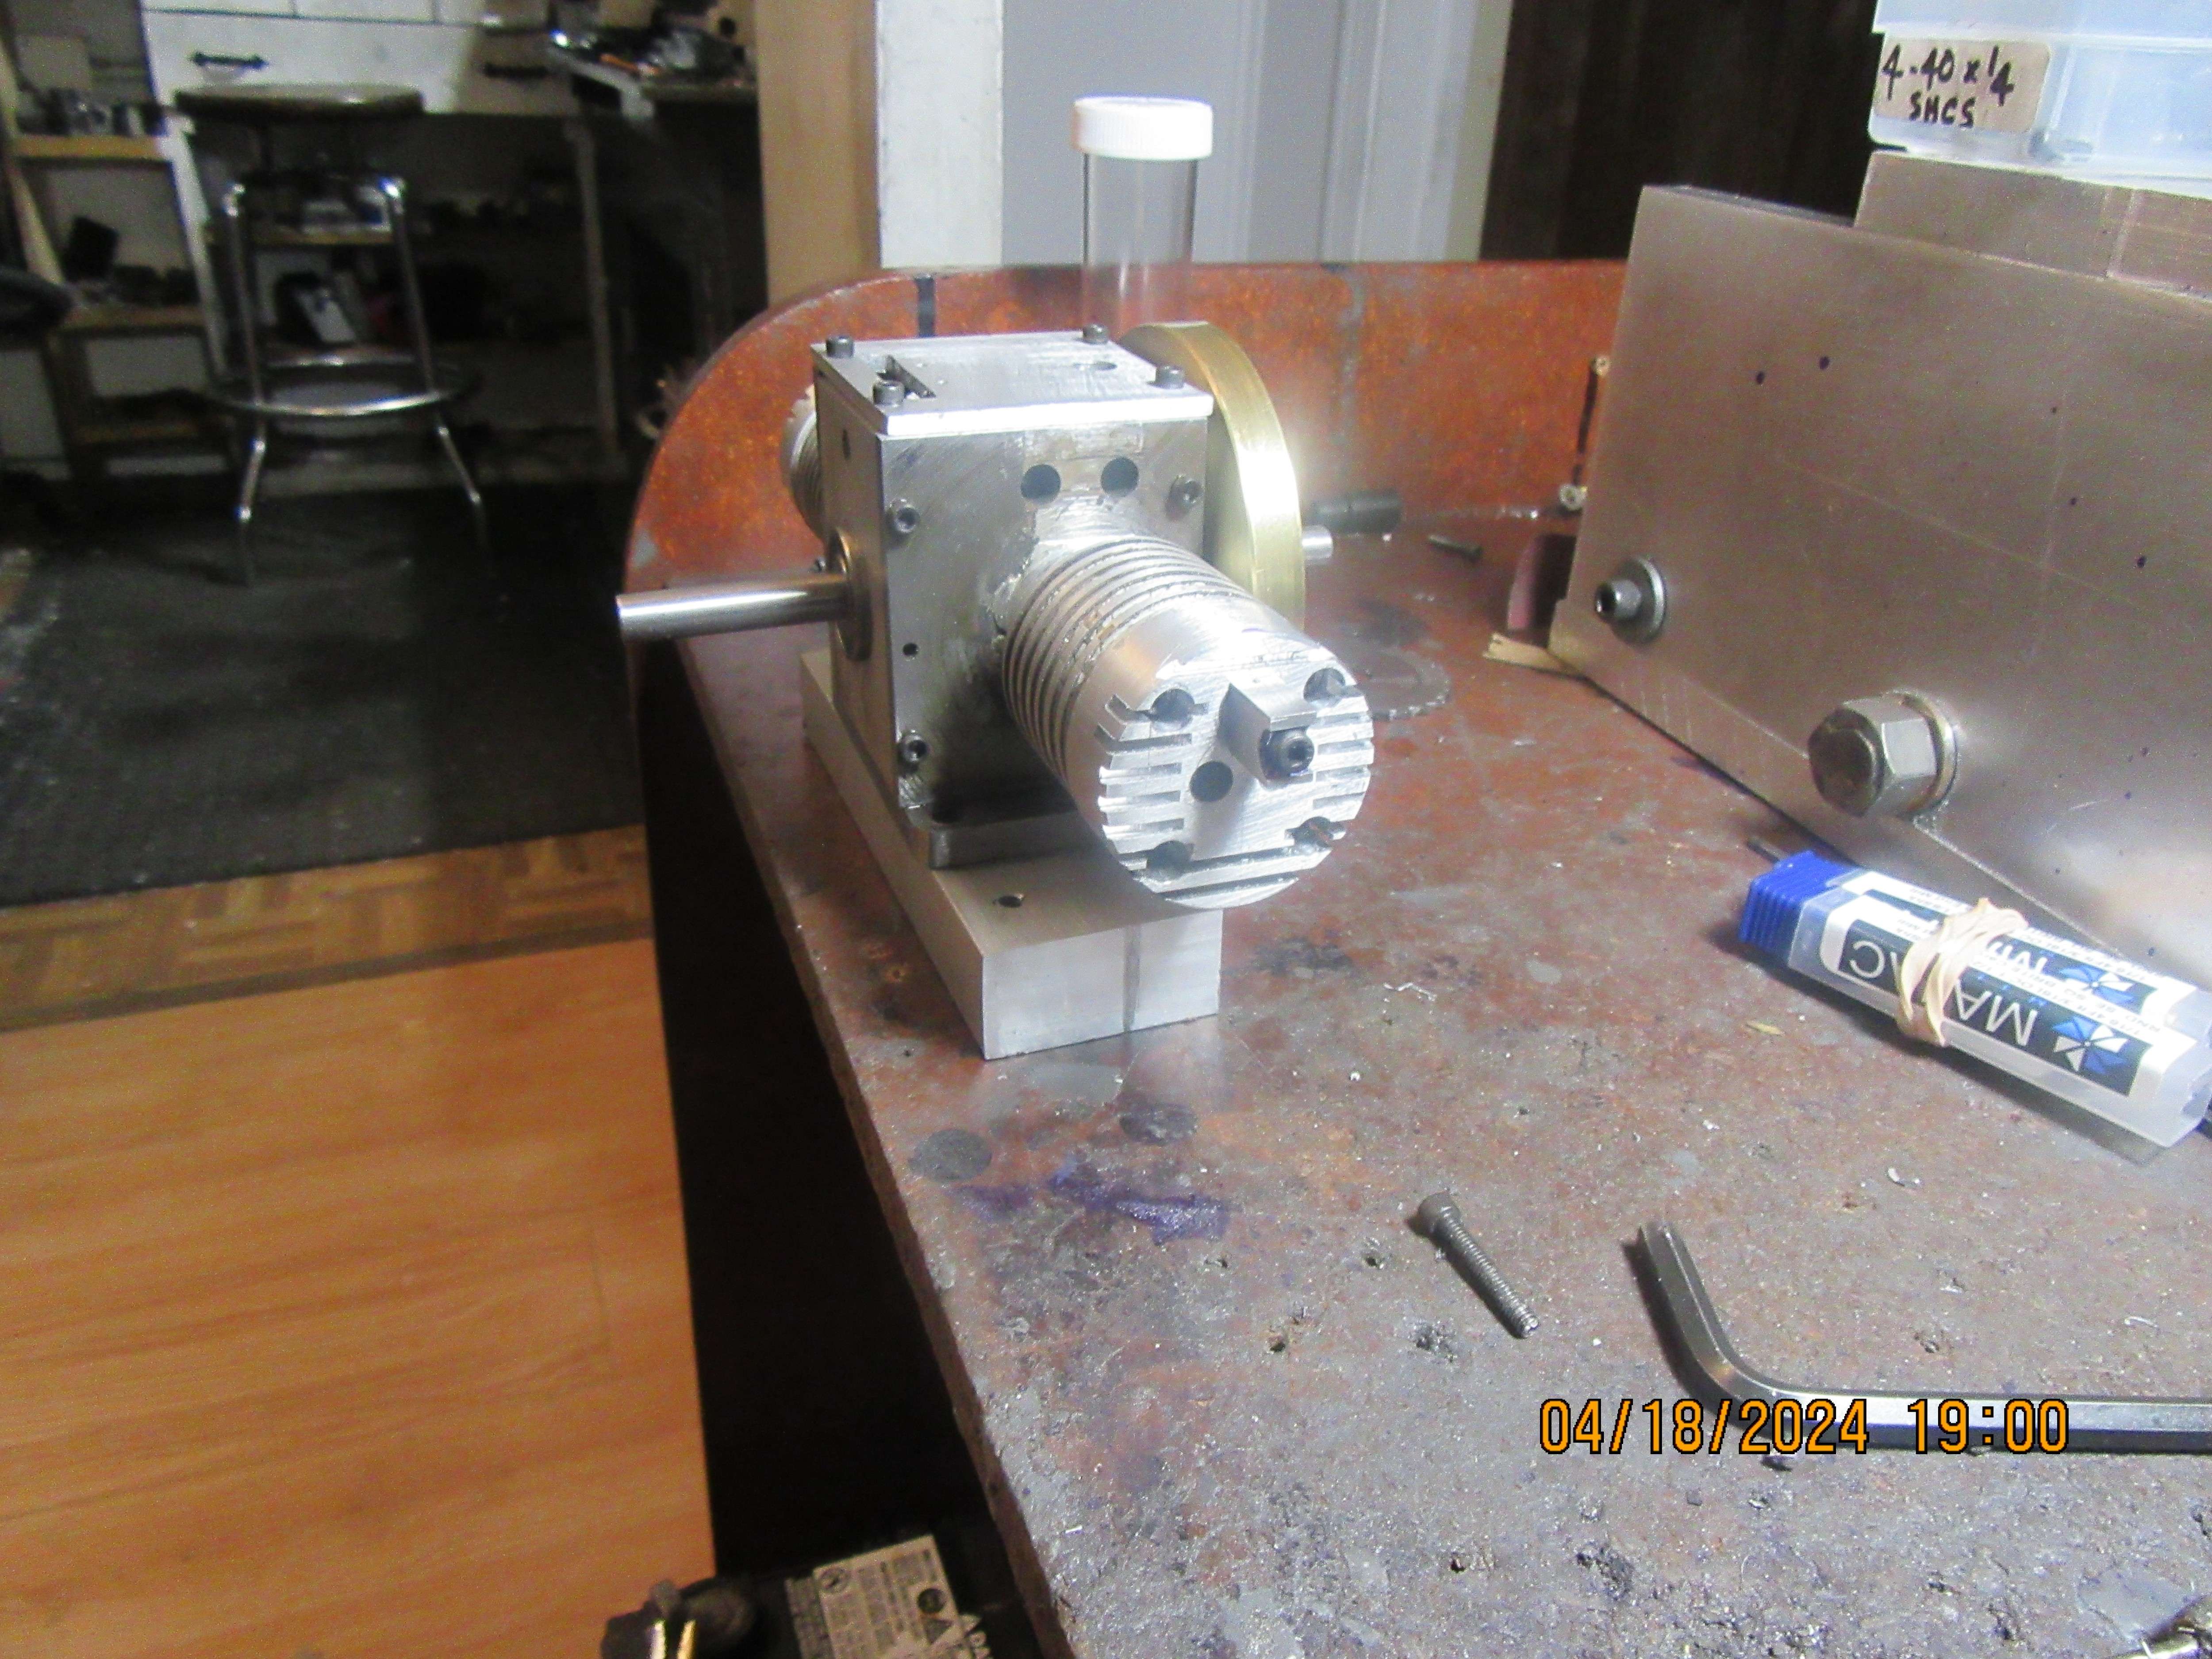
Today I cut cylinder head fins and made up a couple of rocker arm support towers. Not terribly exciting, but it took up most of my day. There is something a little fishy about the bearing support tower in the drawing package from Upshur. Haven't quite figured out what it is yet, but there is something about the #5-40 threaded holes tapped in the rocker arm support towers and in the head.

7
Your Own Design / Re: Kearsarge Windlass Engines
« Last post by cnr6400 on April 18, 2024, 10:50:37 PM »
 :ThumbsUp: :ThumbsUp: :ThumbsUp: :popcorn: :popcorn: :popcorn:
8
Vehicles & Models / Re: Pennsylvania A3 Switcher (Kozo)
« Last post by cnr6400 on April 18, 2024, 10:46:22 PM »
 :ThumbsUp: :ThumbsUp: :ThumbsUp: :popcorn: :popcorn: :popcorn:
9
Engines / Re: Df's lego engine thread
« Last post by wagnmkr on April 18, 2024, 10:33:24 PM »
Thank You for the info. I will look around for some bits and pieces.

Cheers
10
Vehicles & Models / Re: Pennsylvania A3 Switcher (Kozo)
« Last post by Kim on April 18, 2024, 09:56:36 PM »
Chapter 32.2 – Ventilator

Before I started on the Ventilator, I had to take care of a couple of things on the roof that I hadn’t finished up yesterday – I had to file off the heads of the screws that were used to hold things in place for soldering.


And I needed to file off the excess length of the roof edge pieces.  I started with the file, but being a lazy person by nature, I moved to the belt sander rather quickly.  This picture was taken just before I moved to the belt sander :)


With that done, I started on the ventilator.  This is not a working vent, it's just for looks.  It is made from two pieces of 1/8” x 1 1/4” CRS bar.  The first one is the base which was trimmed a bit with a shallow channel taken out to make it sit level on the slight curve of the roof.


The second part is a little bigger than the base but has no interesting feature other than the countersunk attachment holes.  Here are the two parts of the ventilator.  The base is on the left and is upside down in this picture.


And here’s the roof, complete with ventilator.


Next will be the cab front.

Kim
Pages: [1] 2 3 ... 10
SimplePortal 2.3.5 © 2008-2012, SimplePortal