What a momentous occasion. Today is a day of firsts. Not only am I posting same day pics of my progress, but I've also delved into a fairly proper job of painting!

Being that this has been my first foray with "proper" painting, I was quite happy with the results thus far.
The paint is a "direct to metal" alkyd enamel. I did a fair bit of research, and the overwhelming census was that an alkyd enamel is the most appropriate paint to be using for such an application.
However, I began looking for paint locally at Sherwin Williams, and I was quickly talked down. My only alkyd enamel option required a minimum of 1 gallon, when I only needed a quart, and I was only presented with the single option of primer + paint.
I include this only in the hopes that it might help others. Youtube user "BasementShopGuy" aka Brad was kind enough to offer a paint code for some Benjamin Moore DTM (direct to metal) paint, which I could purchase in a quart size. Well, everything worked out here.
Then.. b.lindsey had to come along and suggest powder coating!

All kidding aside, I'm now infected with this notion of finding a place to try some powder coating. Since I had already purchased paint, and worked myself into relative preparedness for painting, I decided to forge ahead!

I love these sawhorses, but I'll try not to run down a tangent. I had a sheet of MDF, and some trash bags, and this was how my adventure began.
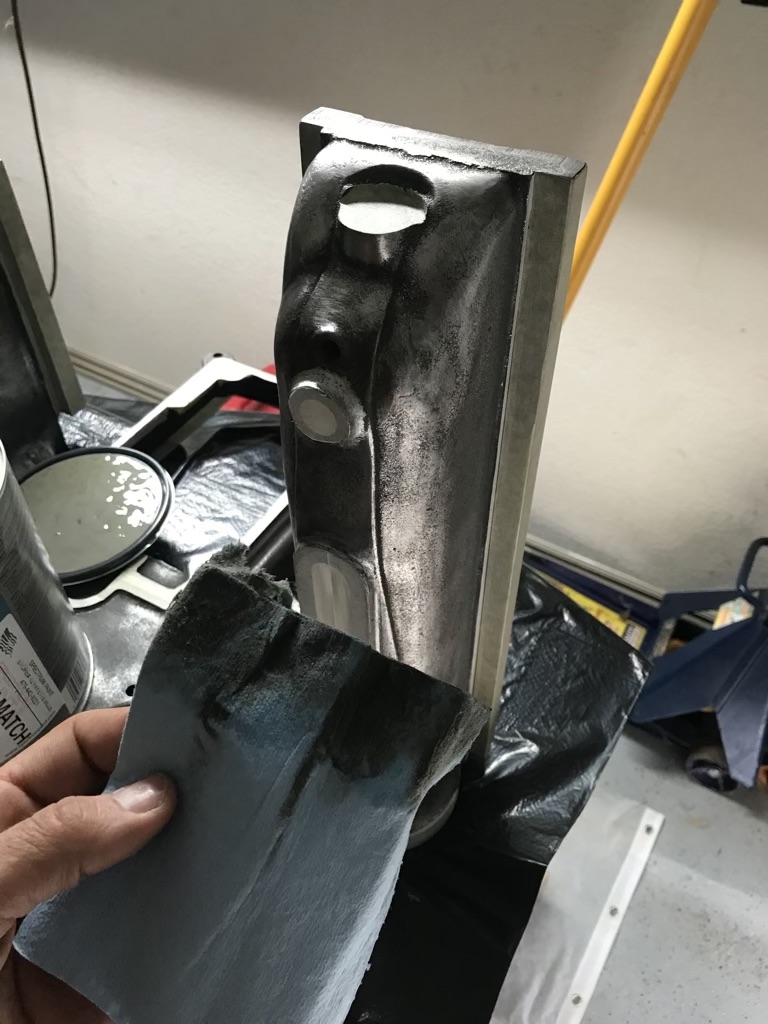
I began preparing the metal using acetone on mechanics shop towels. However, it didn't take me long to realize this was leaving bits of towel behind, and possibly compromising the quality of the paint job.

The ram was apparently my first application, and I felt like it went really well.
While the overall finishing of some of these machines was less than perfect, the efforts made to create a beautiful form, while also being functional is all but lost in more modern machines. Even as I recognize the benefits in having a bunch of squared off forms for full diversity of use, I can't help but appreciate the beauty of these older machines.
A shaper is such a wonderfully hypnotic device to behold in action, and the ram is the obvious focus of attention. It matters that the ram is made to be beautiful.

By this time, I was feeling fairly confident in my procedure. I enjoy seeing the contrast between the freshly painted, and unfinished, prepared metal. As I review the images of the machine as I received it, I keep imagining side by side comparisons of the parts and assemblies.

With the frame, I had some concerns about the paint around the brass bushings on each side at the base. I used the hanger (S7-21A) to prop up each side, while I detailed the bottom several inches of paint.
Since I hadn't yet put paint near the top, I was able to move the hanger from one side to the other without incident, rocking the frame gently to achieve the necessary orientation.
The one issue I did run into here was that the paint was a bit too tacky on the one side by the time I worked myself back round to it. In the future, if I suspect it will be several minutes before I return to an area, I'll want to go back and at least fill in a little bit.
This is definitely very new to me. However, despite this little issue, I still feel the overall result was good. Also, being my first coat, I can still resolve any major concerns before the product is complete.

The front of the frame will generally be obscured by the knee, and cross rail. However, it is still worth putting all the effort into it as I will the rest of the machine.

The flange was the first quick part, and it is such a unique shape. With all of the unpainted sections, I'm really looking forward to the time where I remove the tape, and see the completed work.


The cross rail is another fun part with plenty of curves, and shapes. Ok, so maybe most of the parts have something interesting about them. I guess I'm just enjoying the experience of figuring out how to deal with each unique piece.

The cover is especially fun due to the embossed "Atlas" font. I spent a fair bit of time preparing the letters, and surrounding areas. This will certainly be an exciting detail for the machine as it gets reassembled.

Here it is after a bit of drying time. I think the paint has setled a bit, and maybe fewer obvious brush marks.

Ok, I'll spare you a run down on each and every part I painted. Here is a final picture from the day's efforts.
However, even as I was typing this, my wife got home with my daughter from a little shopping, and rain made its way down onto some of the pieces to the far outside.
So, I spent a few minutes with a hair dryer on medium heat, high fan, getting all of the water off. It did not seem to affect the paint from what I can tell.
Tomorrow, I'll have a better idea how my efforts came together.
I believe I'll apply a second coat, and be able to get a really good look Monday evening. They say 24 hours dry time. I'm not certain about full cure.
Now I have to watch "The Book Thief" again with my girls. I don't think I'll ever get tired of that movie.


