Onwards and upwards I've now got a bit further with the no4 engine by making the crankshaft, I'd really like to have a go at turning one from solid bar but still lack a bit of confidence at turning the offset shaft between the webs accurately so a fabricated crank it is

Making a fabricated crank is straight forward but as this build log is aimed at less experienced machinists or those with limited tooling I thought it may be of use showing in some detail how I do it, so here goes -
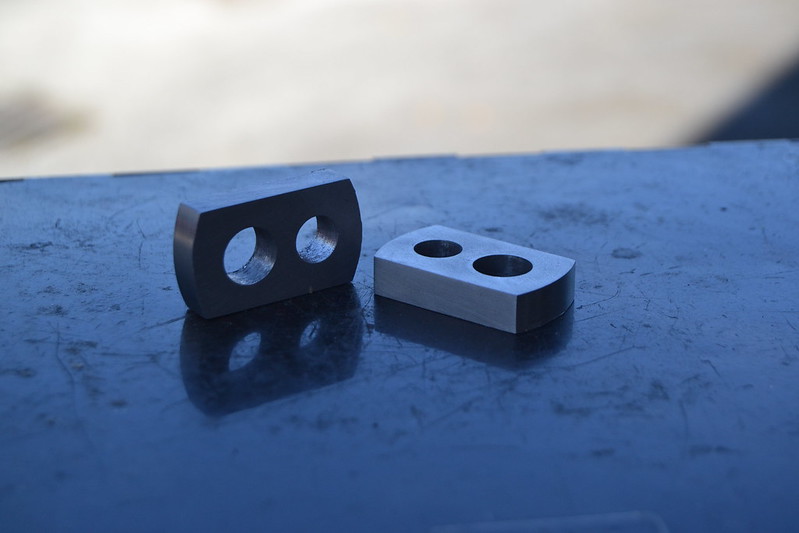
I started out by squaring off 2 pieces of mild steel to the required width of the webs followed by drilling and reaming the holes, in this model Stuart use
7/
16ths shafts for both the main shaft and the offset but with the barstock I have to hand I'm making them 12mm.
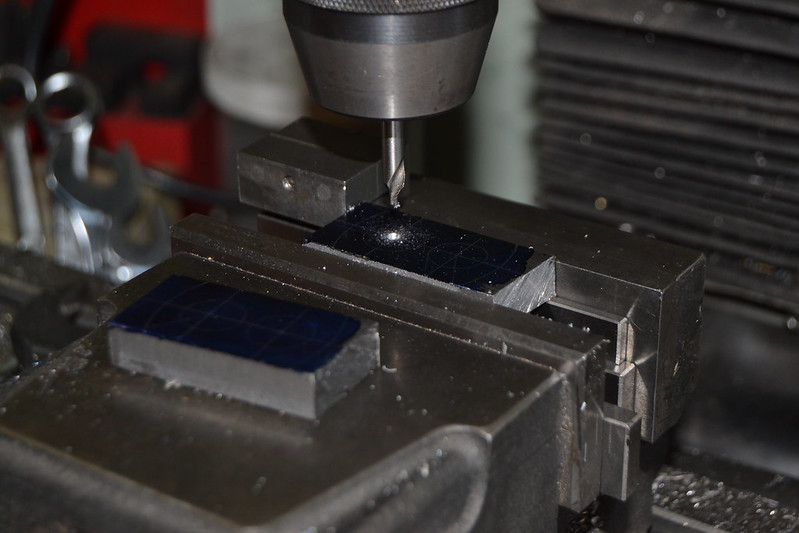
If you haven't already made a vice stop it's worth doing as it makes milling and drilling multiple components at the same setting easy.
Although both shafts are 12 mm dia I've driiled and reamed the offset at 10mm, it's not really essential but I find a step in the pin diameters helps when assembling the parts and ensures the correct web spacing.
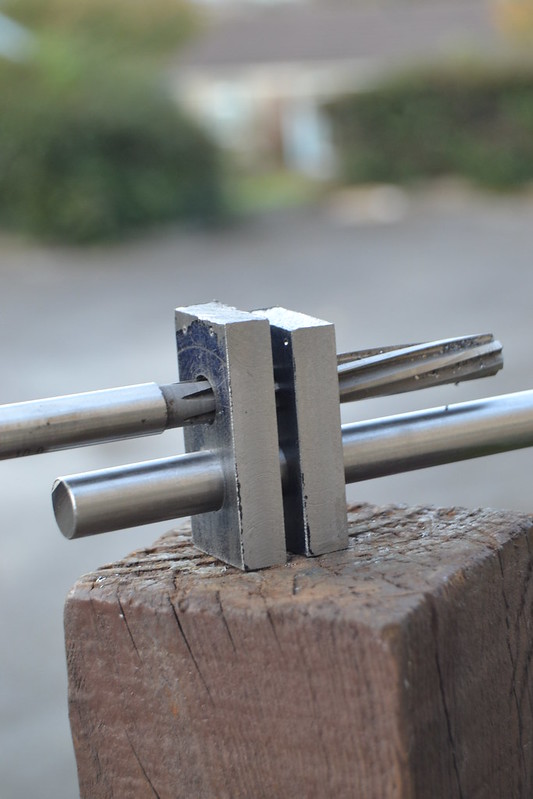
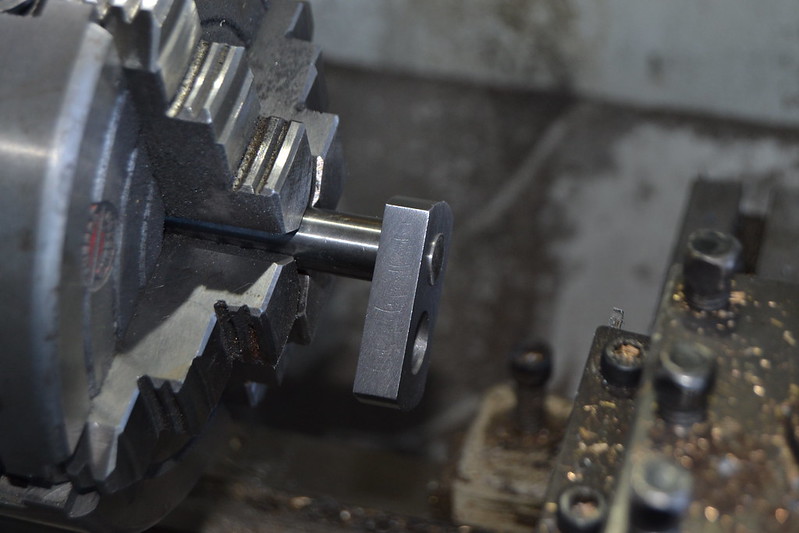
Next job trim off a bit of the waste to reduce the amount of interrupted cutting in the lathe

To radius the ends I made a close fitting mandrel.
That seemed to have the desired effect so the other end was done the same way

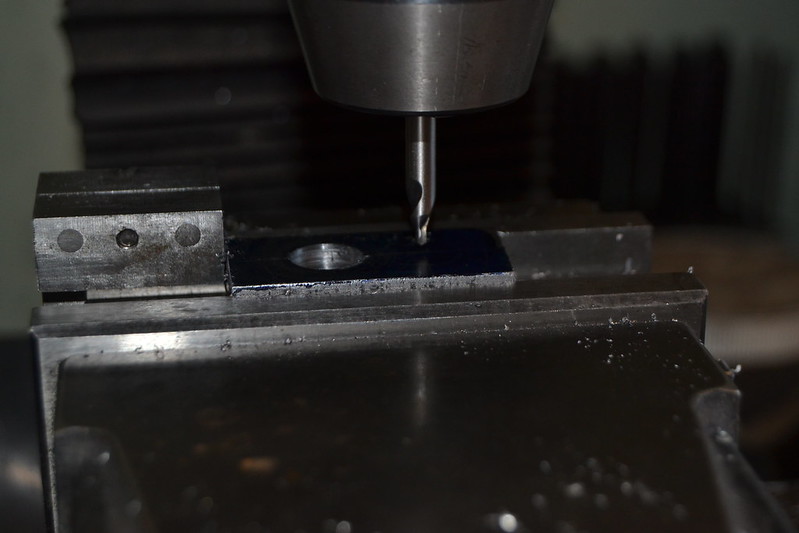
That takes me to this point (the holes are still full of oil and swarf but they are reamed)
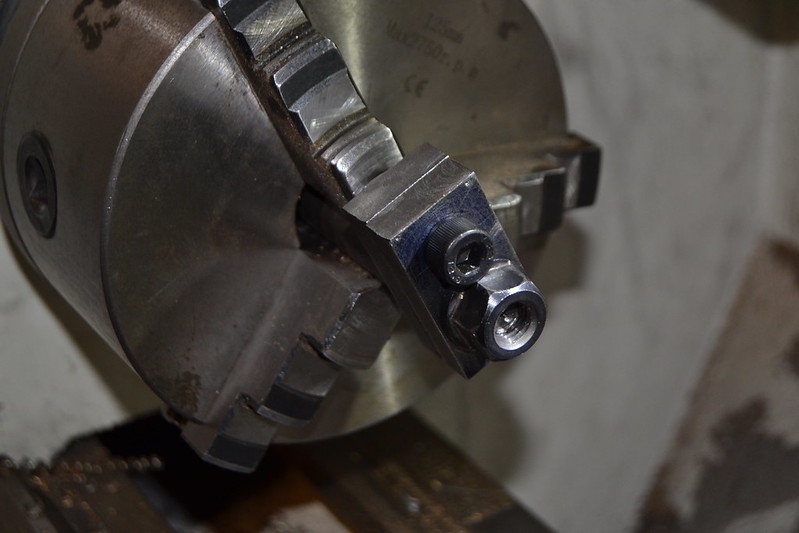
My 3 jaw chuck has a bit of run out and wont give the necessary accuracy to turn the crank pin so it's on with the 4 jaw and centre it properly to turn the 10mm dia stepped ends from the 12 mm silver steel rod.
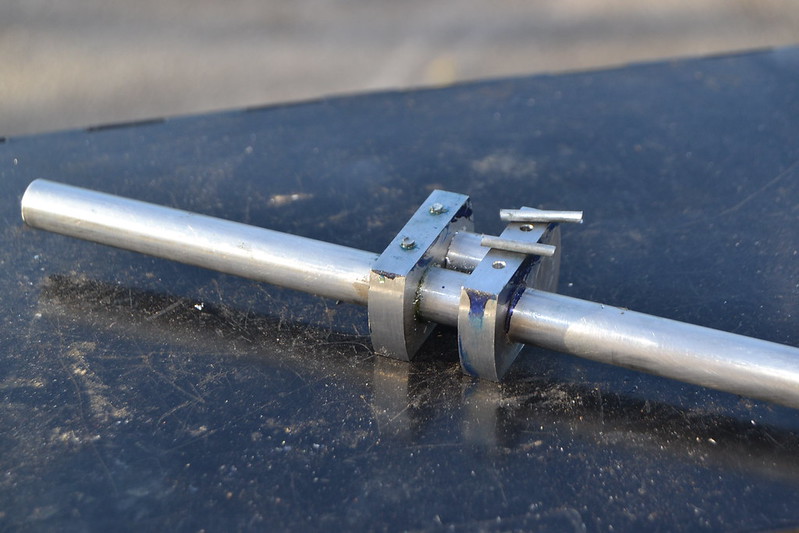
Satisfied that the parts fit together nicely they were
glued together firmly secured using Loctite 638 high strength retaining compound.
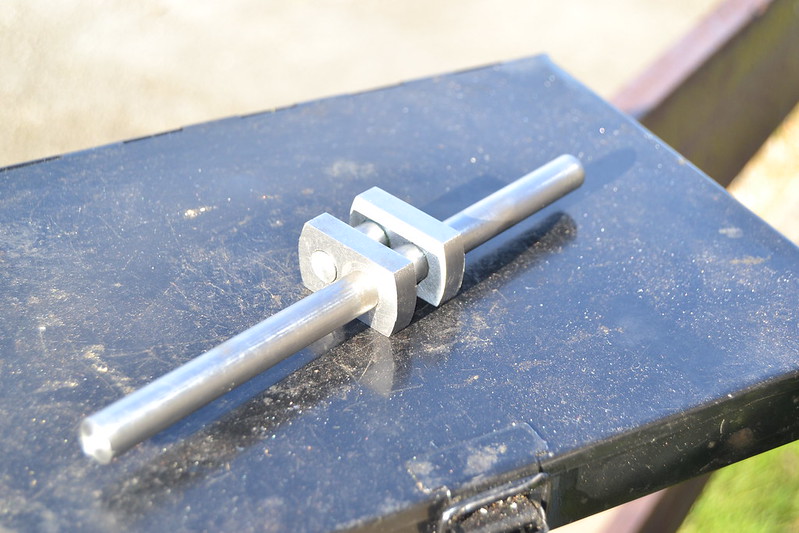
Whilst there are decent sized mating surfaces for the Loctite to bond to it makes sense to add pins for additional strength, I've opted for 2.5mm steel (with hindsight I'd wish I'd done 3mm) I'm never sure whether these pins are meant to pass right through the shaft and back into the web but in this case they go about 9mm into a 12mm shaft.
The pins will be secured with Loctite 638 then filed flush.
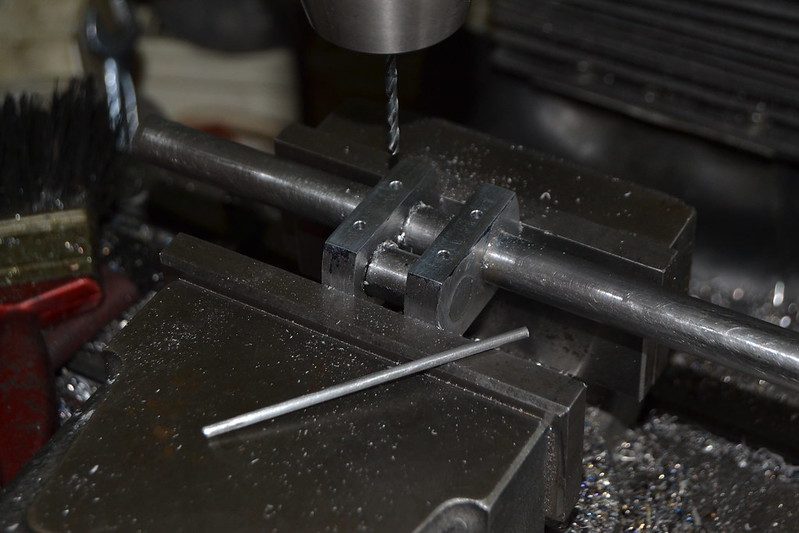
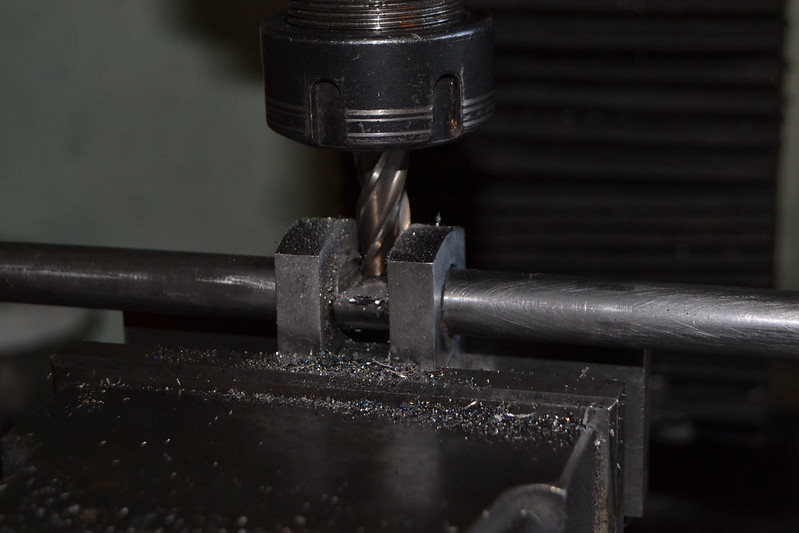
A simple job of milling out the waste centre shaft should pretty much complete the assembly.
A little bit of cleaning up gives me this finished part.
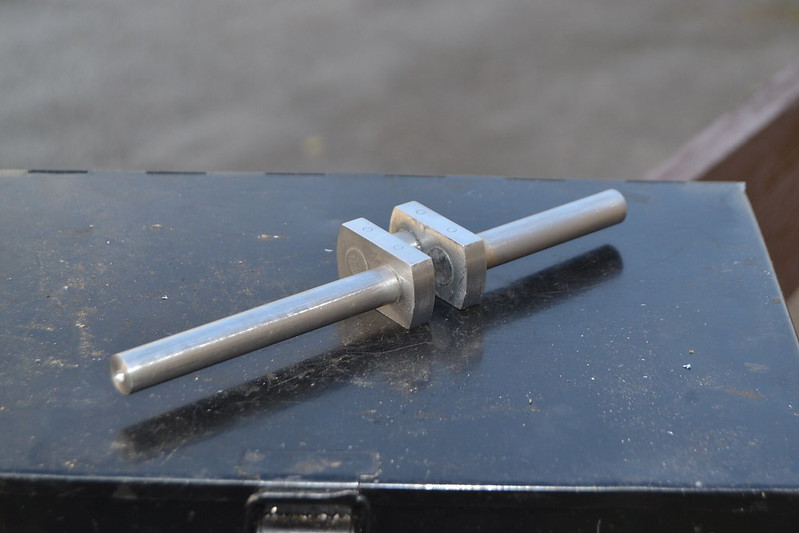
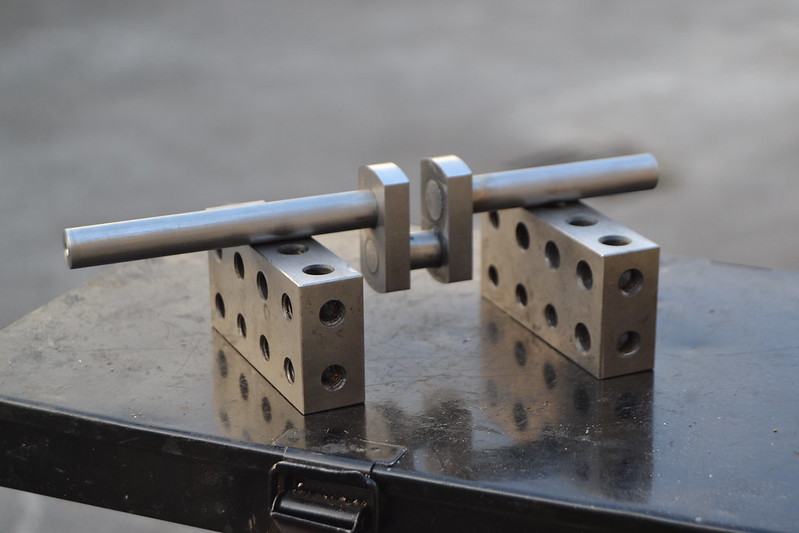
Nothing particularly exciting, but I'm happy with the result it sits nicely in the bearings and doesn't have any run out

With the piston / crosshead assembly already in place it makes sense to next make the con rod, I tend to struggle with making them but I'm eager to get to the point where I can see how the piston and crankshaft operate once coupled together.
Peter


