Before we get too carried away with the castings I'll take a step back and post about the pattern making.
Base First.
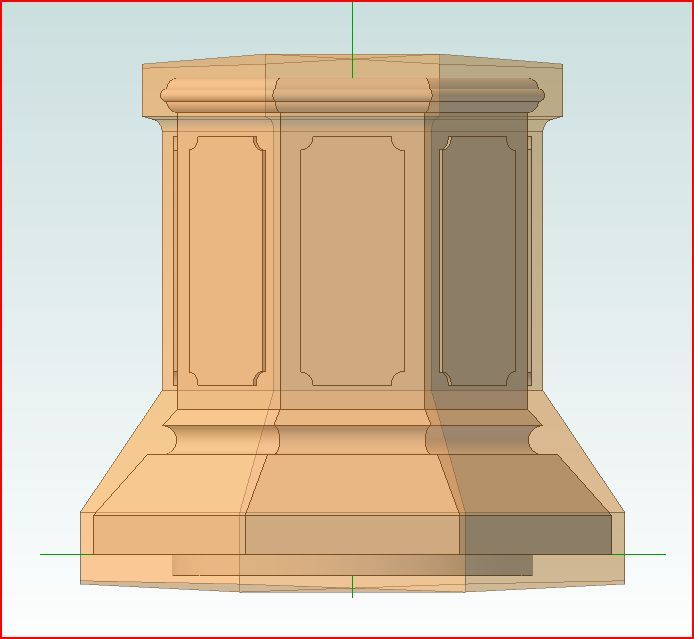
It was decided to make basic patterns that the more detailed features could be machined from rather than detailed castings with all the detail "as cast" so the first job was to draw up a pattern that would allow for shrinkage, draft so the pattern could be pulled from the sand and also give a machining allowance. I did this in Alibre and by making the pattern semi transparent it was easy to overlay it onto the finished part to make sure there was enough metal all round.
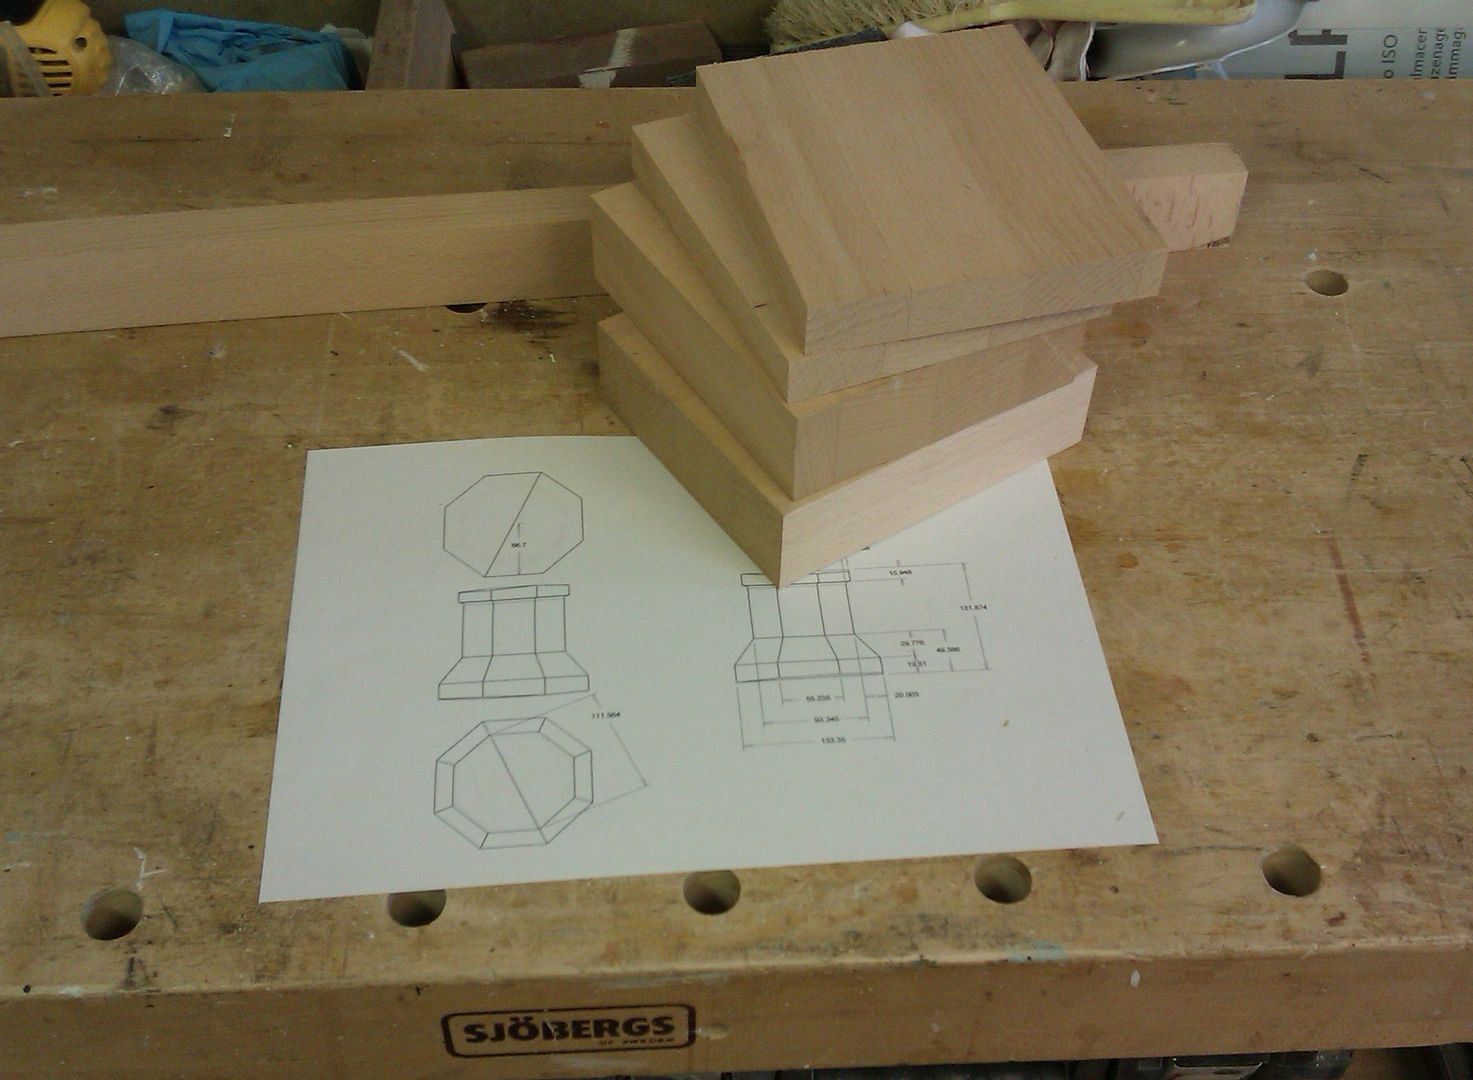
Armed with a print of the drawing it was time to cut some wood, I had some 40mm thick beech worktop left over so cut up some blocks from that on the bandsaw.
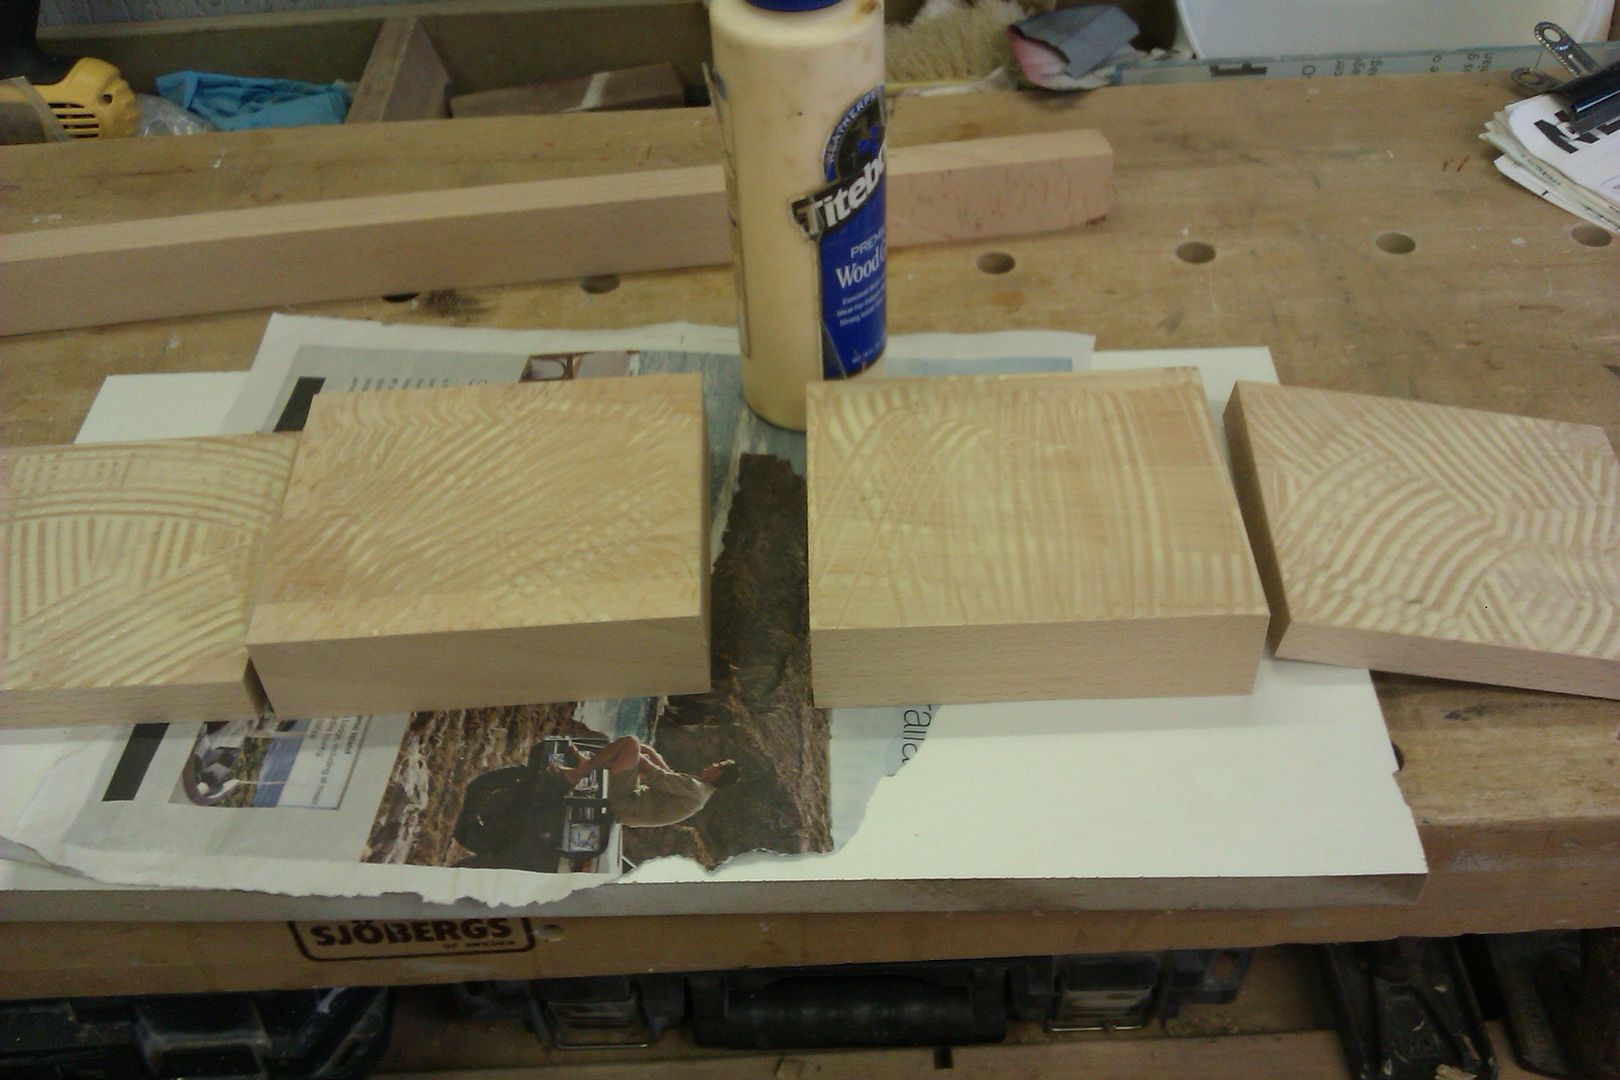
A good coat of glue was applied to the mating surfaces
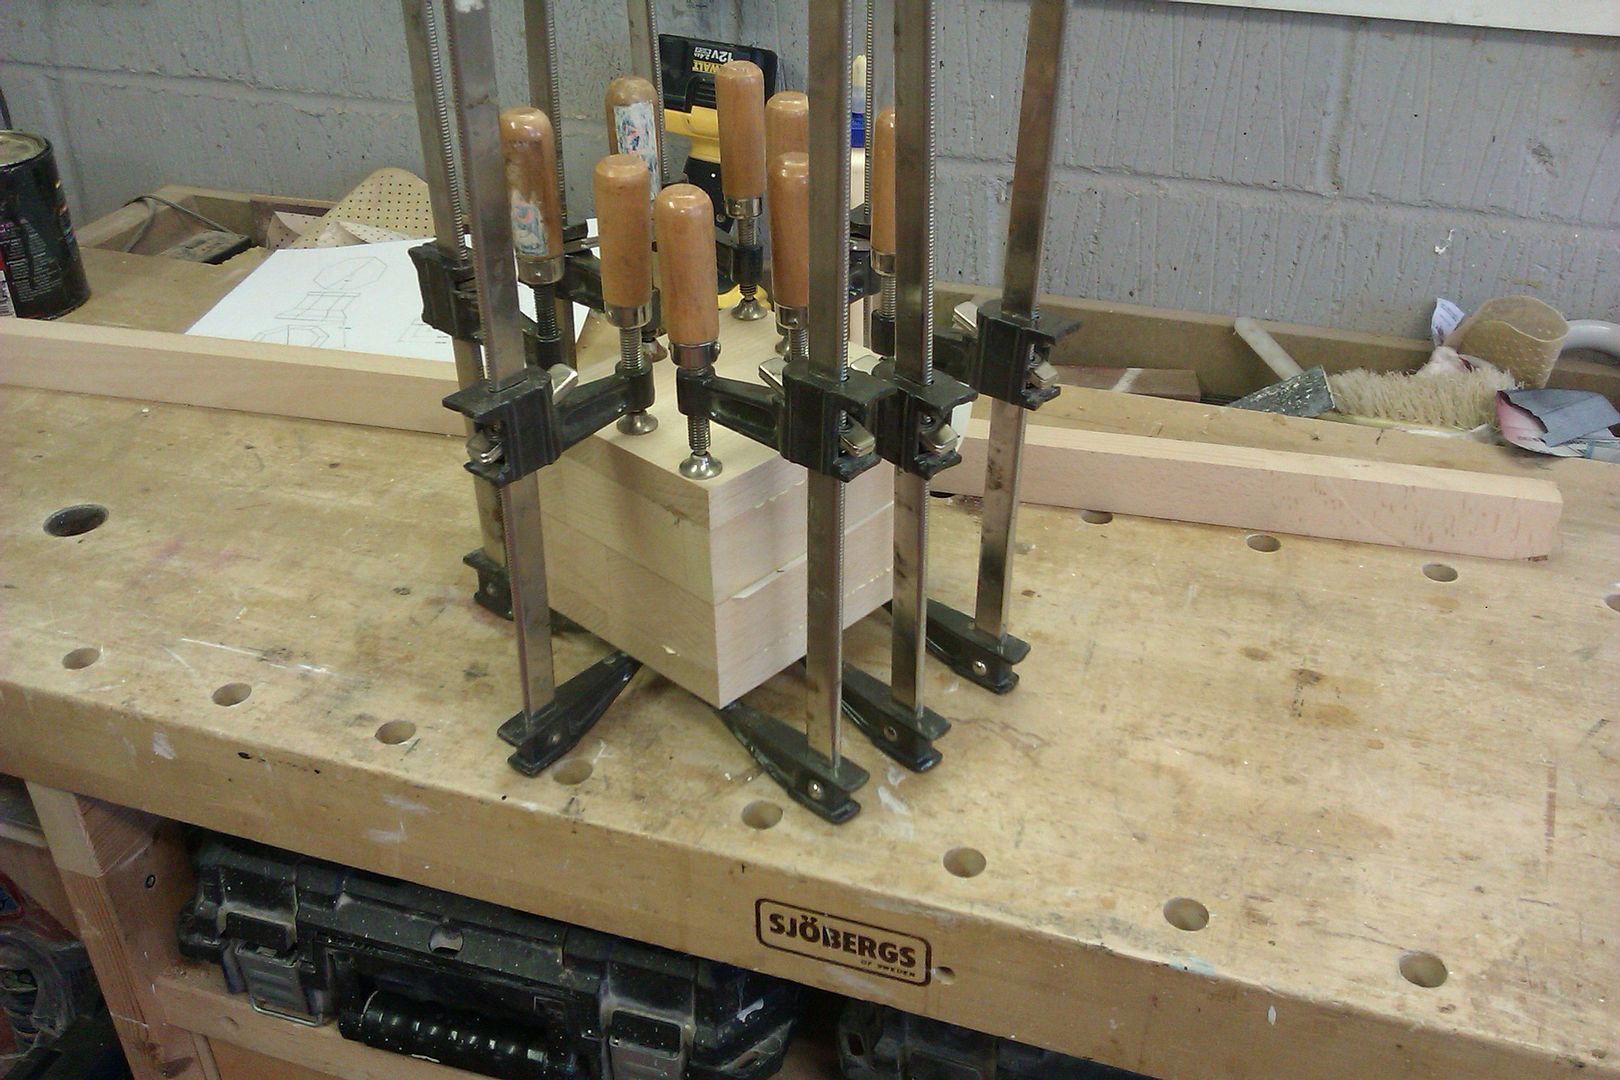
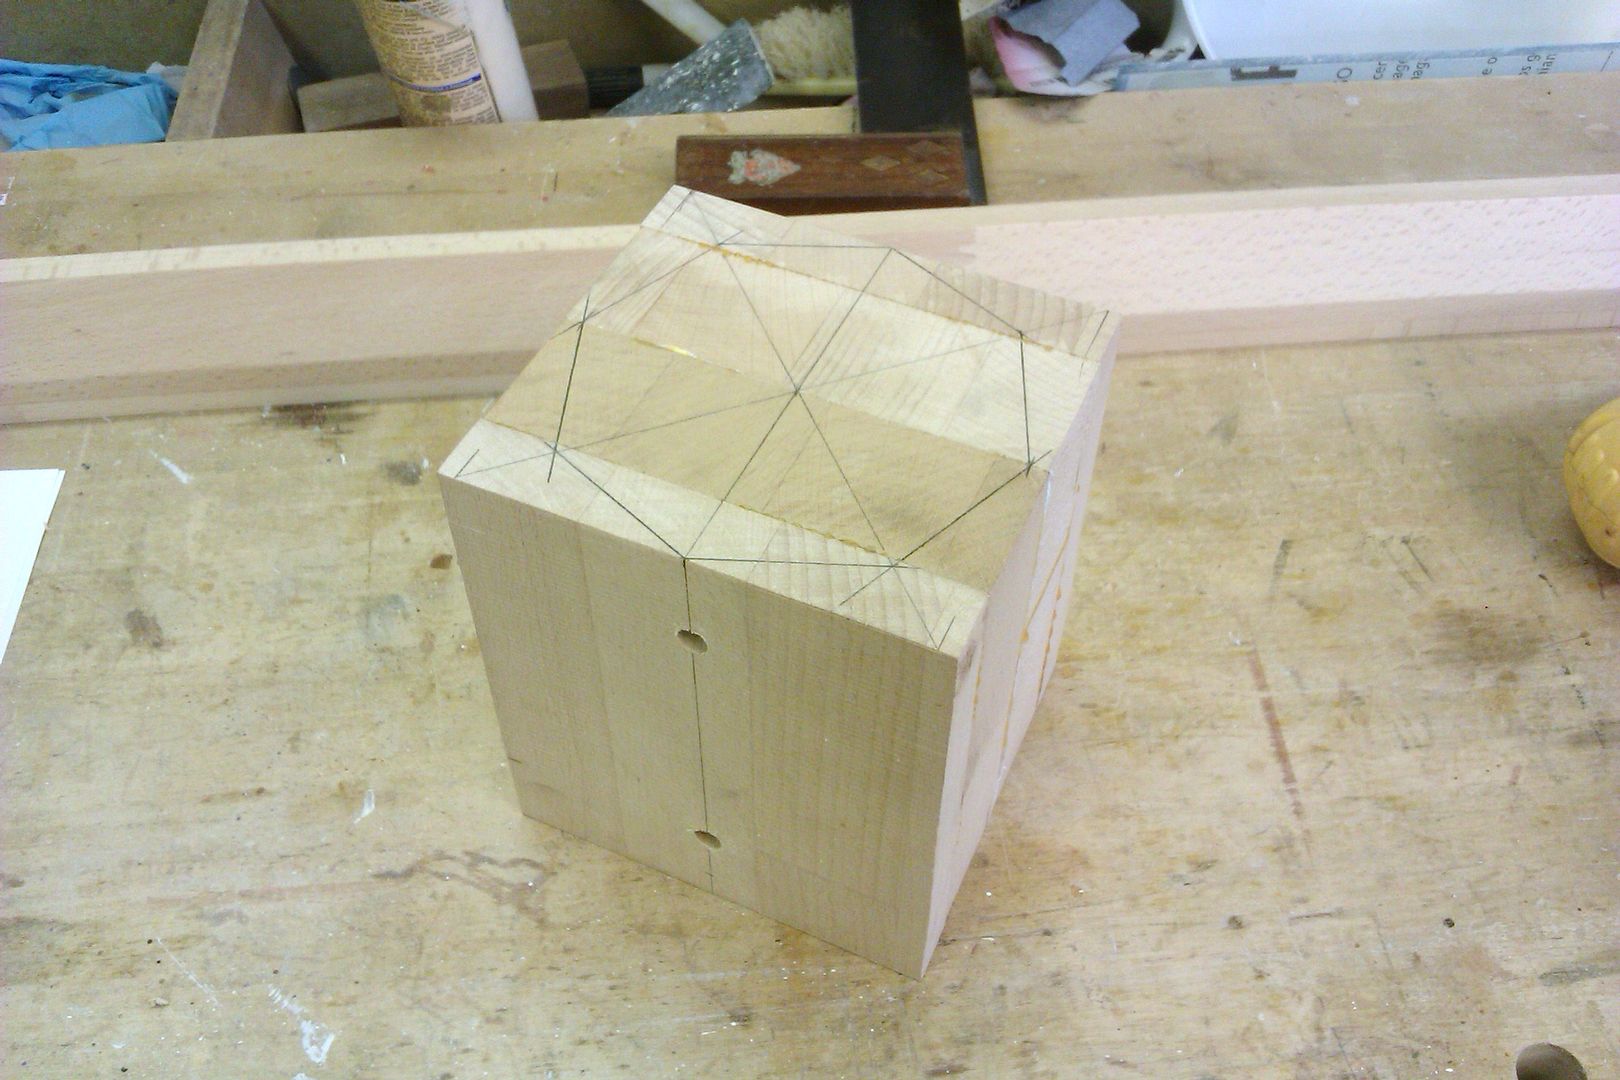
Before they were clamped up and left to dry, not easy to see but I also added a sheet of paper into the middle of the sandwich which will make it easier to split the pattern in two when it has been shaped.
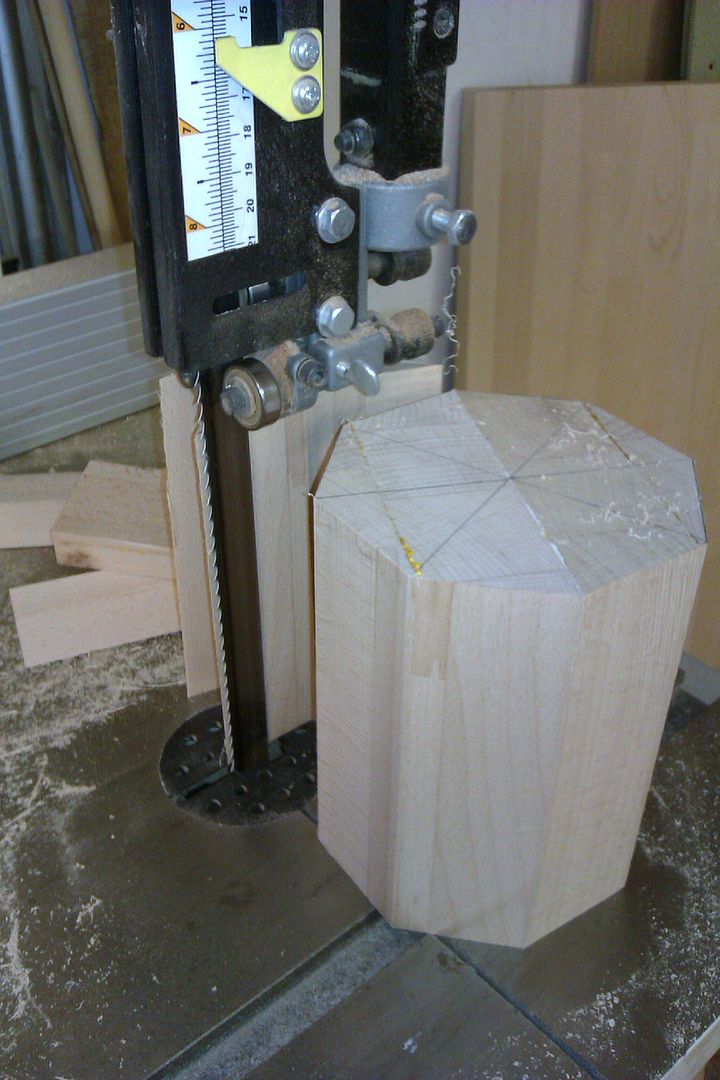
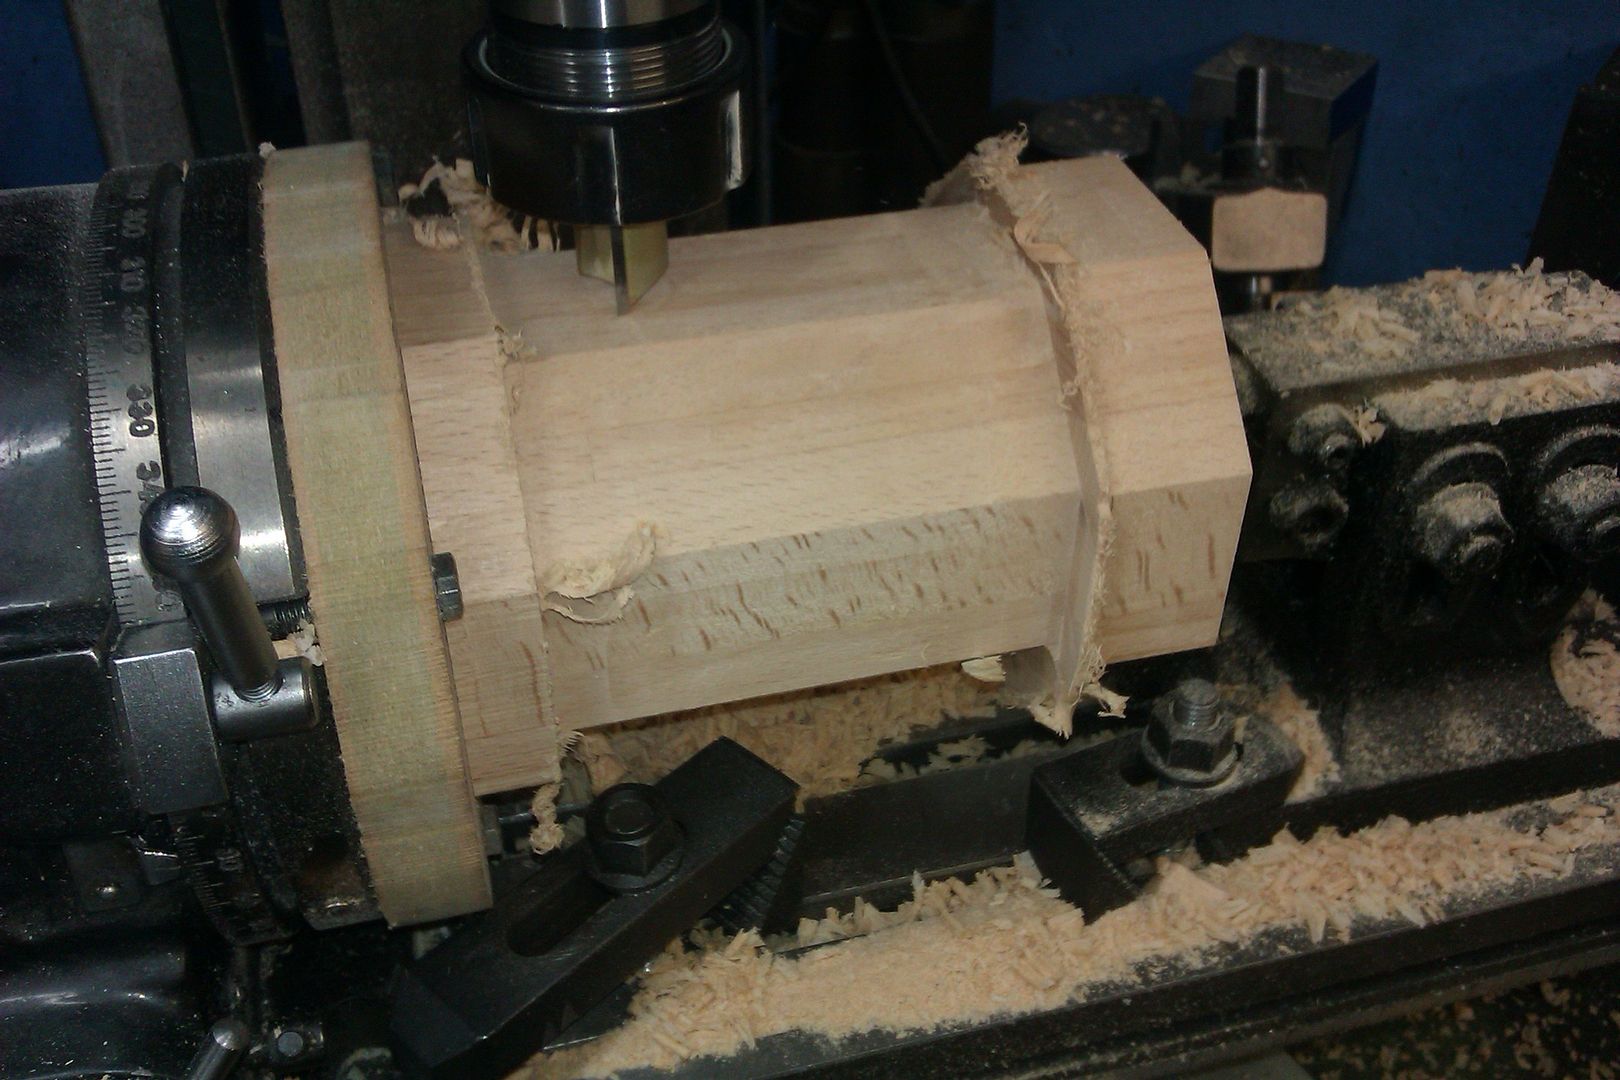
Two holes were drilled at right angles to the joint, these will take alignment pins later. I also rough marked an octagon on the top with corners set across the parting line.
The bandsaw was used to cut off most of the waste marked by these lines.
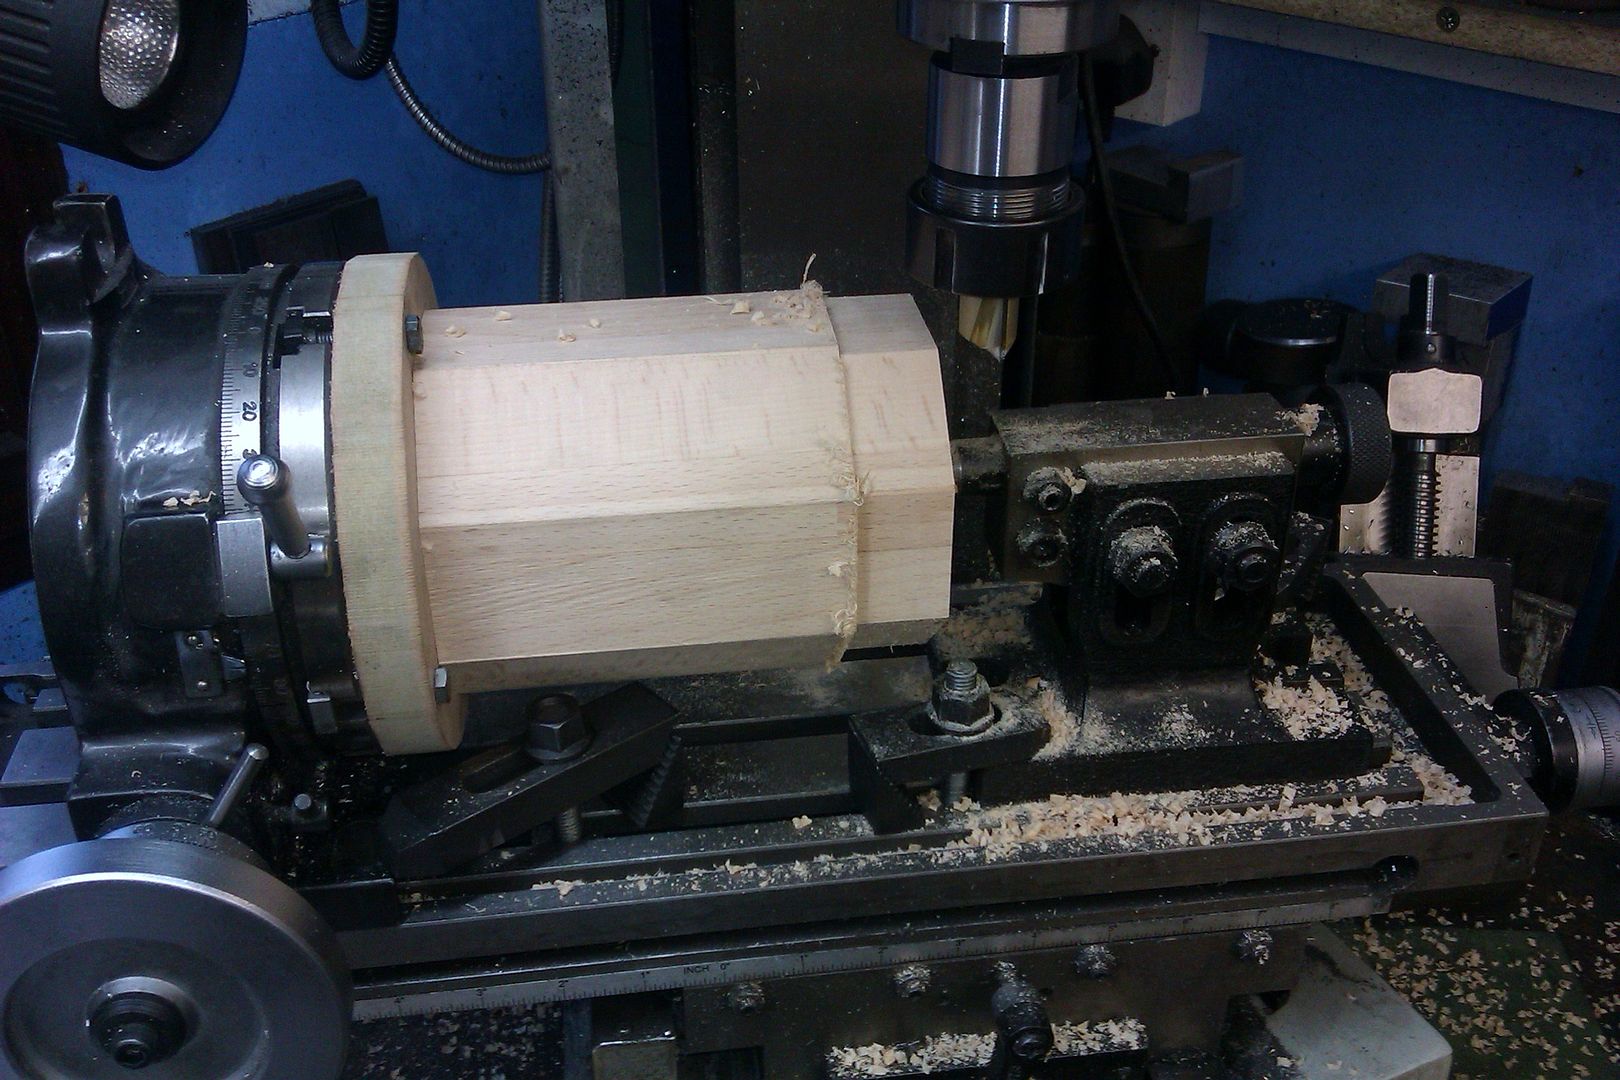
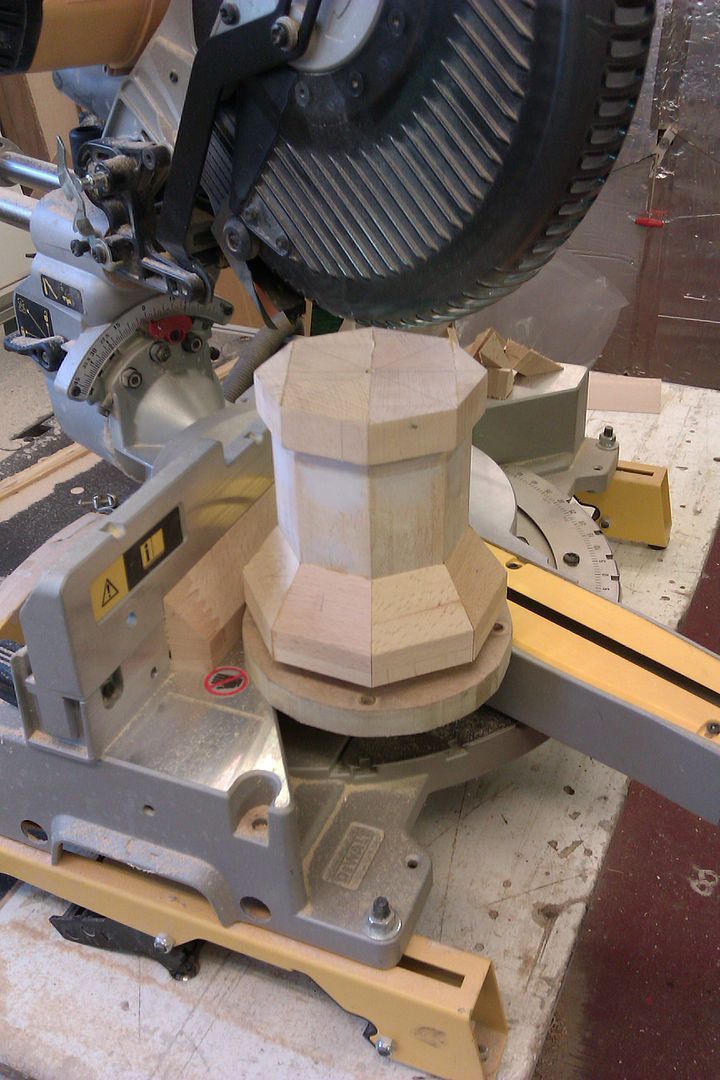
To make things easier to hold on the rotary table a disc of plywood was screwed to the bottom of the pattern and this disc could then easily be bolted to the table and tailstock support added. I then used a 3/4" router bit to start shaping the pattern.
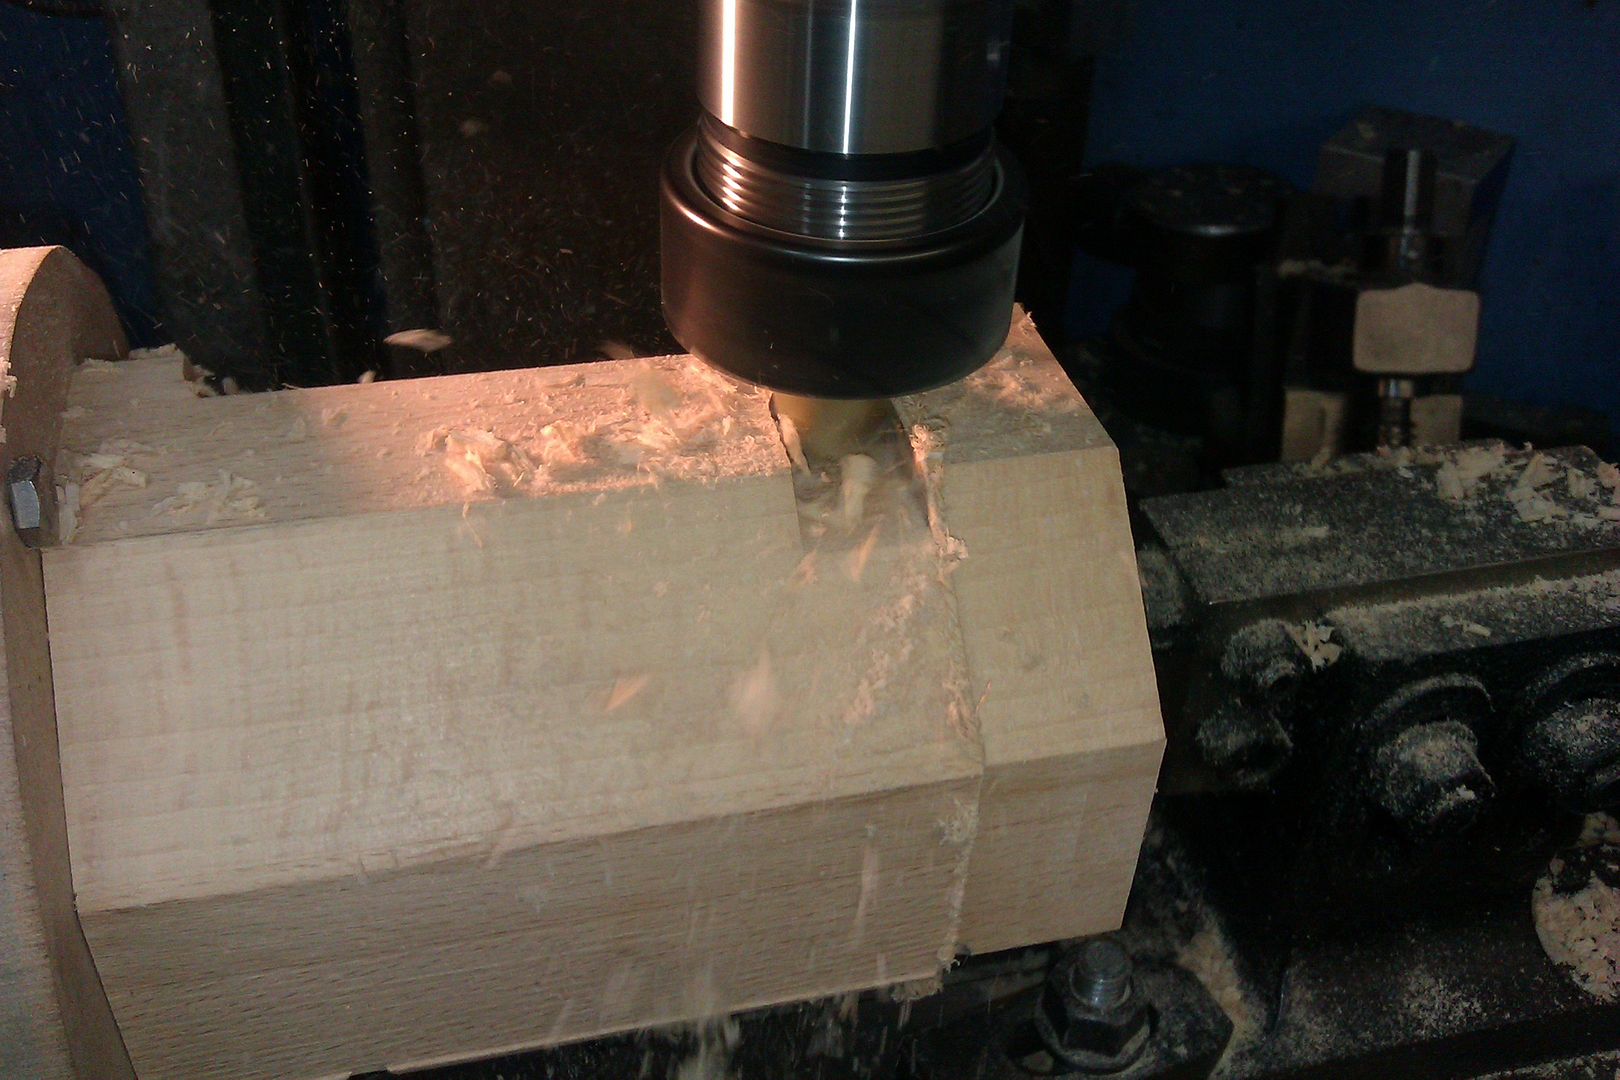
A bull nose cutter was then used to add fillets to the internal corners
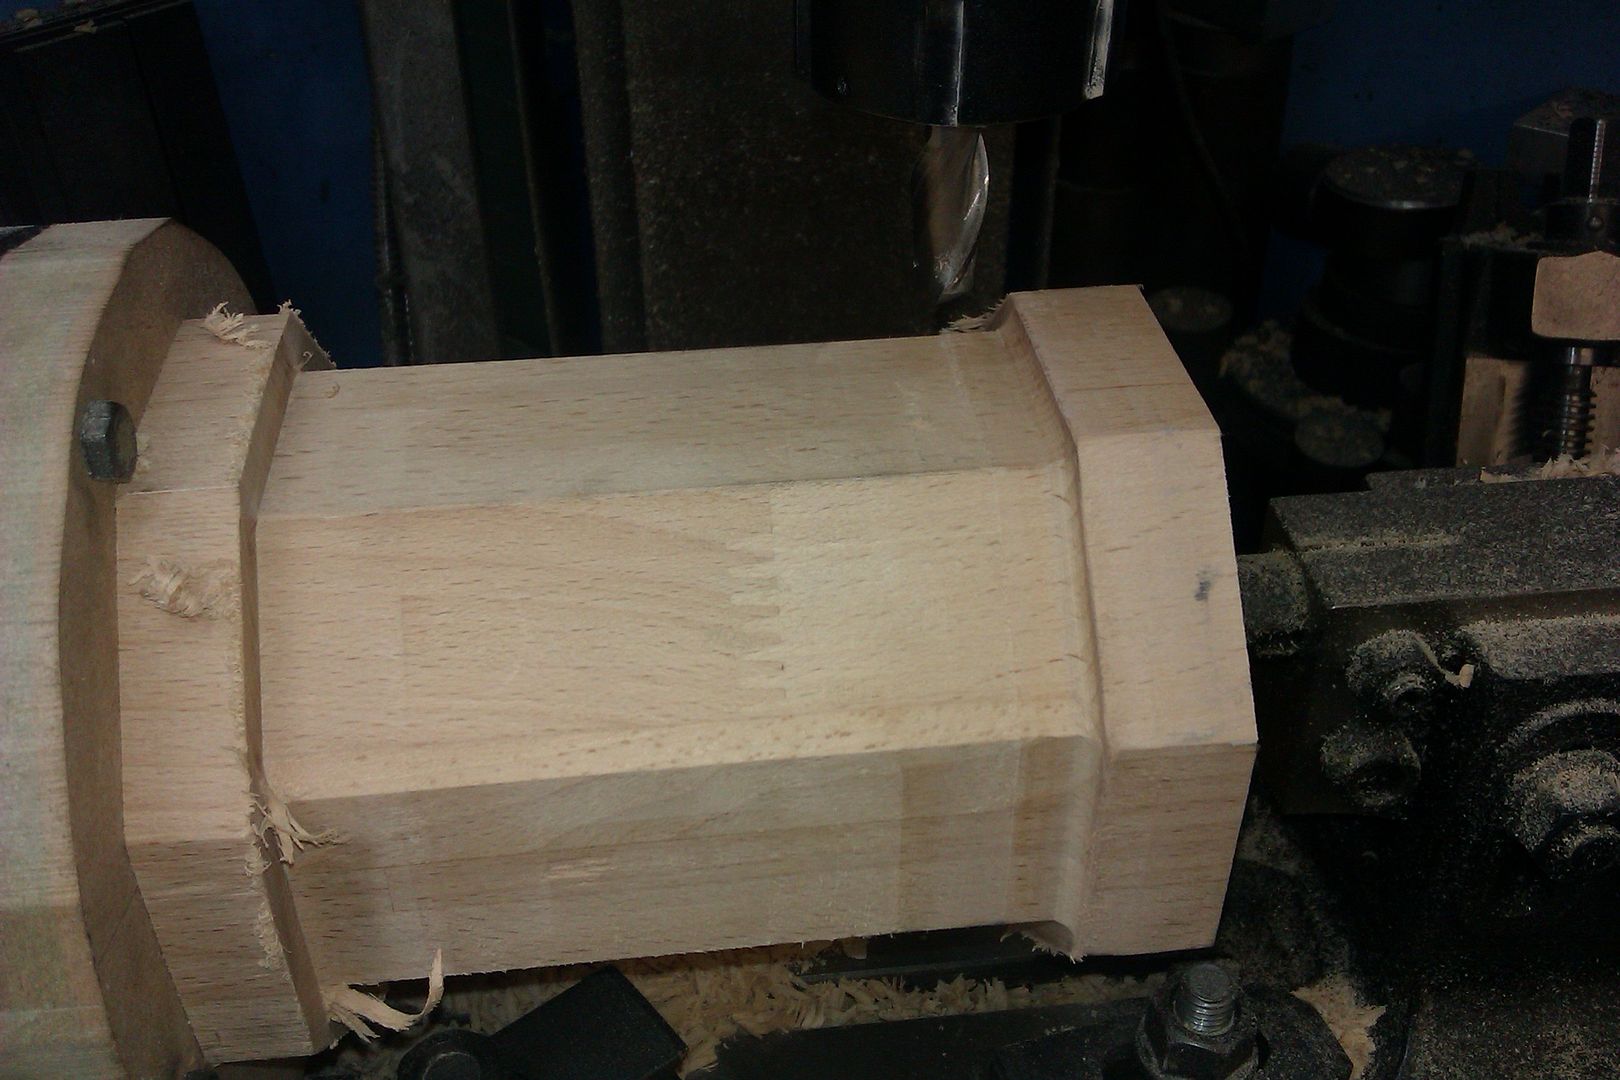
With the milling done the machine was cleaned up before returning to the woodwork shop
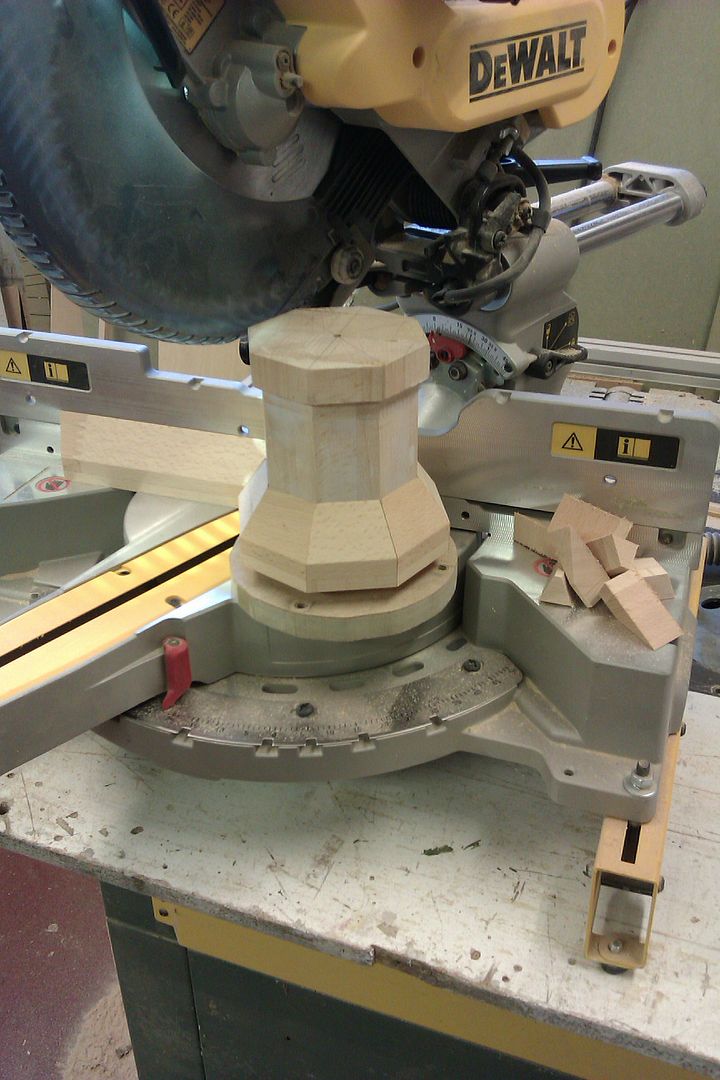
The flared bottom was done by machining a strip of wood with a tapered top and then cutting this into pieces on teh chop saw before gluing to the main pattern
This was set aside while I tackled the column.
J


