Prelude to A New Engine Build
Simpson and Shipton Short Stroke - Episode 1I Swore Id Never Do It!Dust off the chairs. Warm up the popcorn machine. Have the beverage of choice at hand.
Yes, its time for another engine.
This time, Stew Harts version of the Simpson and Shipton Short Stroke. As with the Monitor, Julius was kind enough to make the drawings available.
Not a small engine with its 10 flywheel and multiple levels.
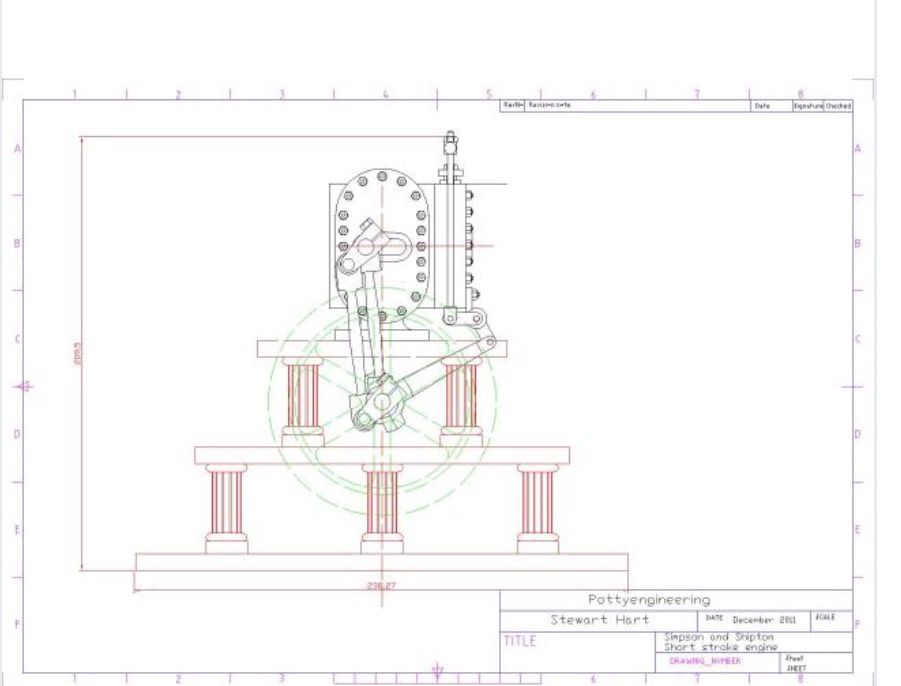
Heres a picture of Stews completed engine.

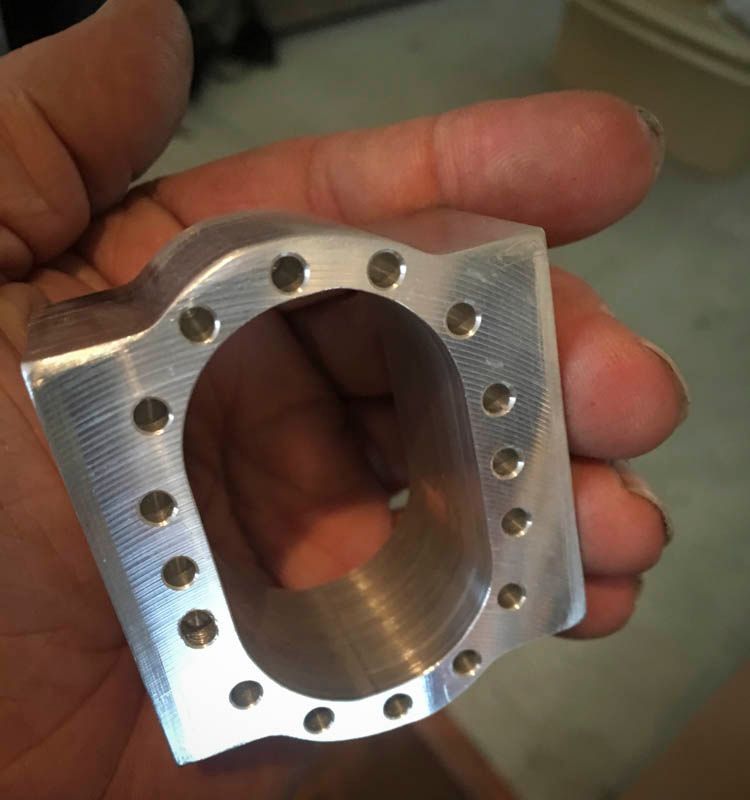
I was drawn to this one because of the unusual oval cylinder and therein lies a tale.
My usual bedtime lets figure out how to machine this oval cylinder routine finally arrived at a machining plan which involved the Bridgeport, rotary table, large end mills, boring head, 12 setups and not a small measure of fine Scottish produce.
What about
Dare I say it? CNC?
I swore I'd never do it. Real men turn handles. It's not machining.
Until you spend two days on some fiddly bit that could have been done in under an hour. Six identical parts. The first is fun. The second? Not so bad. The other four? Not much fun.
OK. I understand. CNC is not the lair of the devil. Just another tool.
This will not be a CNC build log. Nick Raymond at Make: has done the best one of those for a Little Machine Shop mini mill. Excellent step-by-step. Perfect photos.
http://makezine.com/projects/cnc-mini-mill-conversion-kit-hardware/After back and forth emails with Ron Ginger with advice on what I needed, Richie (my UPS guy) has been busy.
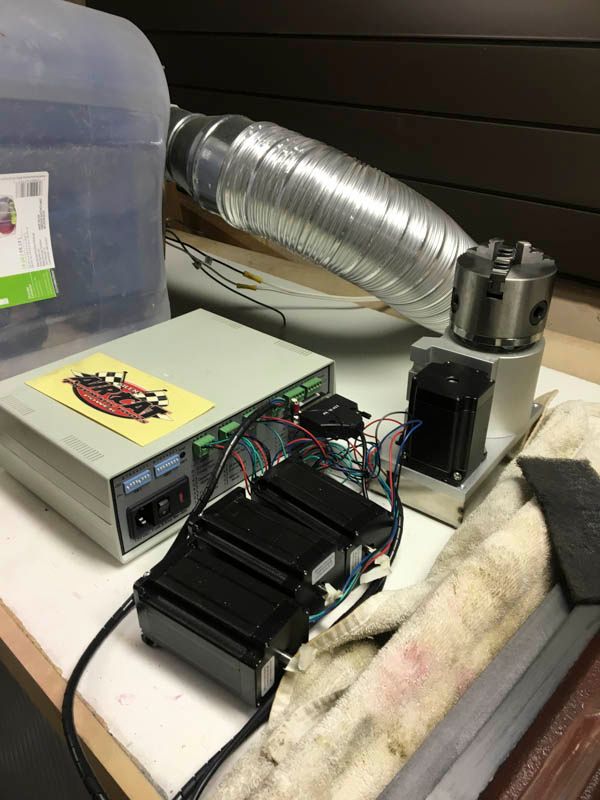
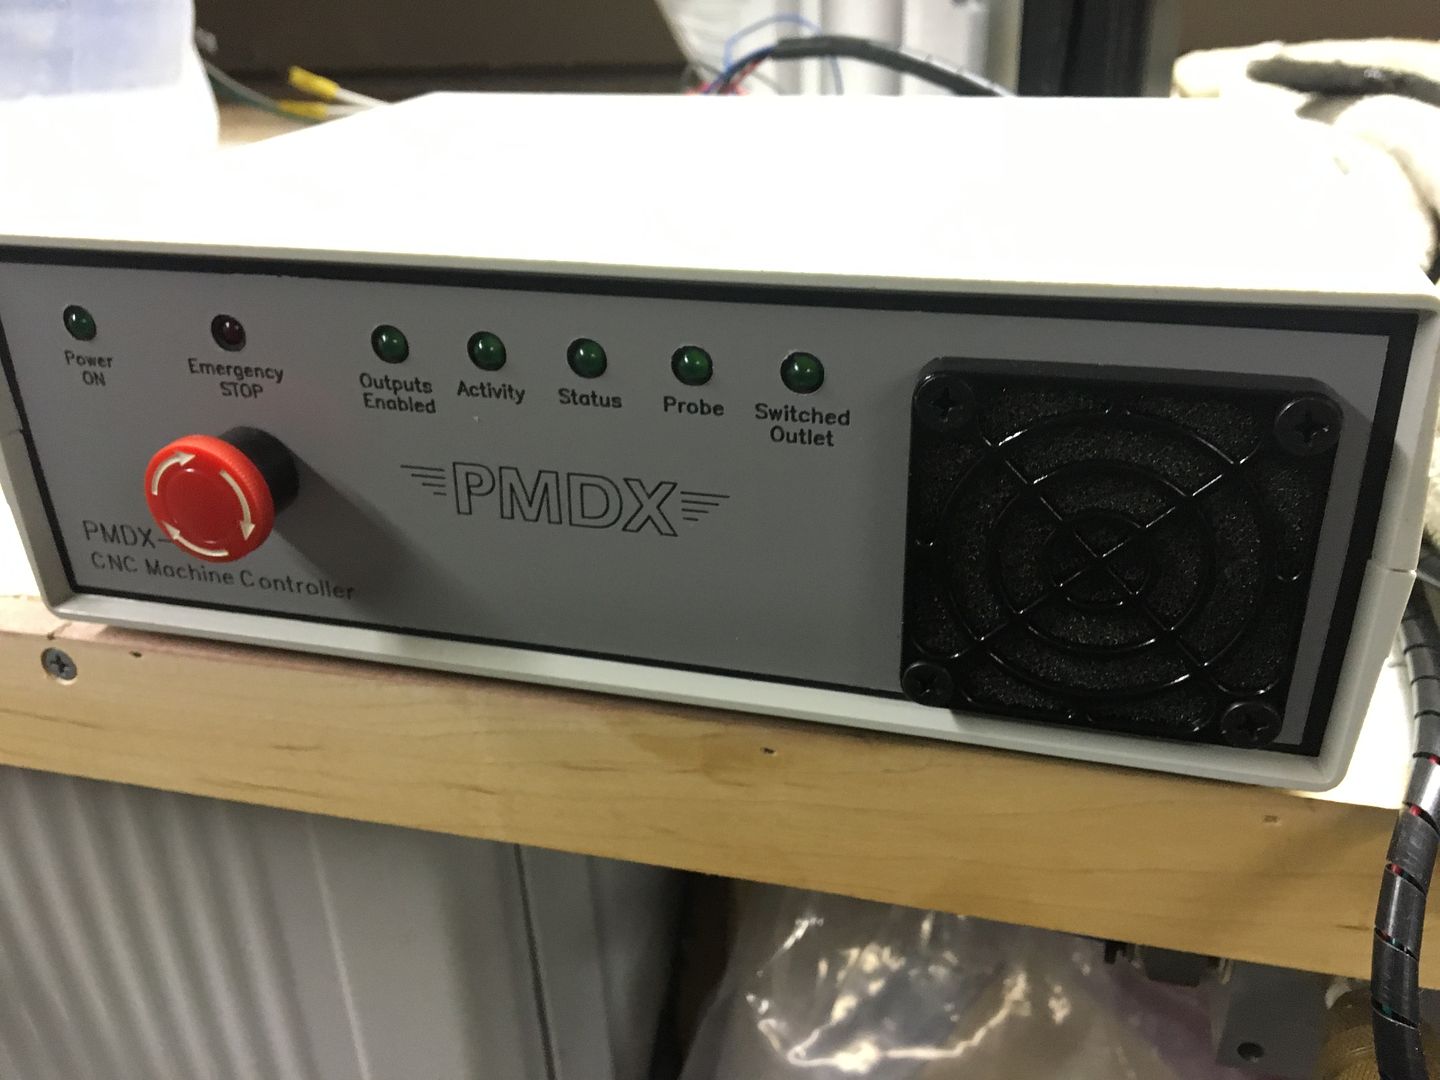
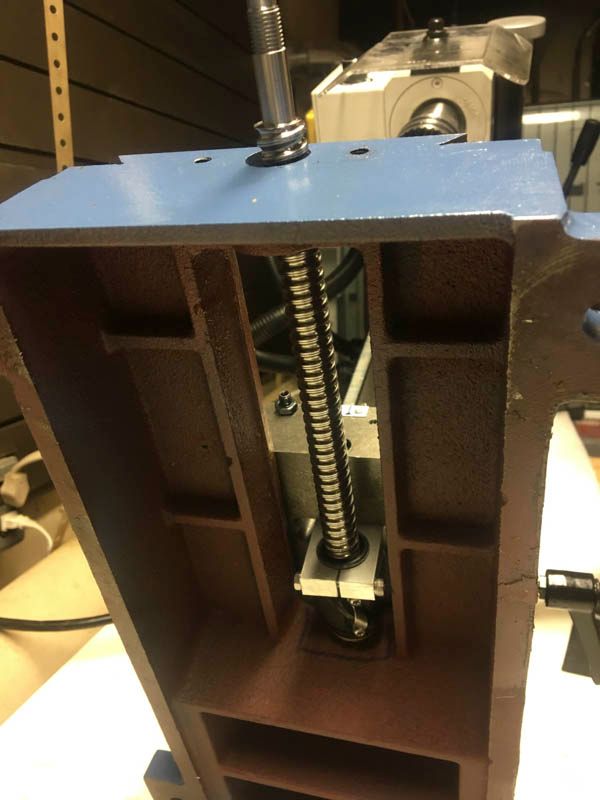
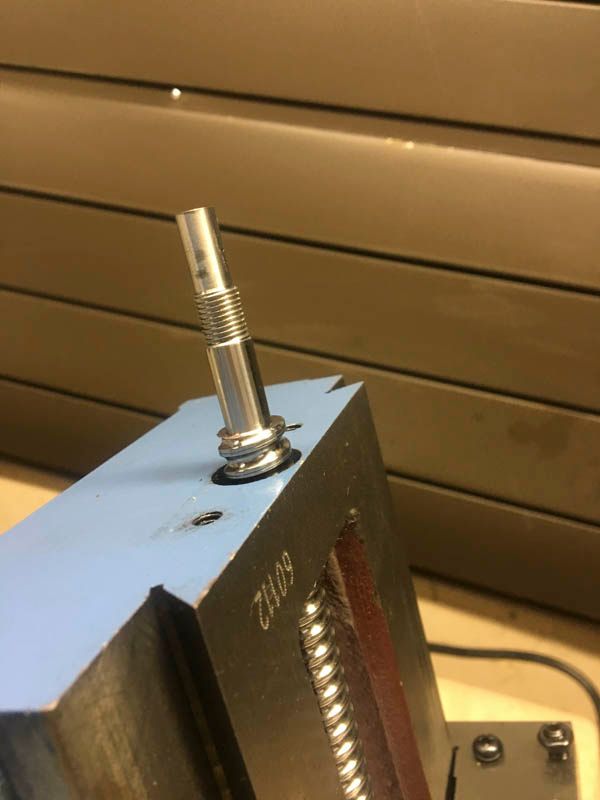
Steppers, PMDX control box and USB interface, CNCFusion ballscrews and mounts, 4th axis, various boxes of wire, limit switches, Mach 4, pendants, probes and assorted miscellany.


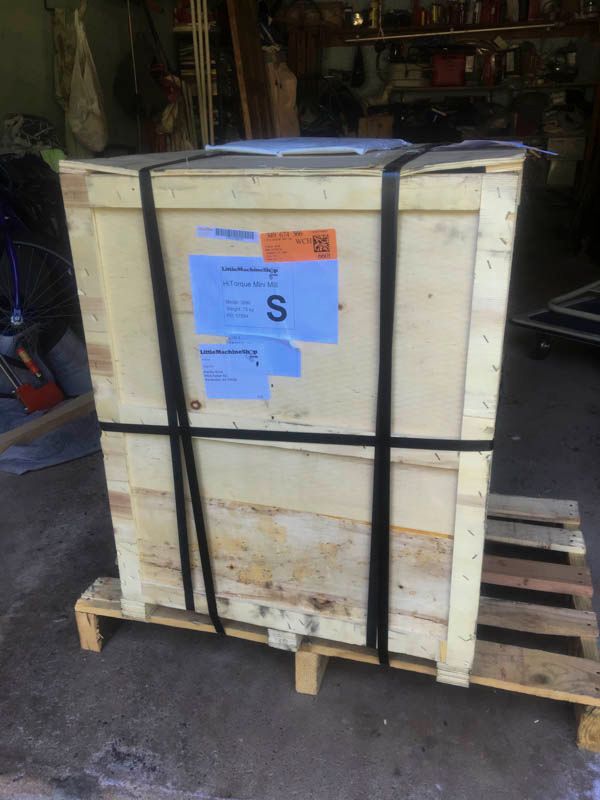
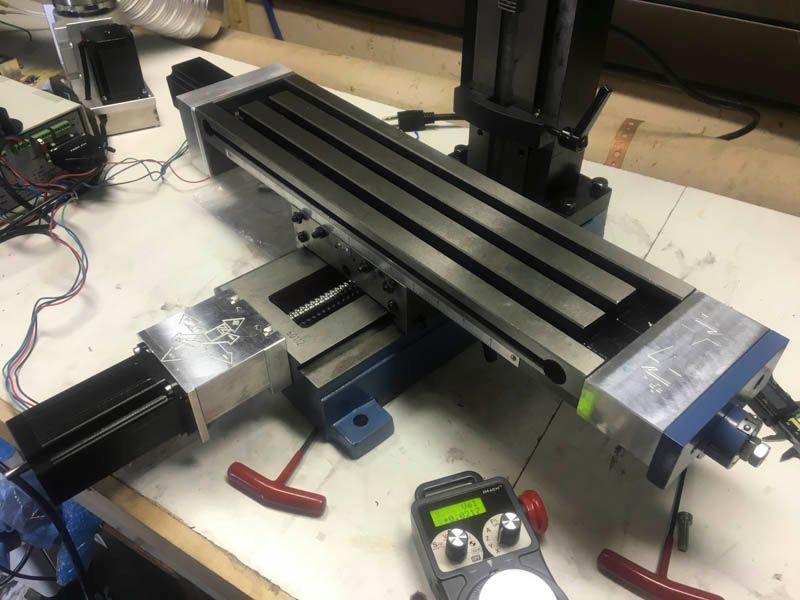
Big truck dropped off Little Machine Shop Hi-torque mini-mill.
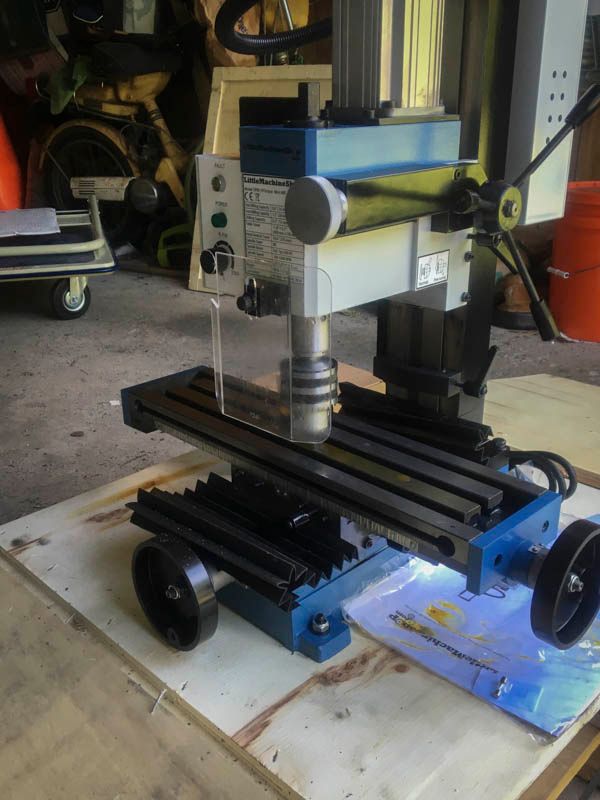
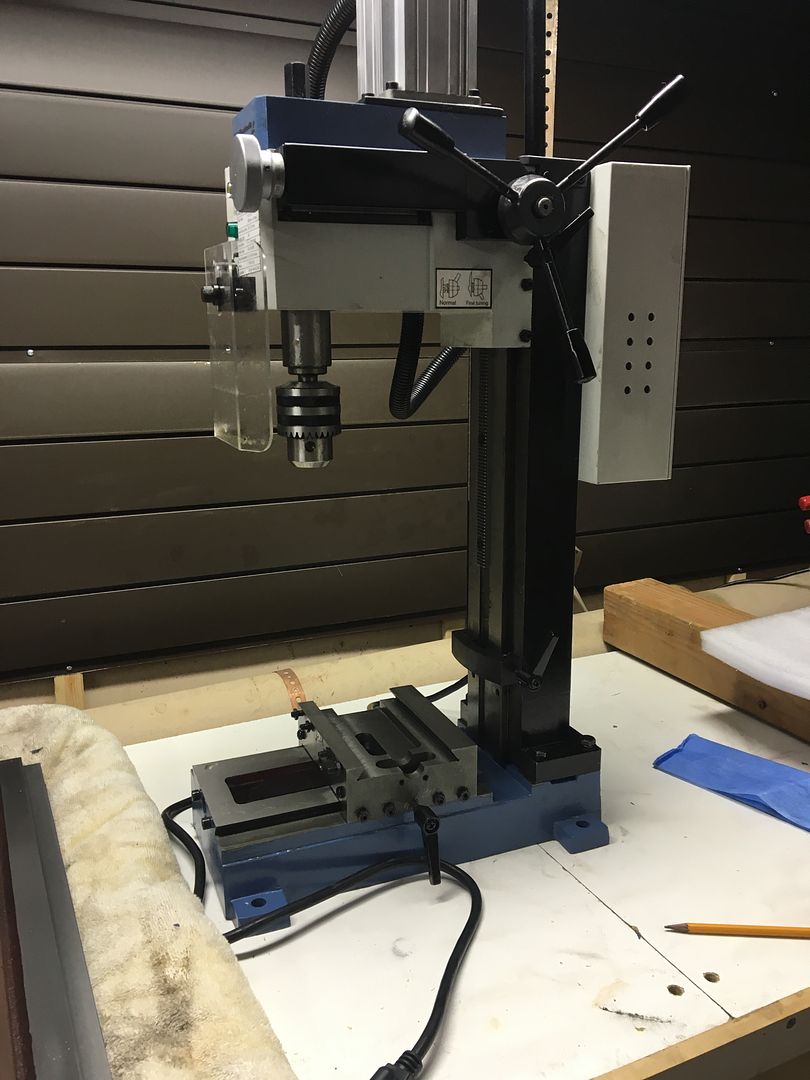
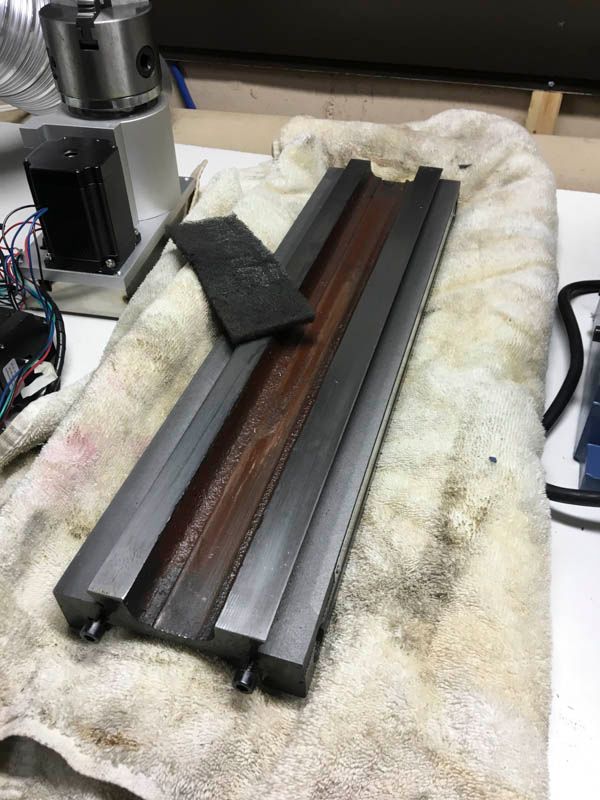
While waiting for various bits and bobs, I disassembled the mill, cleaned the grease and duck sauce, fettled a few burrs off and gave all sliding surfaces a rubdown with Scotchbrite pads.
]
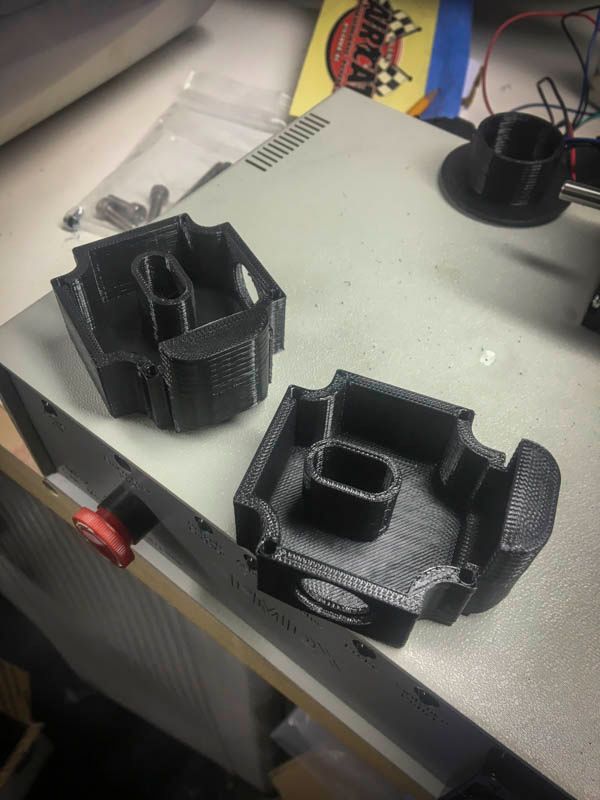
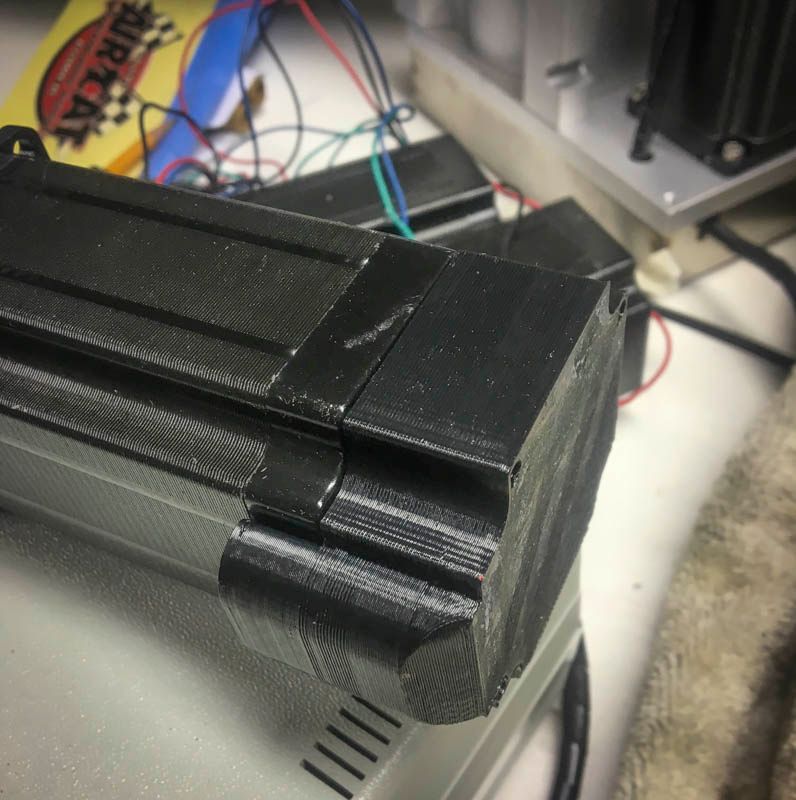
Also, 3D printed some cable grommets and stepper motor covers
Then, step-by-step through the Make: instructions until, two days later, I had a running machine that actually obeyed g-code. As with anything computer, they do what you tell them to do. Not what you want them to do.
After a few weeks of learning the Inventor CAM module, not a few broken end mills and tests in Styrofoam, Delrin and aluminum, Im beginning to get a handle on the process. The major Aha moment came when I realized that this is not a Haas VMC with a 30 HP motor. So, by limiting feeds and speeds to a range where the mill wasnt complaining, things started to go much better.
This engine really wants to be built from the base upwards and, thats how Ill do it. Making the oval cylinder first was absolutely out of order but I needed to know if, after building a CNC mill, it was worthwhile.
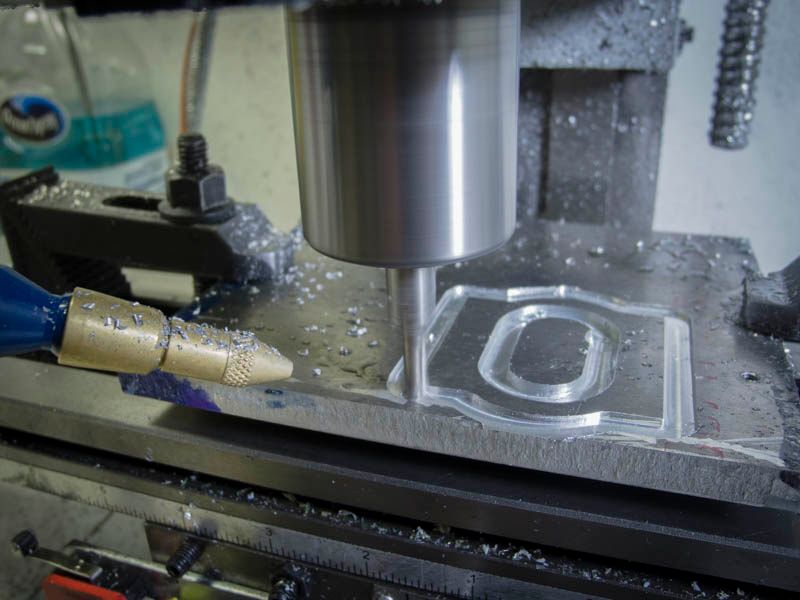
The cylinder will be brass and its ordered. Proof of concept was done in aluminum before I committed a $25 chunk of brass to the ravages of an end mill.
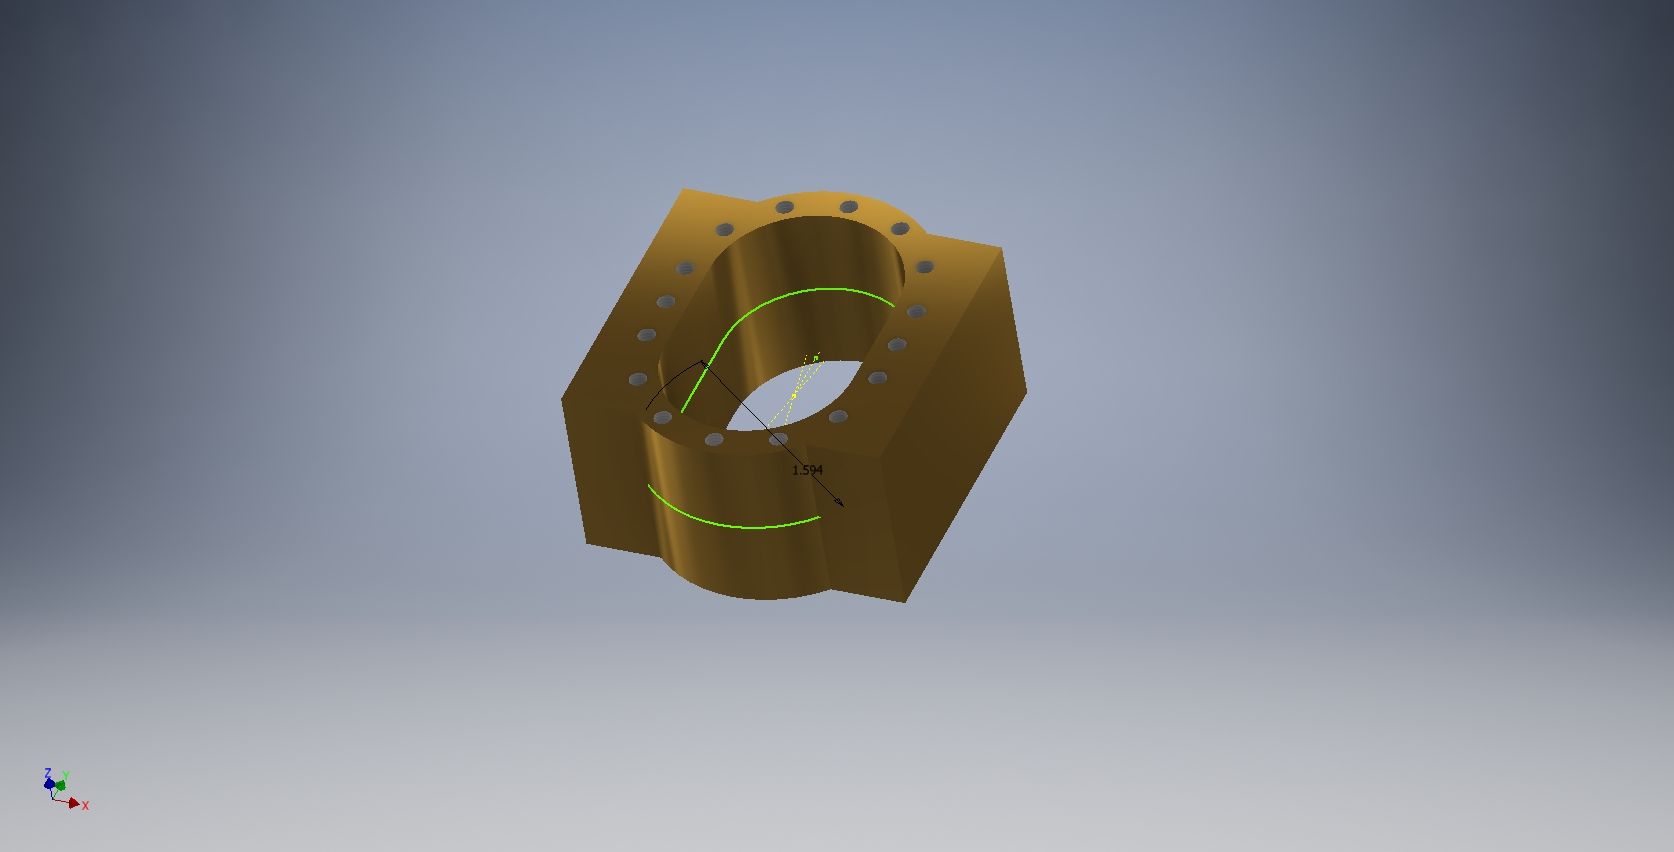
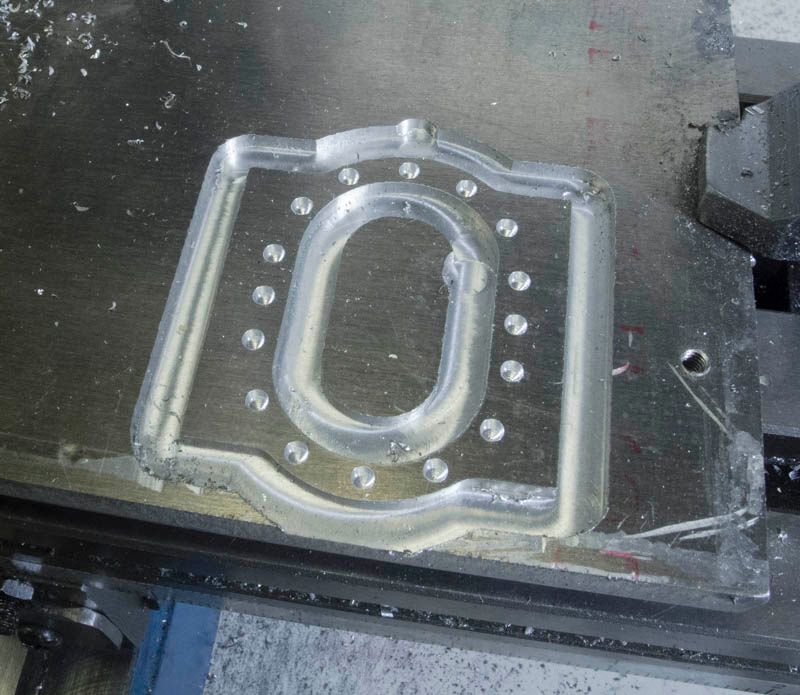
I first did an outline and hole position test at short depth and then the full depth part.

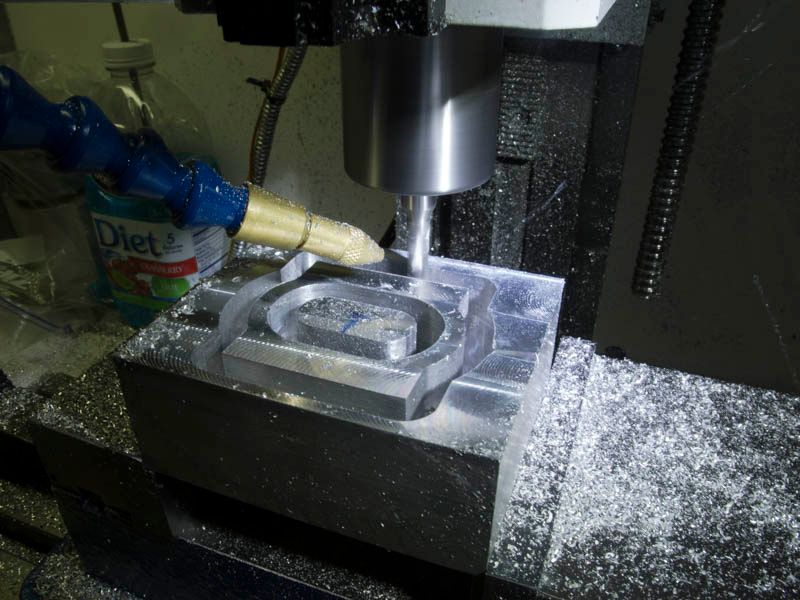
Then, to the Bridgeport to remove the extra thickness with a face mill.
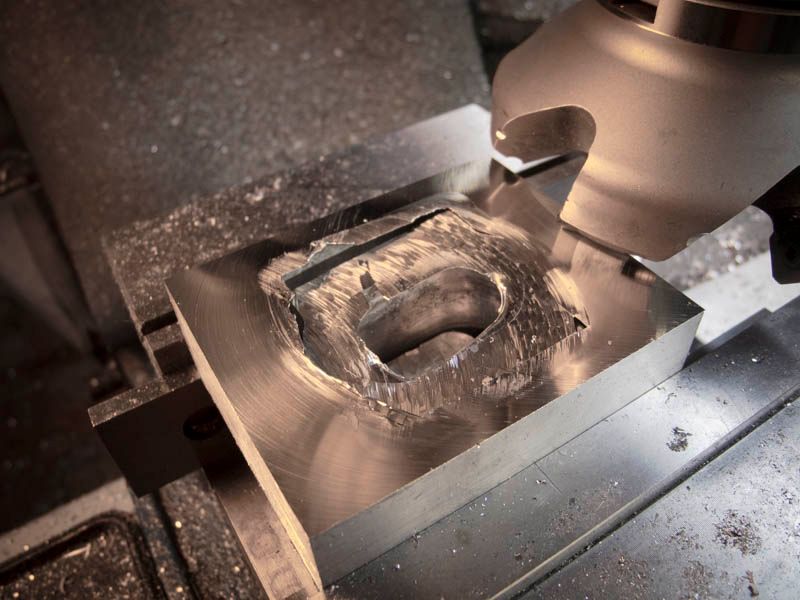
Im glad I did the aluminum first as there were a few settings that Ill change for the brass part. That said, the part was within .001 on all dimensions and the machine time was a few minutes over an hour. (Lets not count the cam learning time, the how in the hell can I hold this part time and the I need a drink time). Just two oops moments: the part moved slightly on the last finish pass due to a Haas style feed rate that Id missed in CAM and a drill bit that (dont know why) didnt fully retract before moving to the next of 16 holes.
After I return from Thanksgiving festivities, Ill start from the base upward.
Stay Tuned


