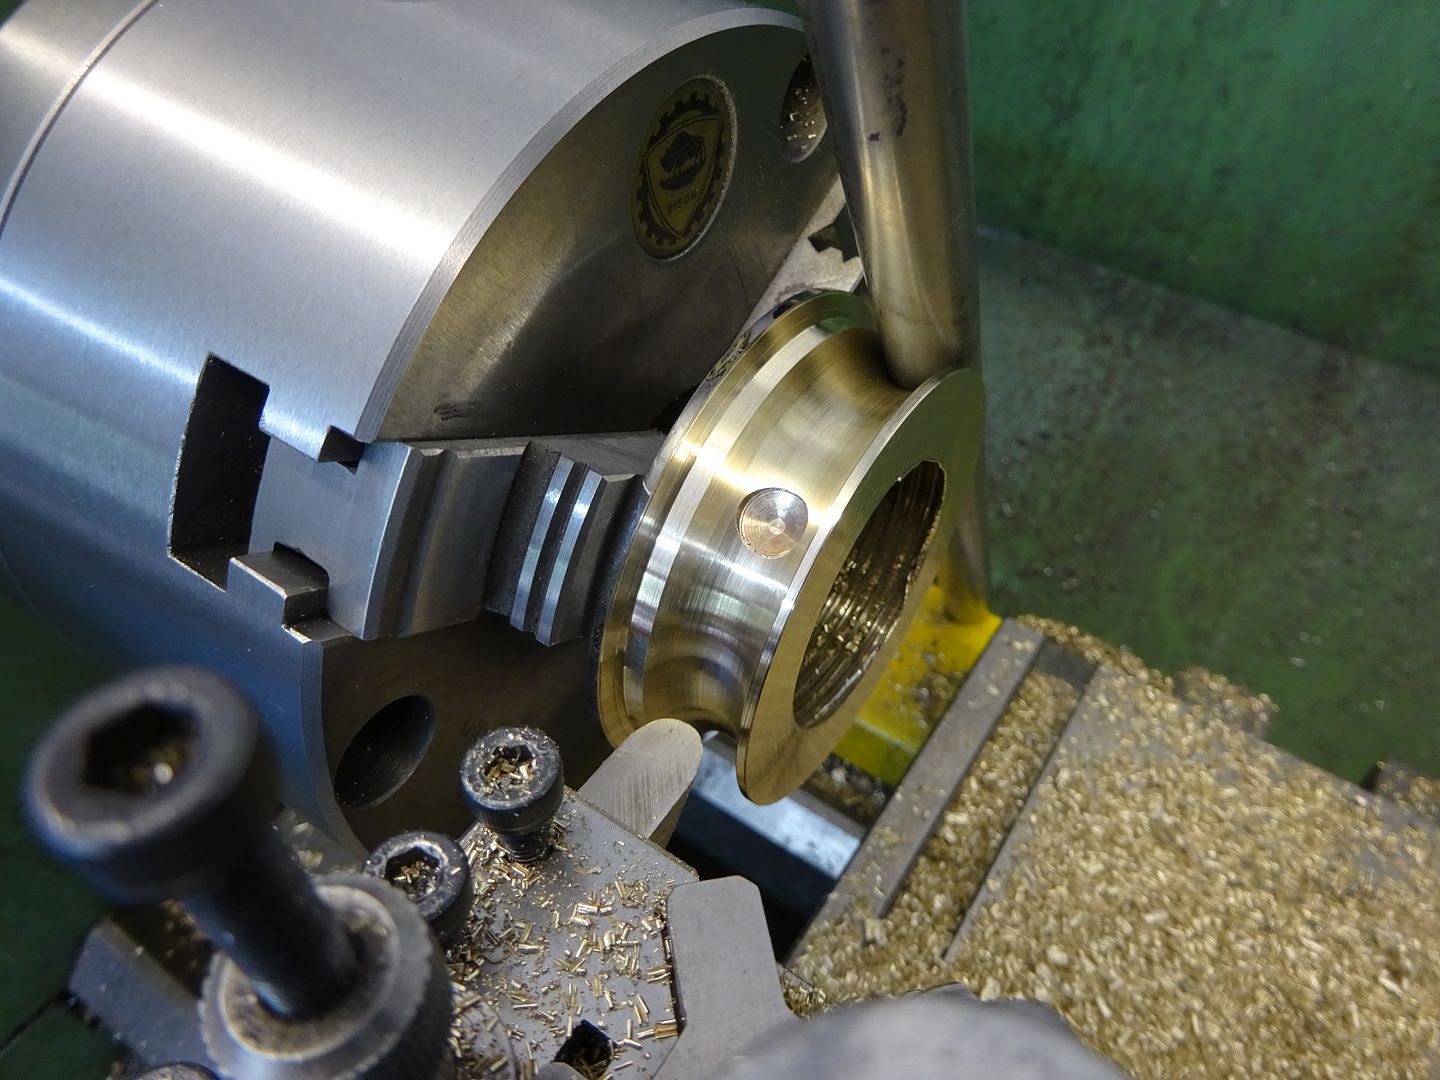
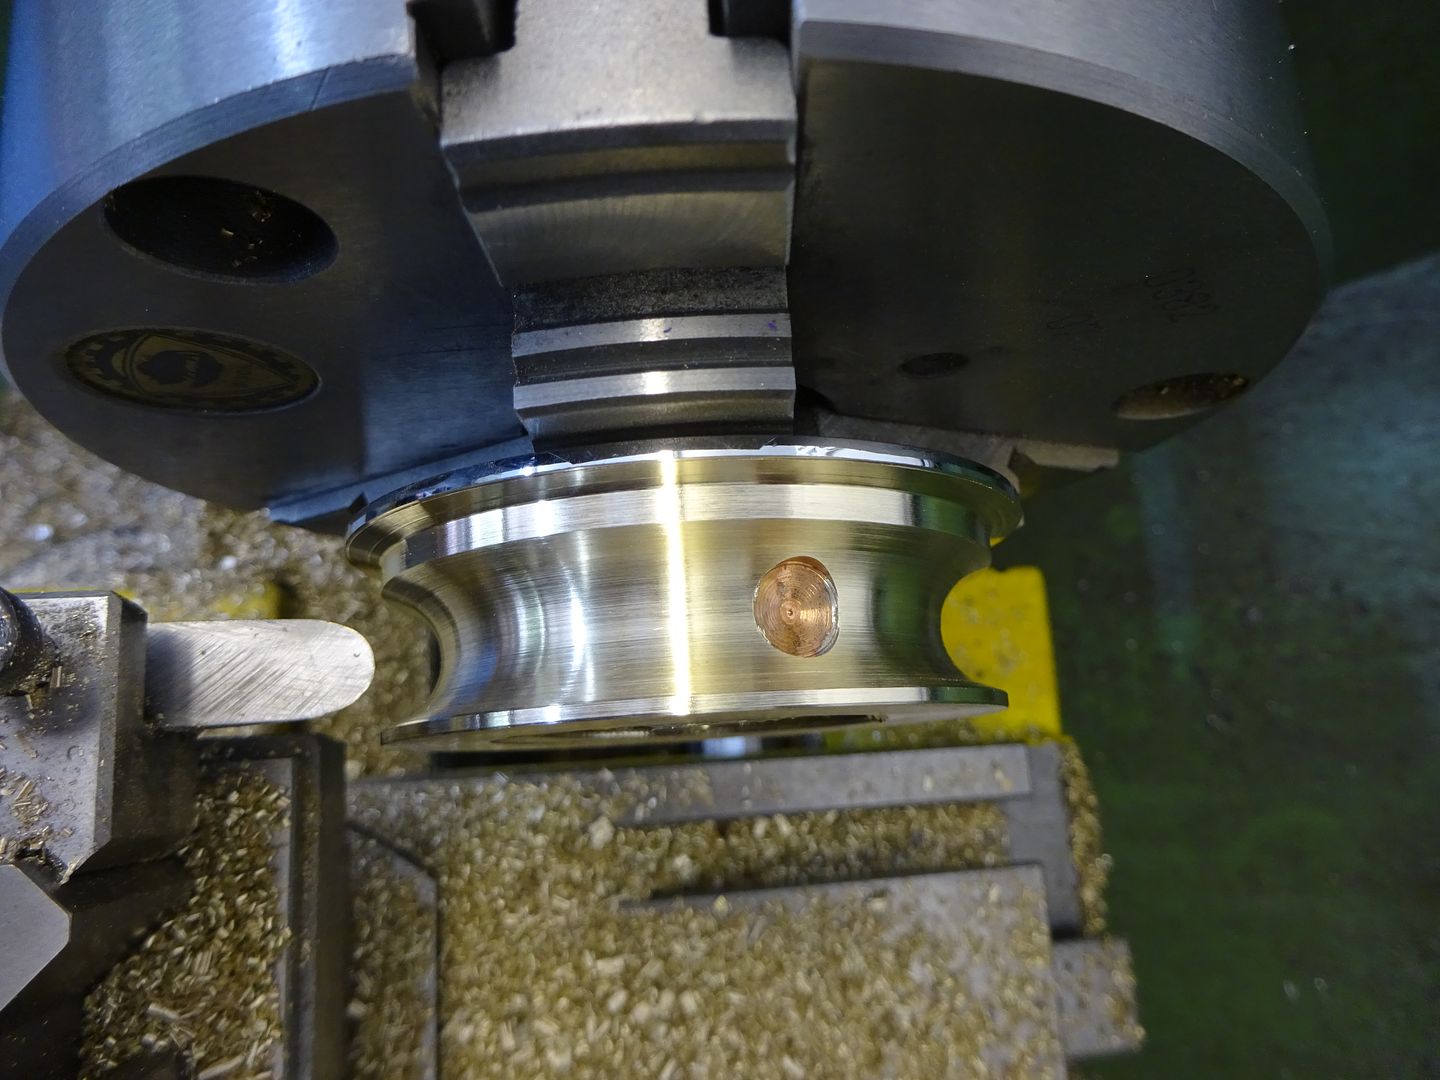
There is no exhaust shown on the drawings but I had seen a photo of a straight through one that I liked the look of. First job was to make a former to bend the 1/2" OD stainless steel tube around, an old plumbing fitting donated a suitable piece of brass which was free hand turned with a 3/8" bull nose lathe tool offering up the tube towards the end to judge the shape.
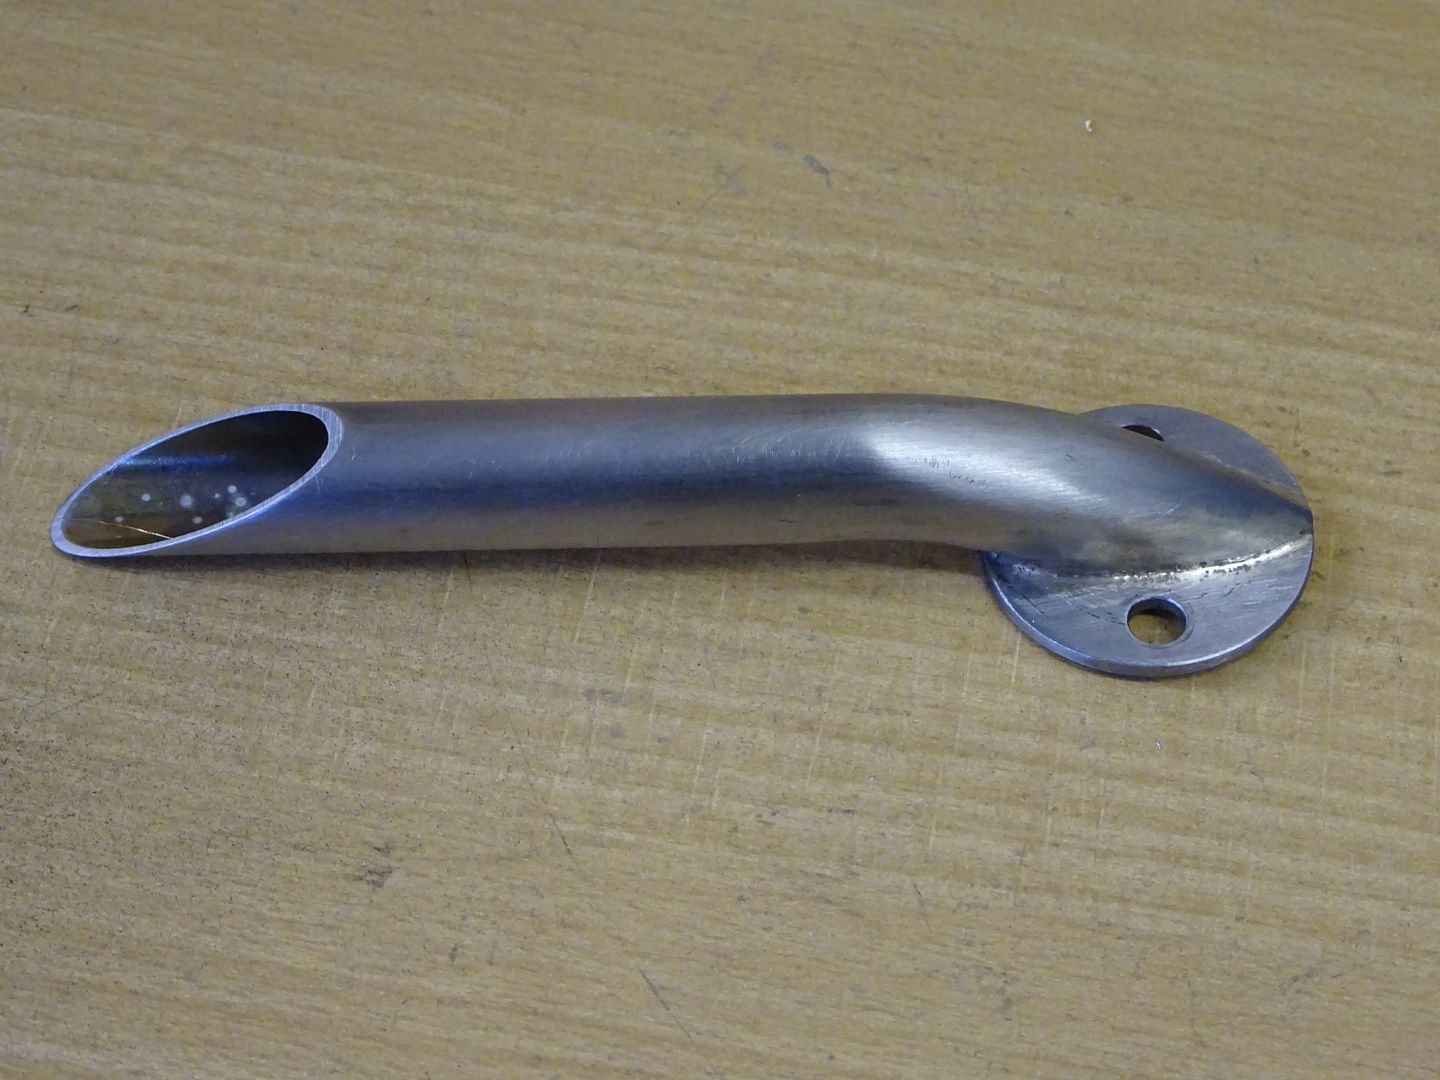
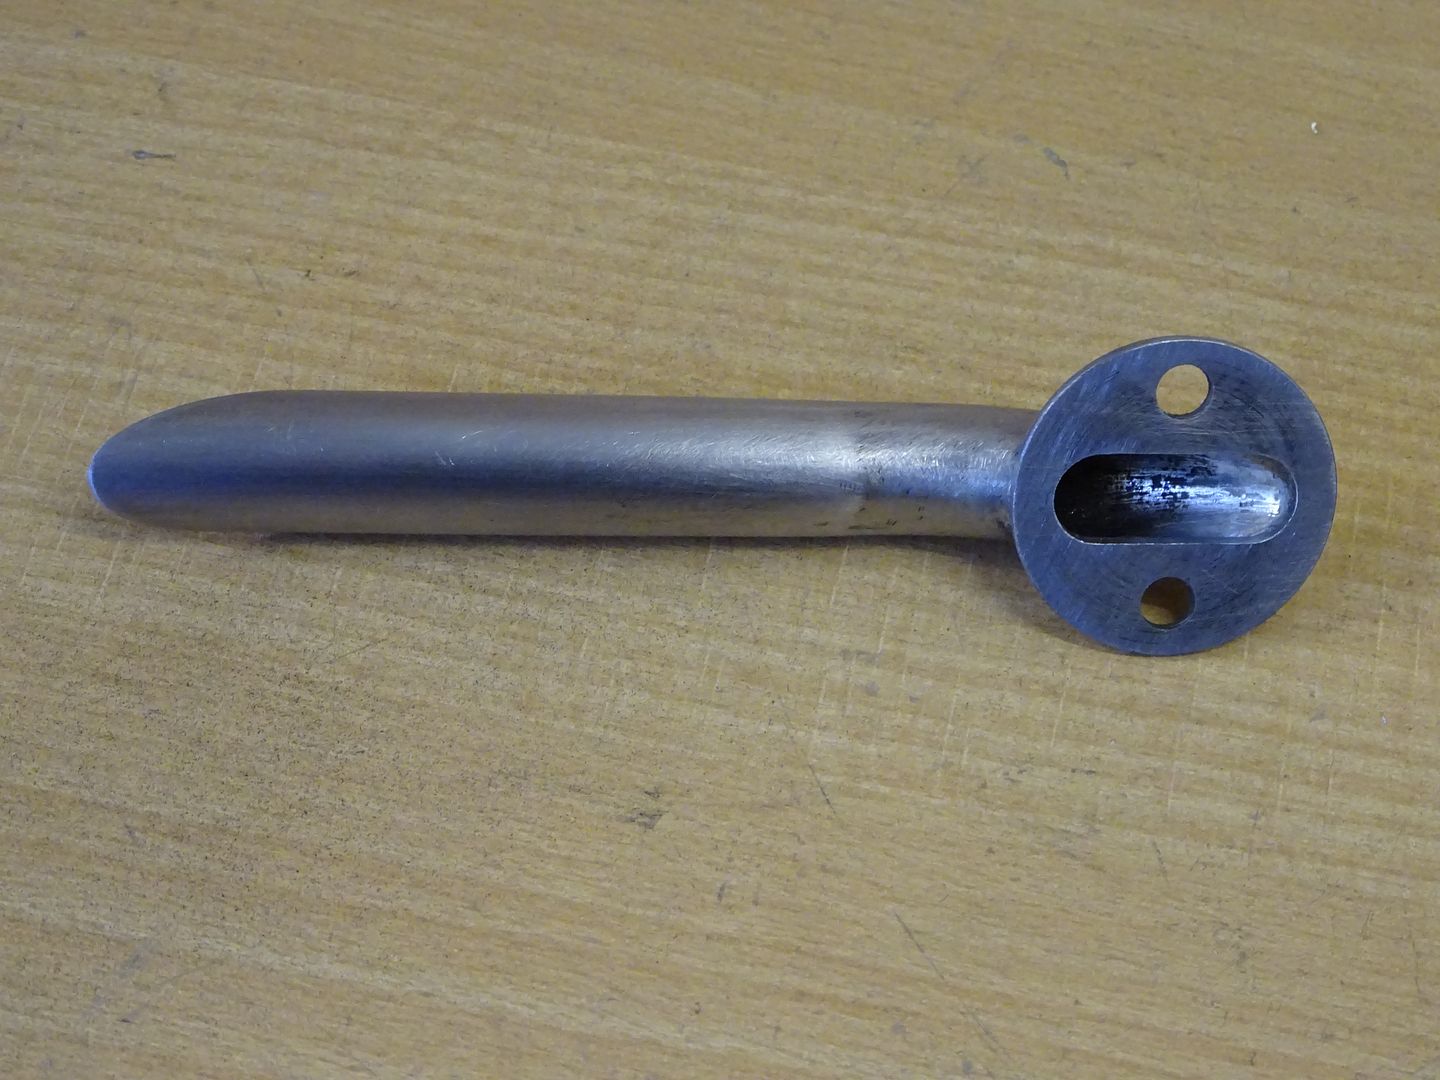
Another scrap of bar with half a 1/2" hole down it was used to support the outside of the bend and the pipe bent to about 45degrees which was all that was needed. It was then just a case of cutting the tube and soldering it to a suitable round disk with a couple of holes to take the studs in the cylinder boss and a slot to let the gasses out.
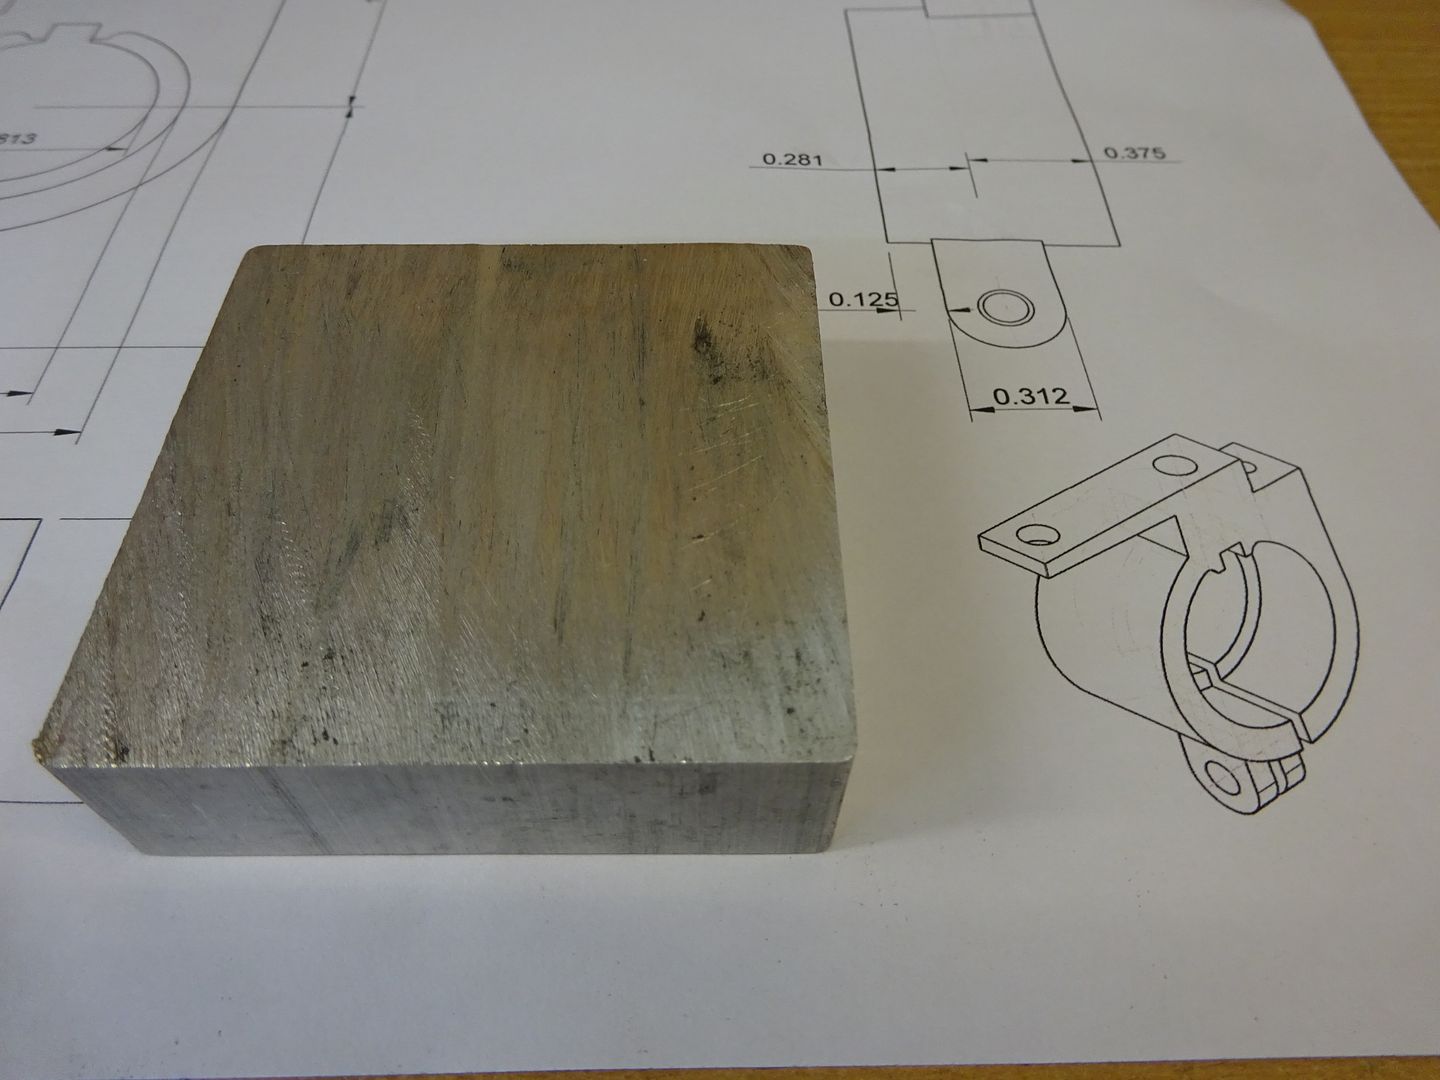
The timing bracket was originally supplied as a grotty pitted casting, I can only think of one person who could get excited about this lump


I thought I could come up with something a bit better so drew it out and sliced of a bit of square 6082 ali
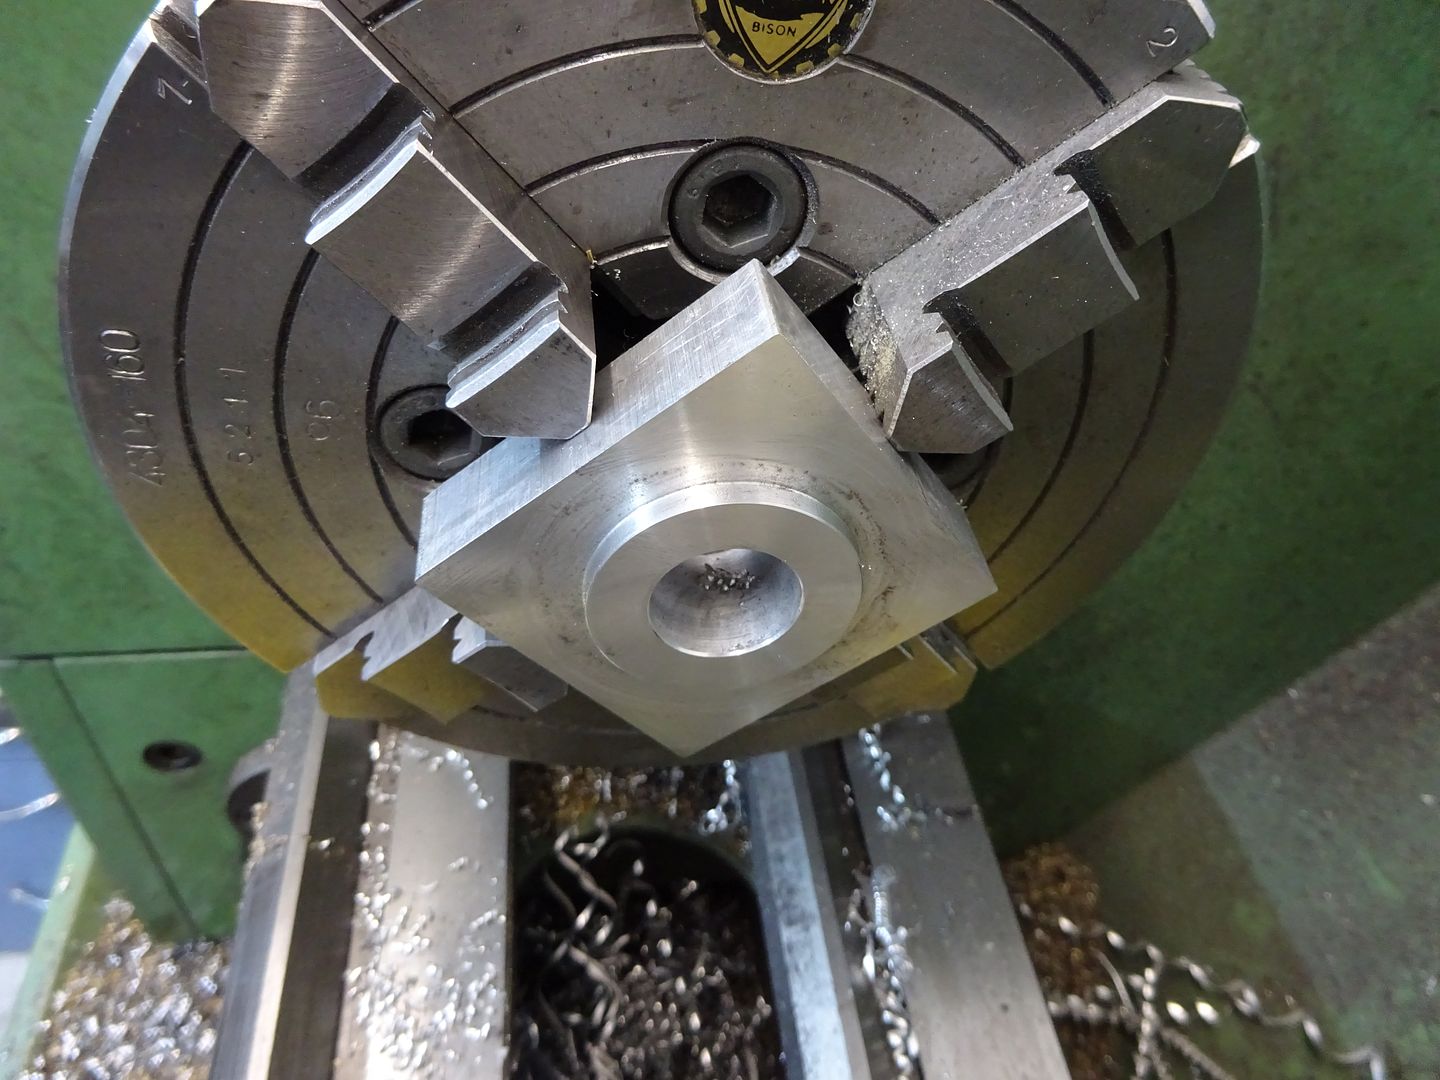
Into the 4-jaw to bore a hole that was a nice fit to the spogot on the front of the crankcase about which it can be rotated to advance and retard the timing.
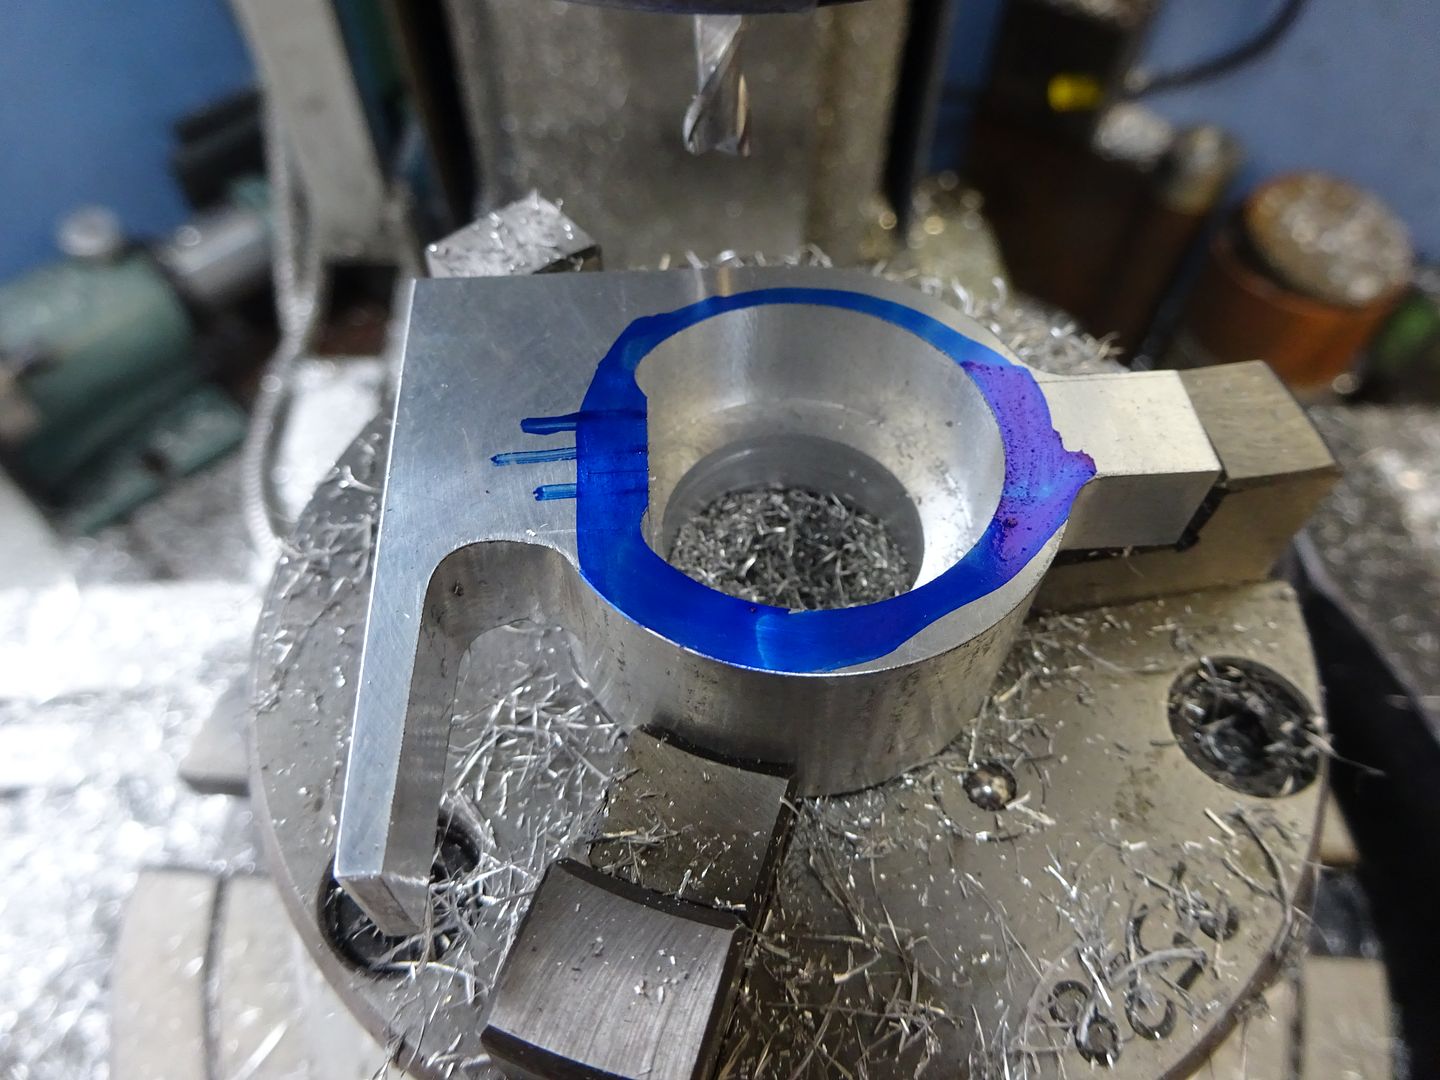
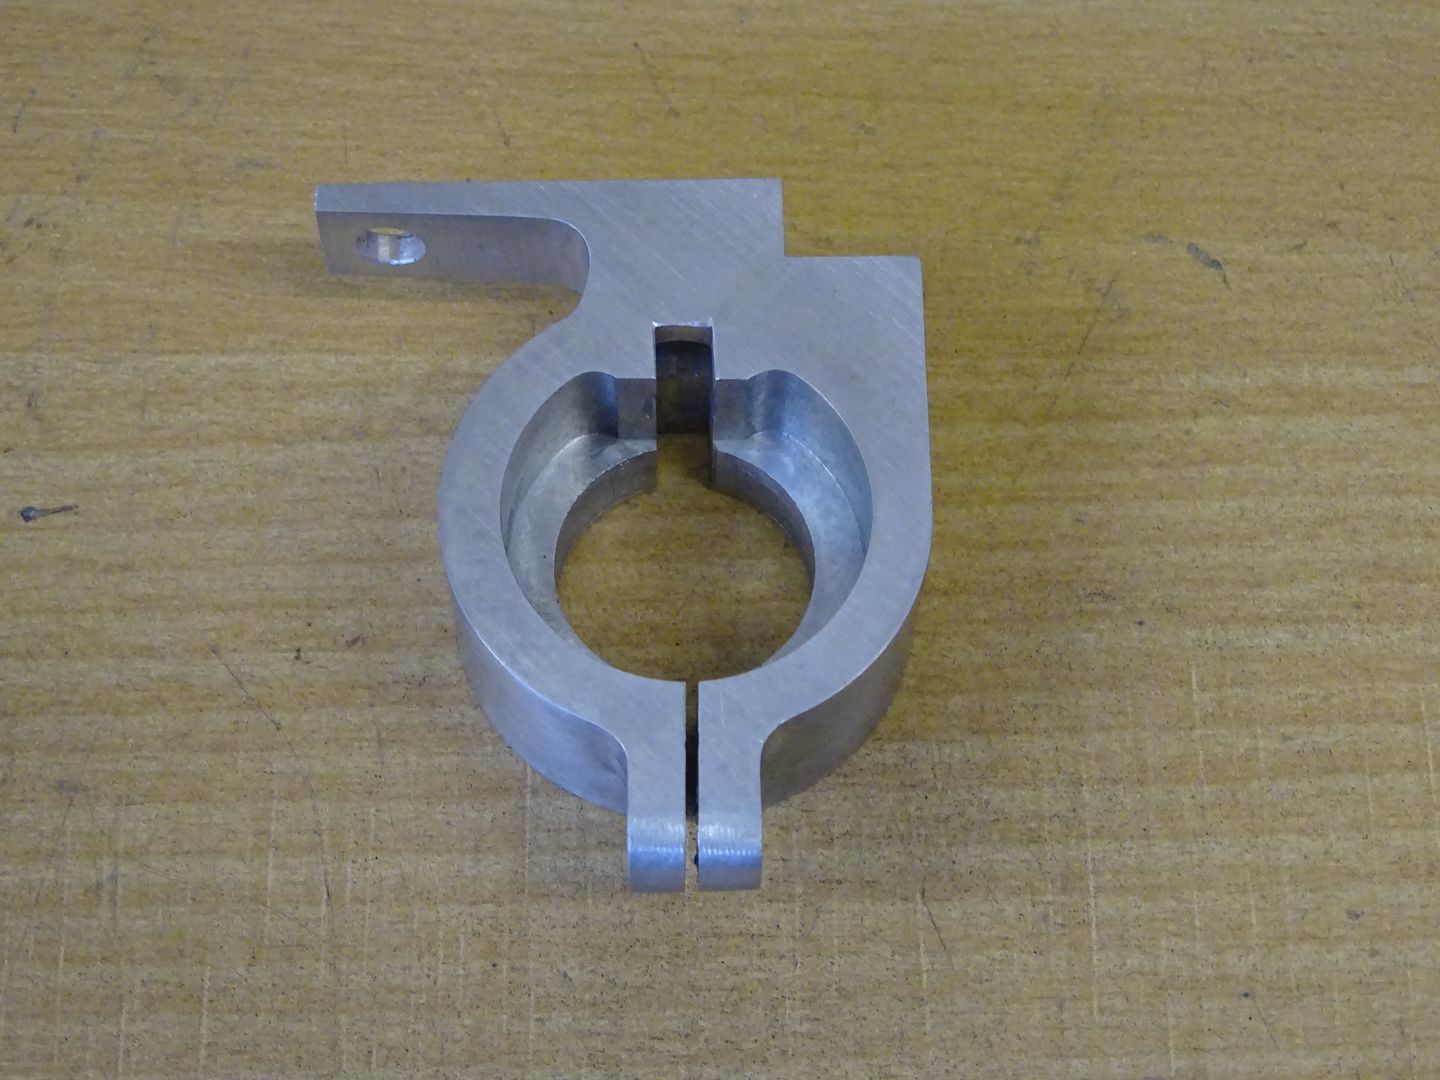
Then with it mounted on a mandrel and using the rotary table the shape was formed leaving the long arm that holds the insulated contact and the smaller lug for the clamping screw.

With the part flipped over the recess on the other side was milled out leaving the shape at the left which gives greater support to the cam follower.
The cam follower rides in a 5/32" wide slot but this is deeper than my broaches will cut and also goes through two different diamaters so it was planed out on the lathe with a 5/32" toolbit by moving the carrage back and forth putting on a thou or so cut on each pass.

Add a couple of holes and then the clamping lug can be split in two with a slitting saw.
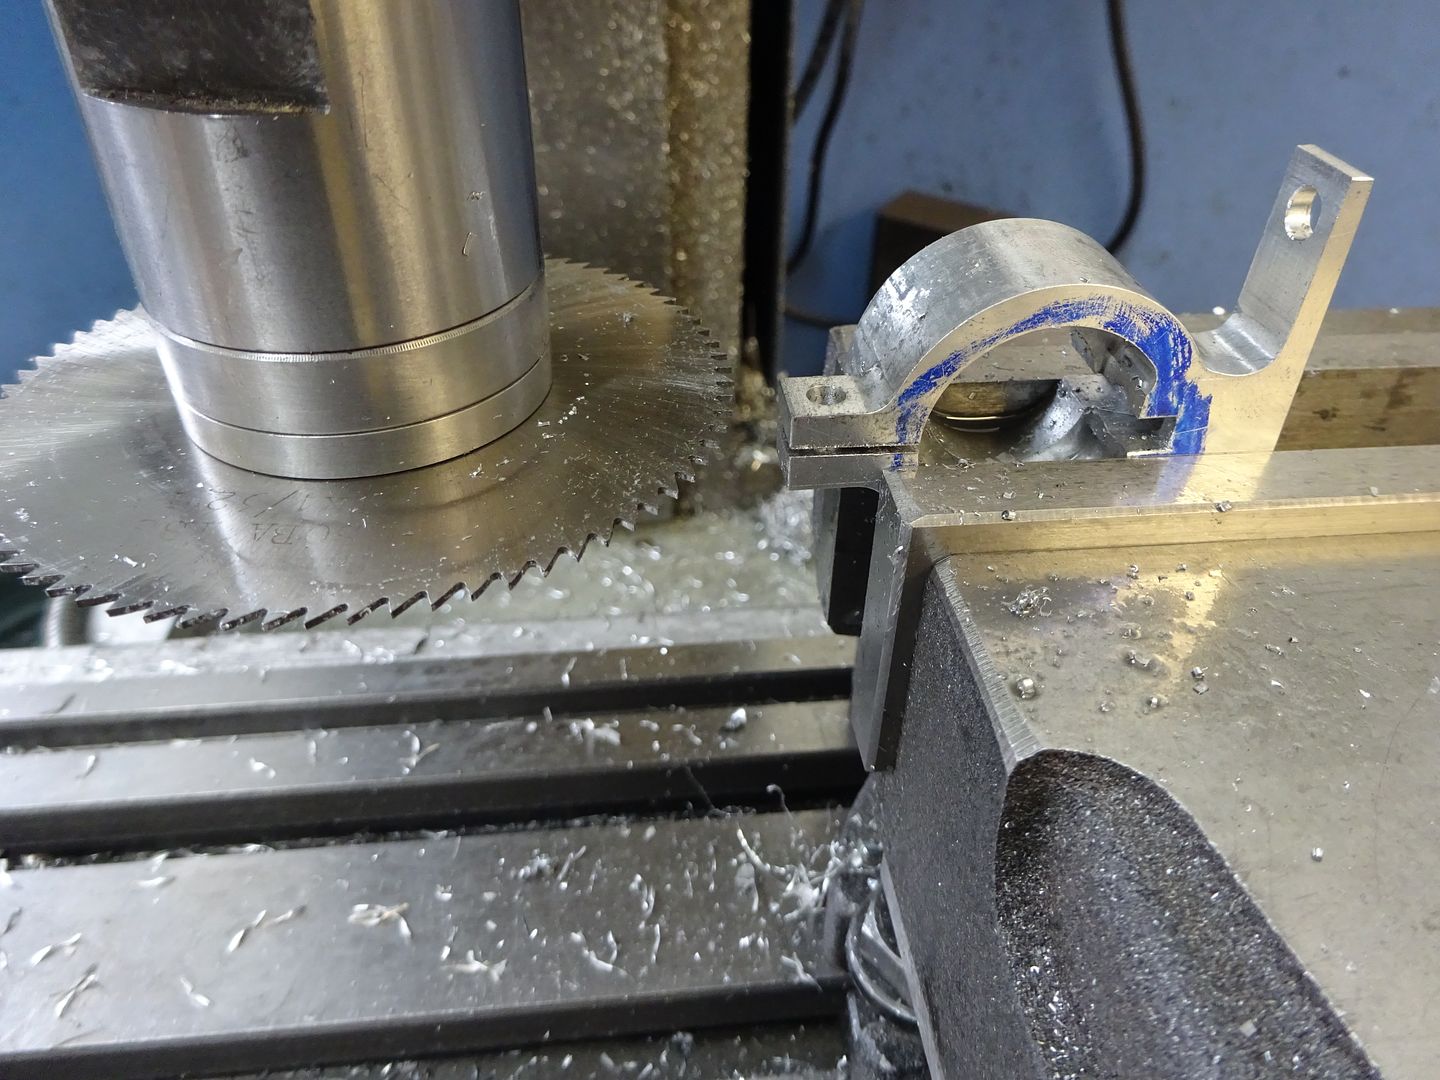
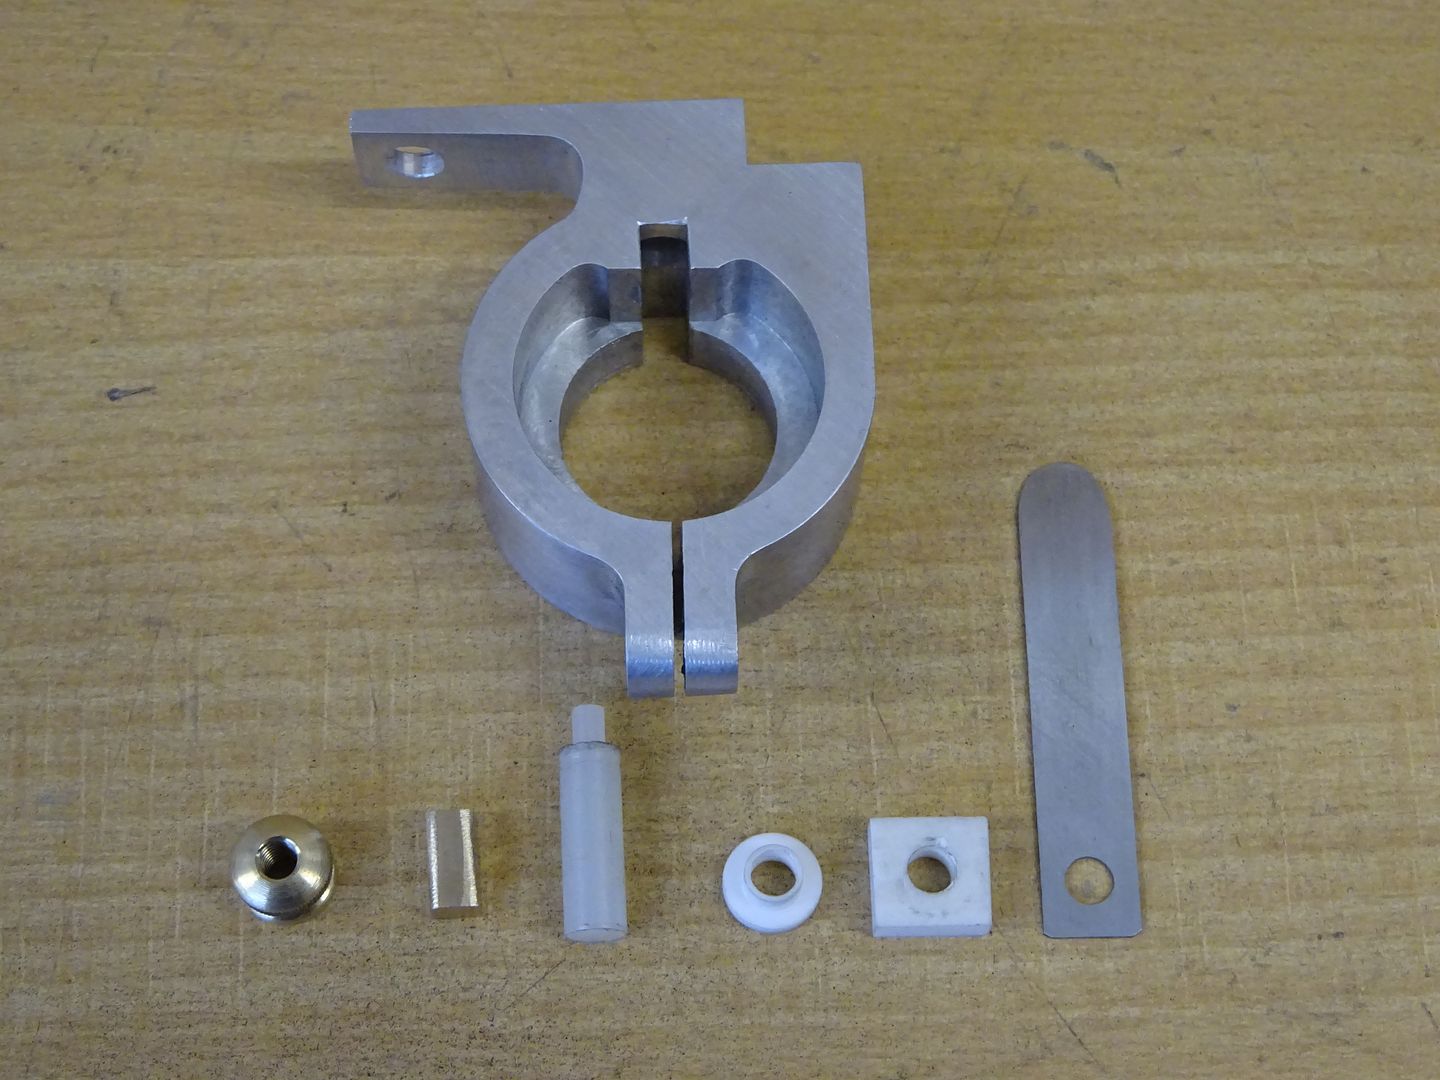
Followed with a bit of file work to round over the lug and a good cleanup and thats another part done.
There are a few other bits to go with it, knurled nut, cam follower, pushrod, insulated washers and spring contact
Then with a couple of screws it can all be assembled
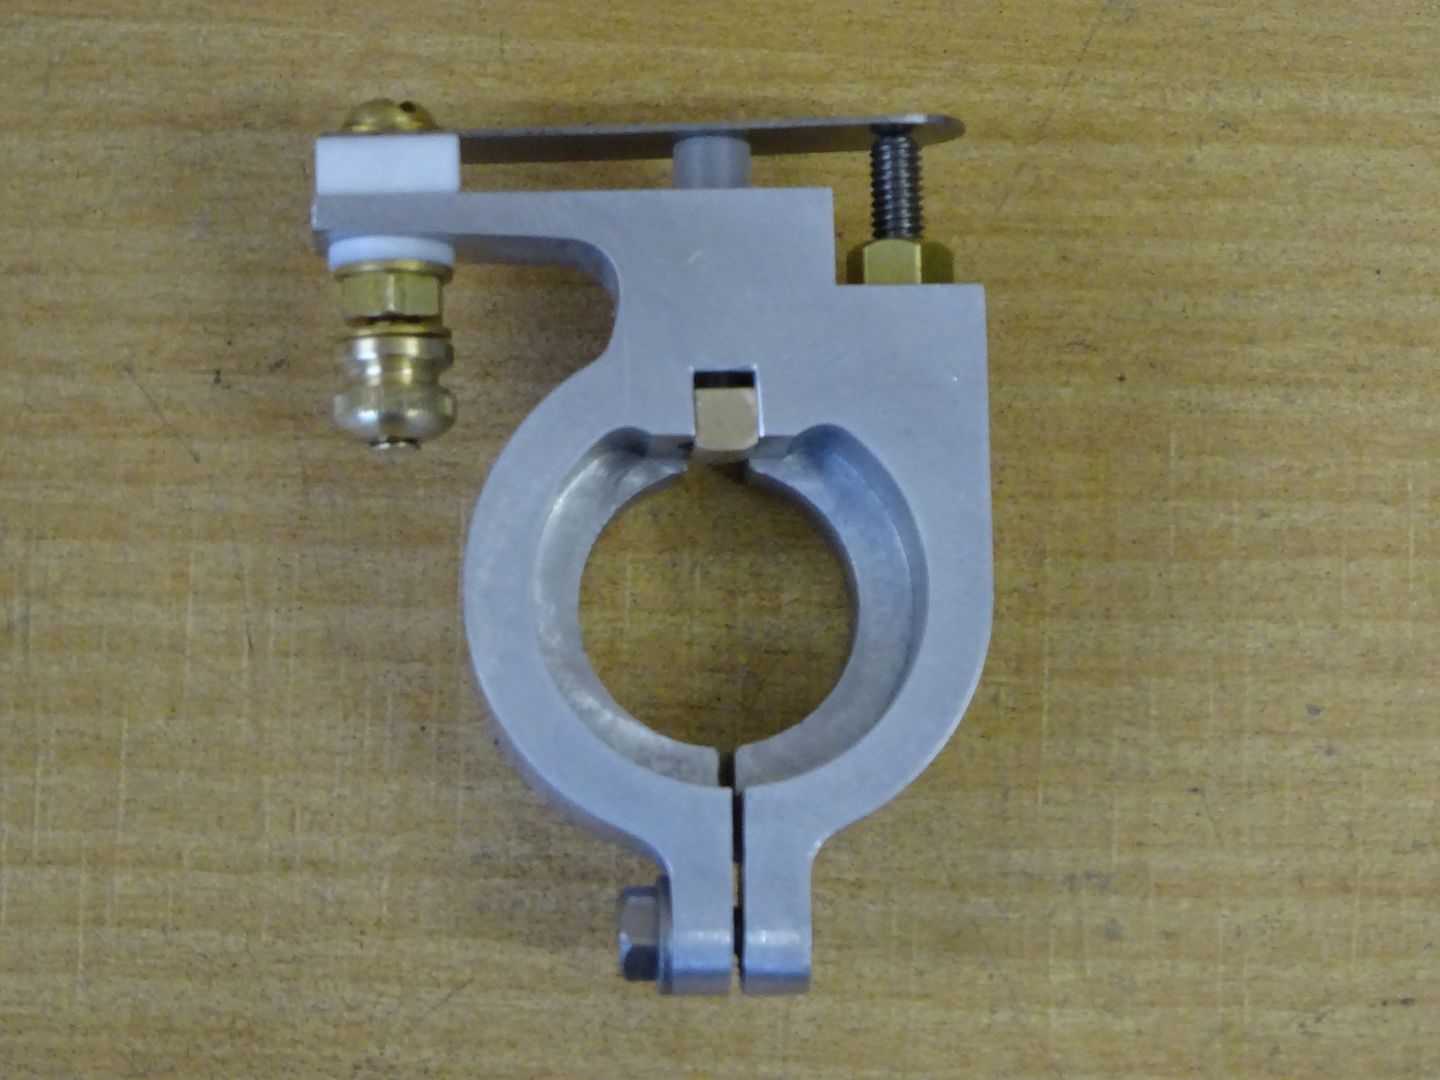
And if you promise not to look at the colour as I don't want to give that away yet here is a short video of how it all works.
[youtube1]https://www.youtube.com/watch?v=0_gXyCs7utI[/youtube1]
J


