Hi all,
I've managed to get a bit further so it's time for an update for those still following along

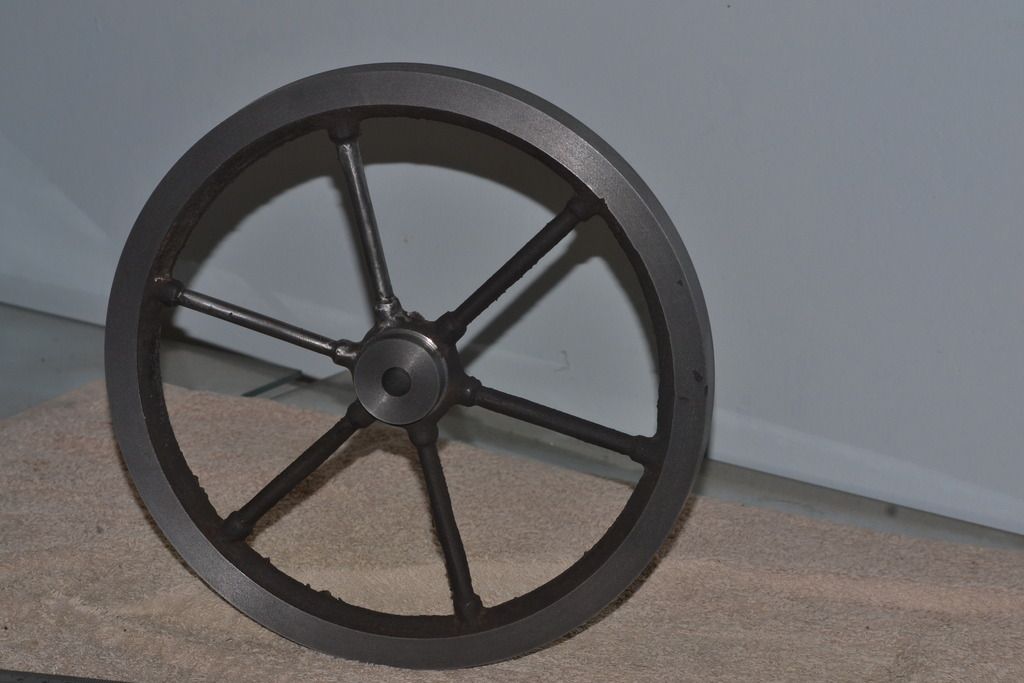
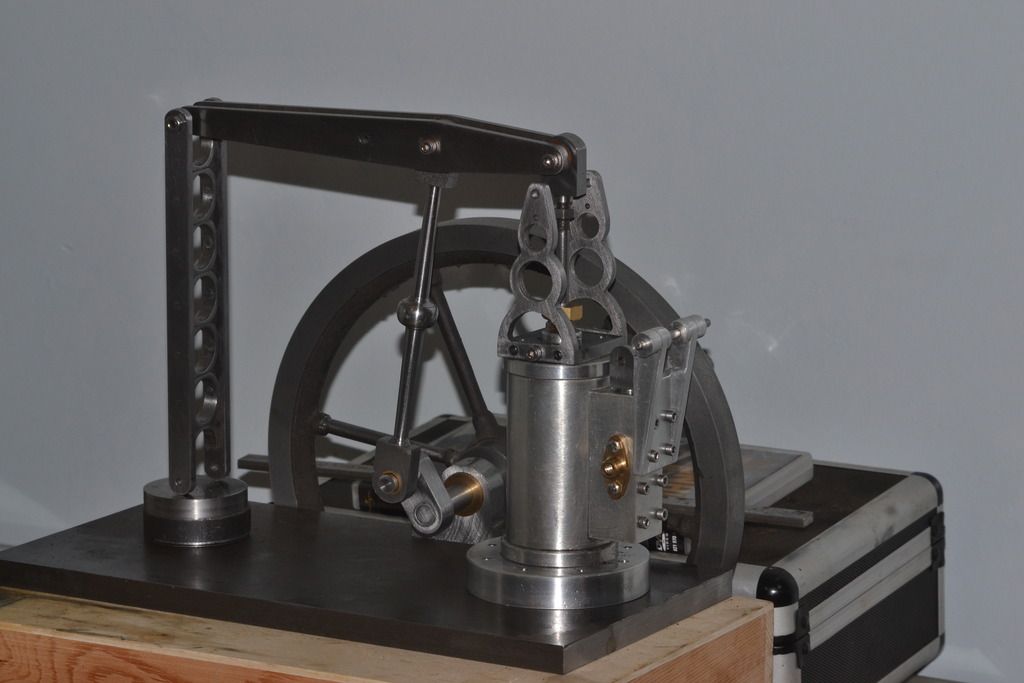
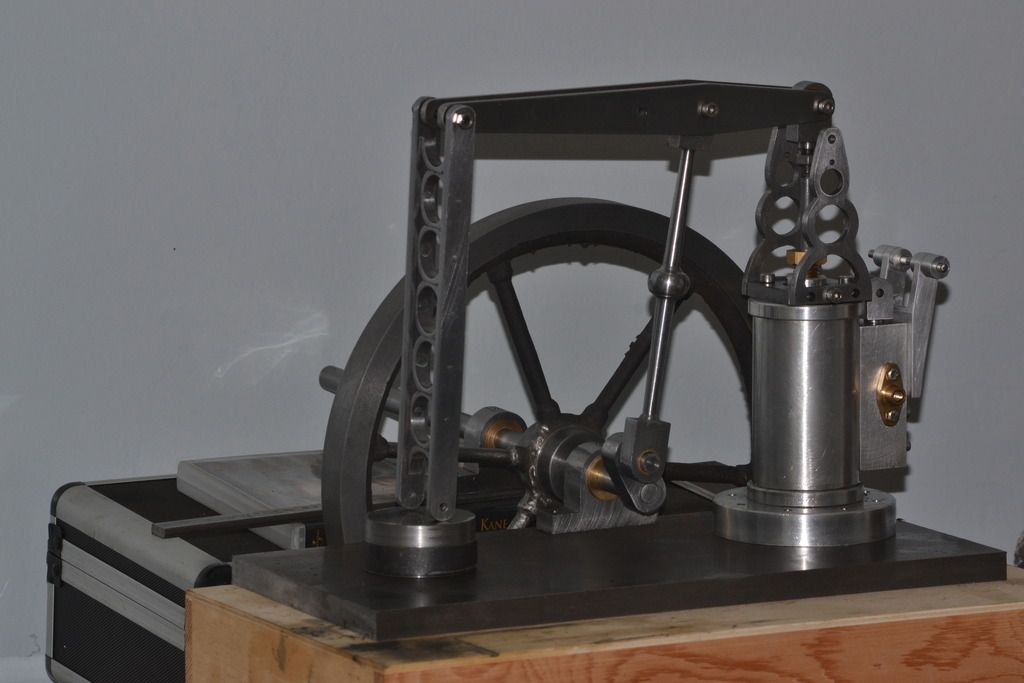
The flywheel at 10" dia was to large to turn on my 8x16 hobby lathe but another forum member living locally offered to help me about by turning it on his larger Harrison lathe. It's a 6 spoked casting fron RDG tools in the UK and at just over £20 it seemed a bargain nicely fitting the style of engine I'm building.
Here it can be seen in the Harrison
Although the casting did have a few small hollows it turned out well and I'd like to thank Phil for his help. I've made a start on cleaning up the spokes but there is still quite a bit more to so I'll do it in stages while building the rest of the engine
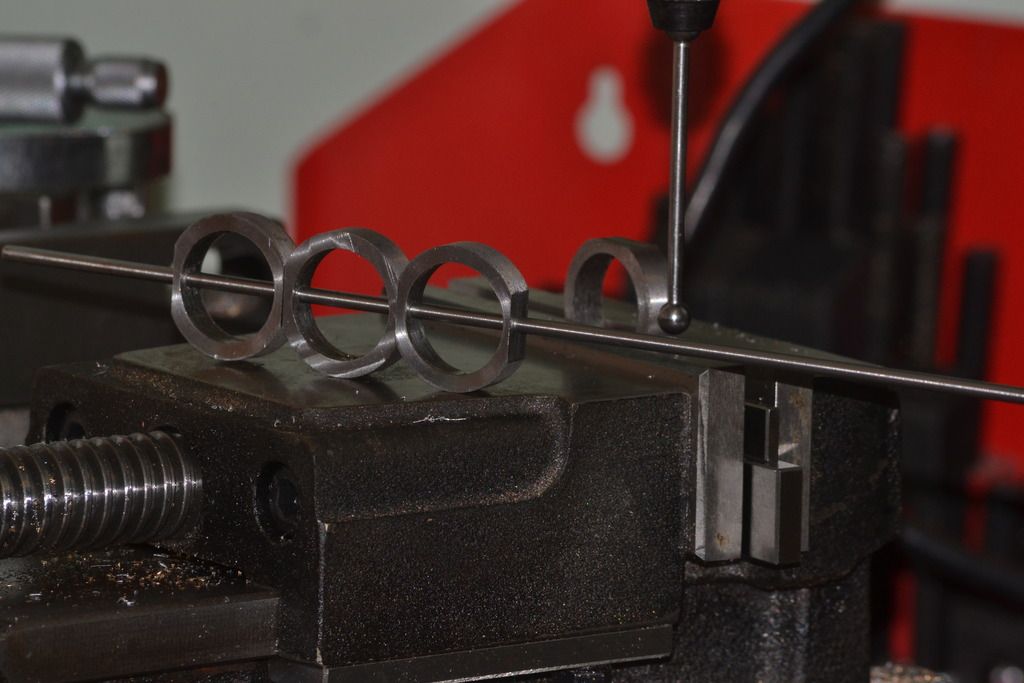
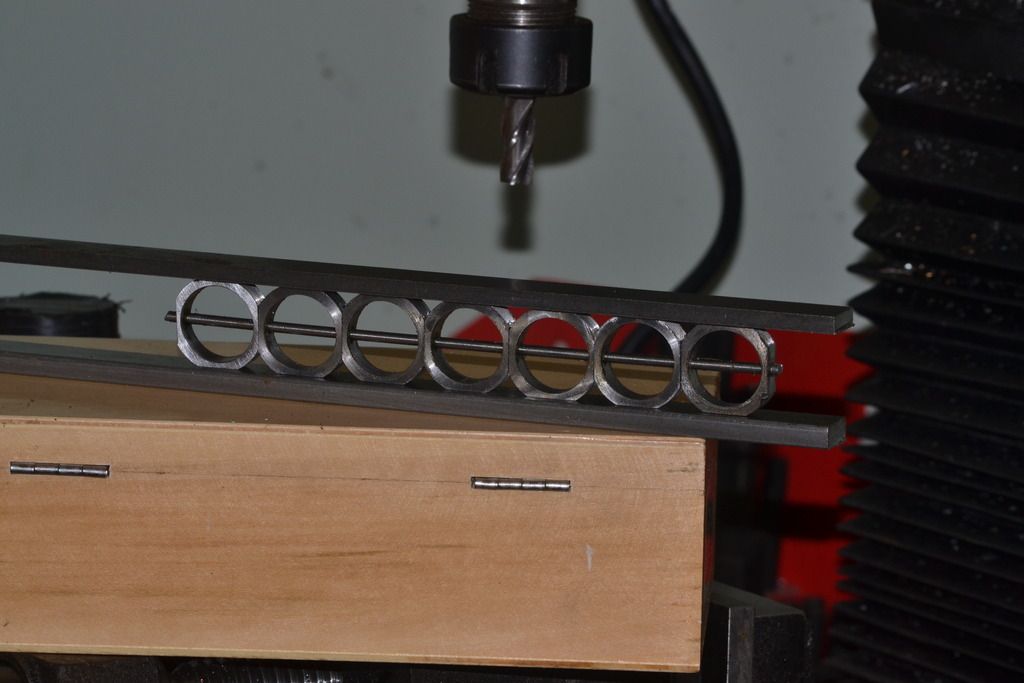
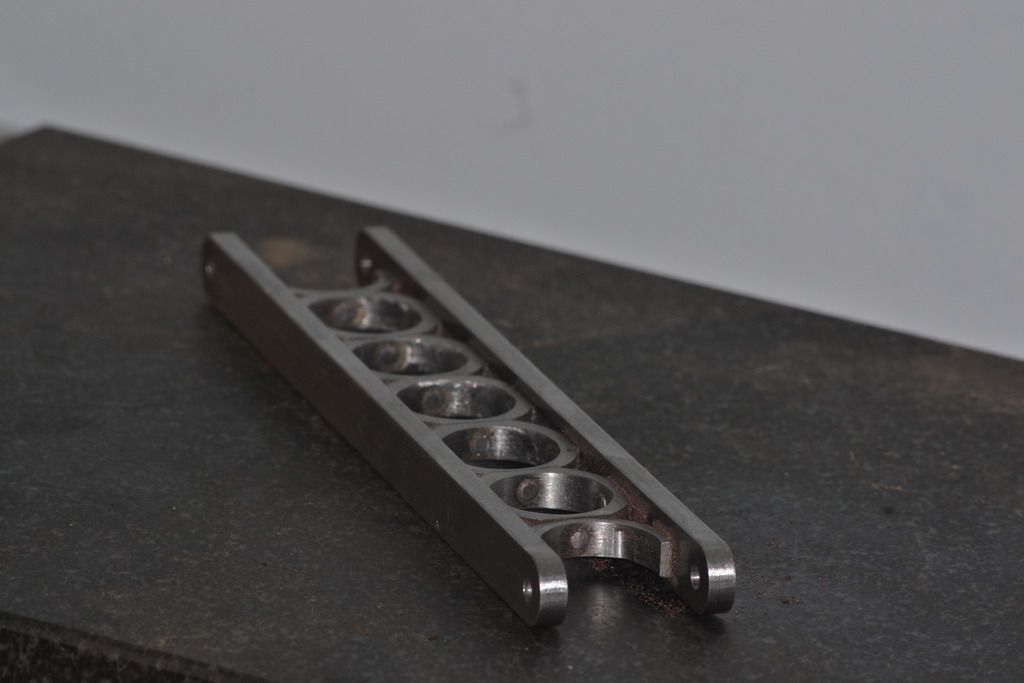
The next part to tackle was the pivoted support beam, in Stewarts design some of the parts have the option of a simple design or a more decorative 'ringed' style. I've already made the 'A' frame in the decorative style so it made sense to keep up the theme. Basically it involves sandwiching 7 rings between 2 parallel uprights and the soldering everything together, at the moment I don't have any soldering gear so I set about fabricating a version from steel then securing it with pins and Loctite 638.
Firstly the 7 rings were turned and parallel flats milled on 2 sides.

Using a wiggler to accurately things position I set about drilling 3mm holes in the flats and thread them onto a silver steel rod
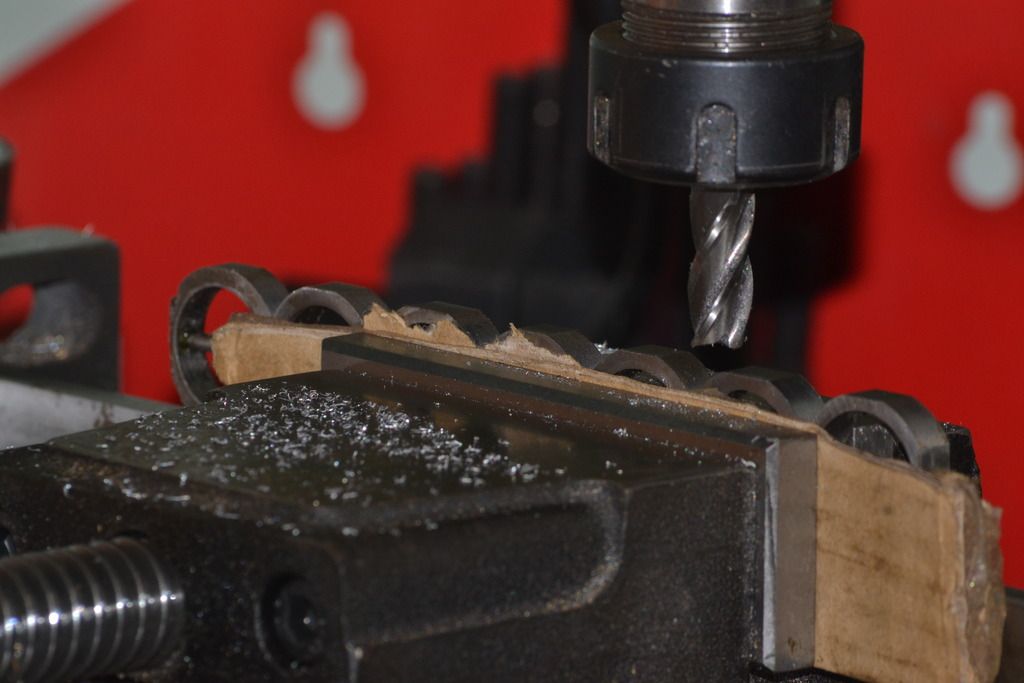
Once happy that all 7 rings fit nicely I milled the sides flat.
This gives a rough idea what I'm aiming for.
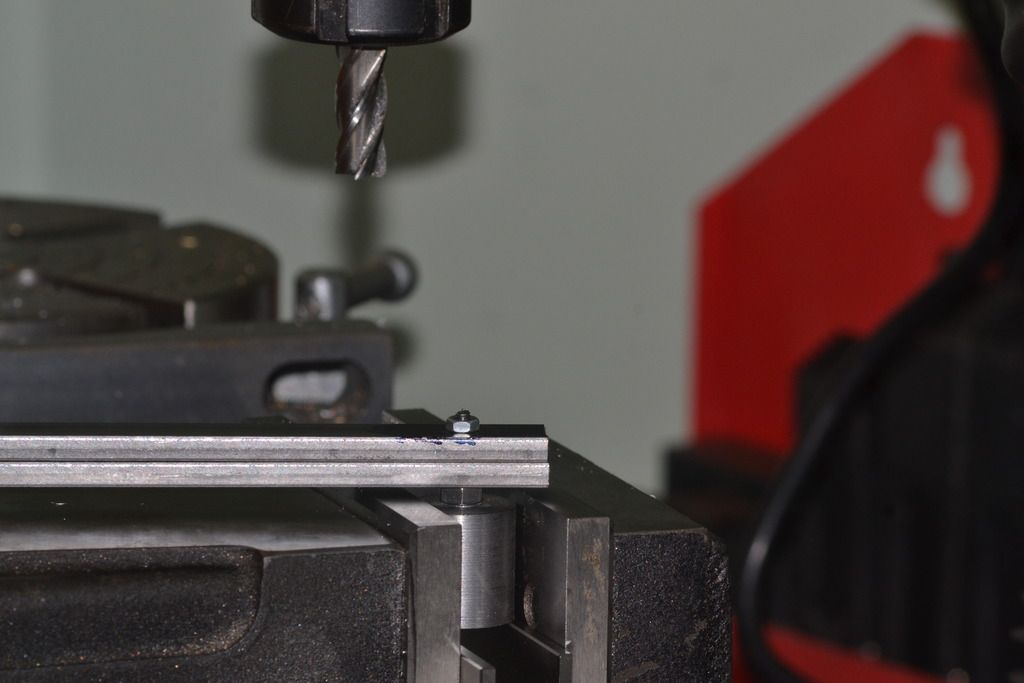
With the sides cut to length I drilled the pivot holes and made a post to allow me to round off the ends in the mill
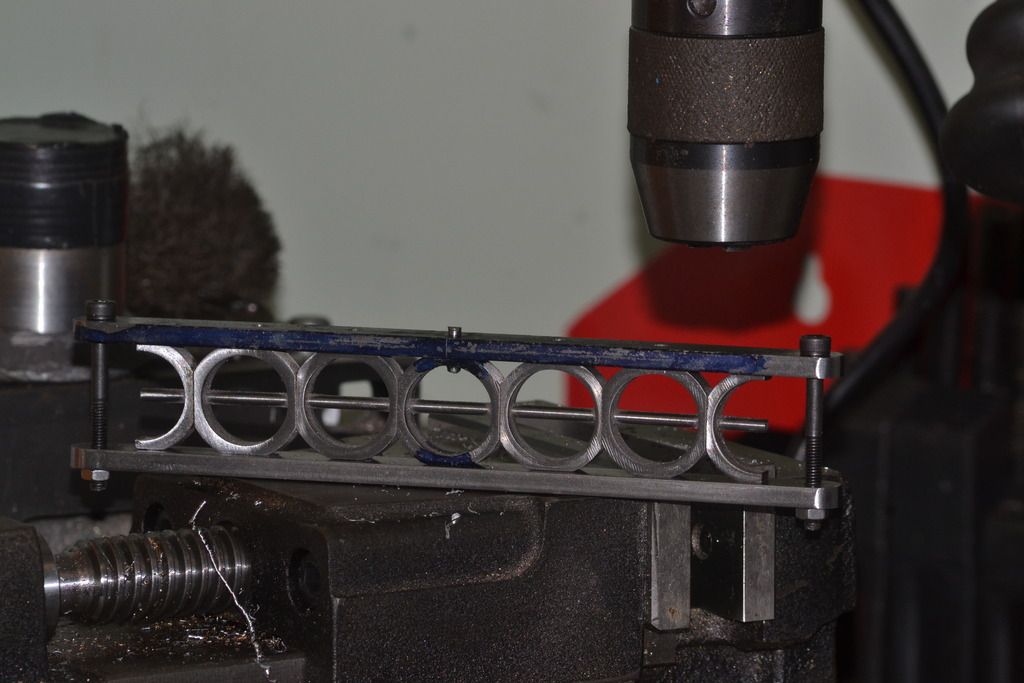
I wasn't too sure about the best way of drilling and pinning the sides to the rings to get good alignment but decided that after Loctiting the rings to the centre rod I drill all the holes on the side beams but only the centre ring.

With centre ring pinned and the whole assembly held in line with end bolts it was time to drill into the rings.
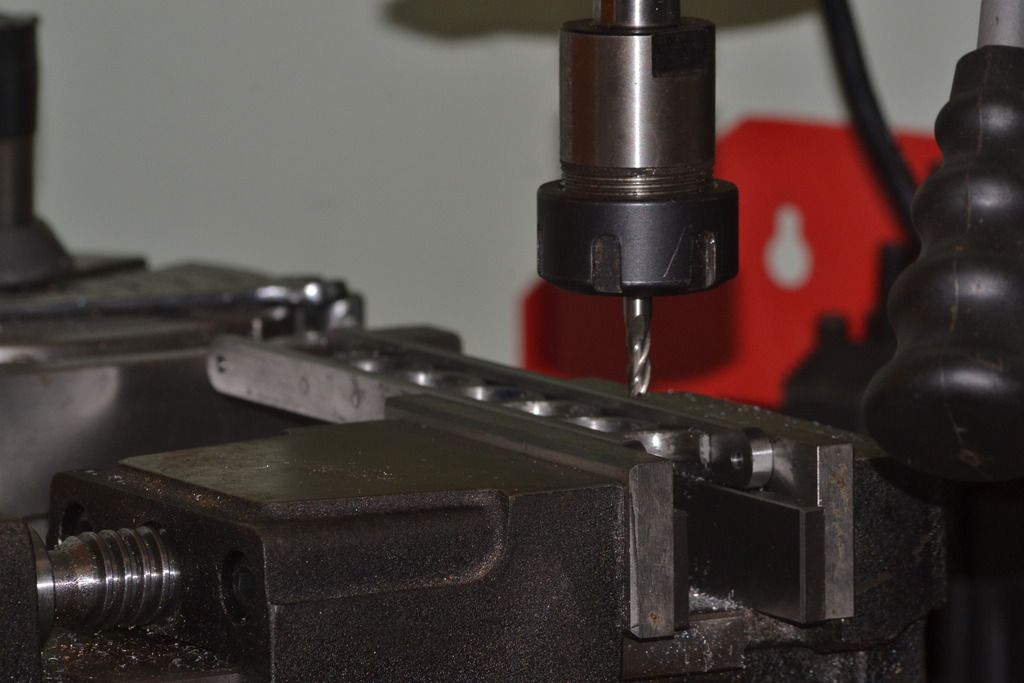
With everything pinned in place the component is suprisingly strong so its time to mill out and file away the waste from the central rod
The end result still needs a bit more filing and tidying up but it's largely complete

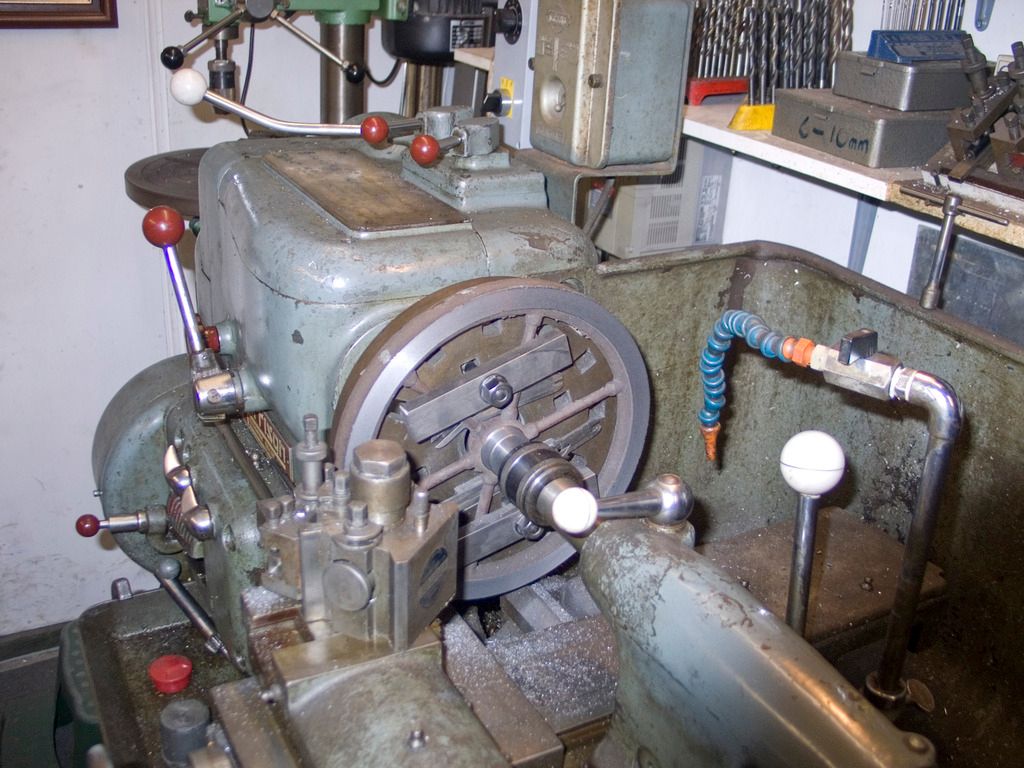
With the flywheel and beam in place it's starting to look like and engine
Peter.


