You know how it is - you're itching to get on with stuff but there's always some piece of tooling that you have to make first. In my case it's a saddle-stop for my Super7. I had one on my previous lathe (30 years ago) and I've felt lost without it. So today I managed to grab some swarf-making time and I decided that this was the opportunity to make one. Being lazy I looked around and found the
Harold Hall design and mine is based very heavily on this. I should stress that this is also part of my learning programme, and my reason for doing a thread on such a mundane and simple item is so that those who actually know what they're doing can tell me when I'm doing things the wrong way, or when I'm just being stupid! So comments, jeers etc are all welcome.
HH's design uses a piece of 35x16mm mild steel bar. I didn't have that in my scrap bin, but I did have couple of feet of 60x20mm which I got from the nice lady down the road, so I used that. Not having a decent bandsaw, the required chunk was cut off with a hacksaw after chain drilling.This size bit wouldn't easily go in my Seig X2p, so the chain drilling had to be done in my cheap drill press which could only manage to drill 4mm holes in the steel, which gives a lovely texture:
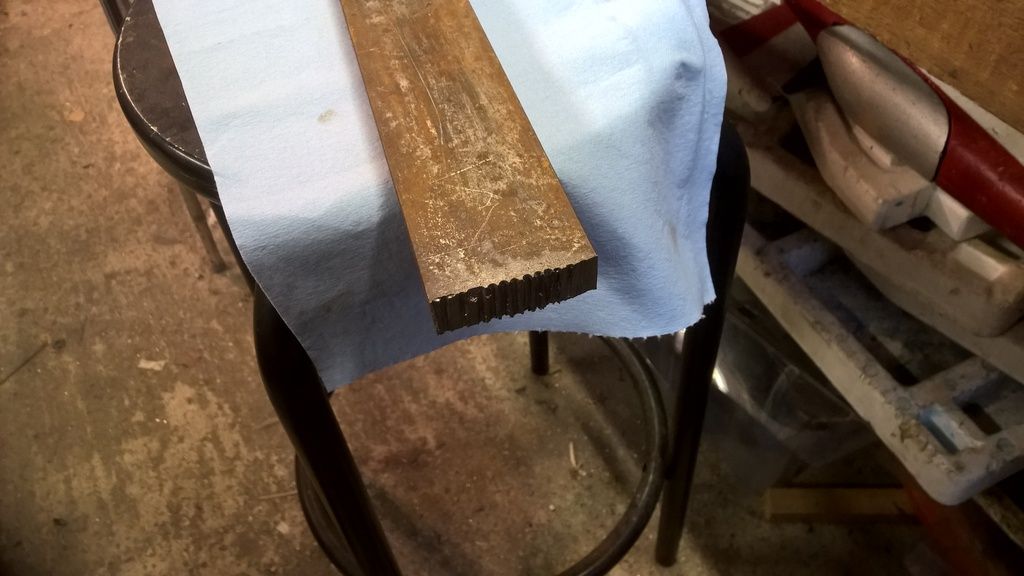
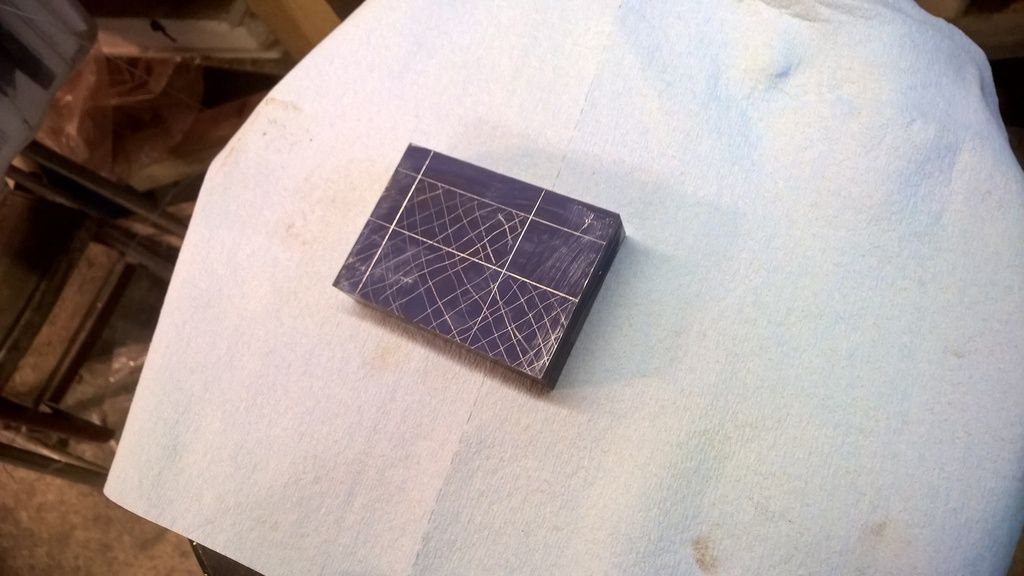
The resulting block was squared up and one side skimmed smooth in the mill, and then for once I marked out properly. As you can see, a lot of material needed removing!
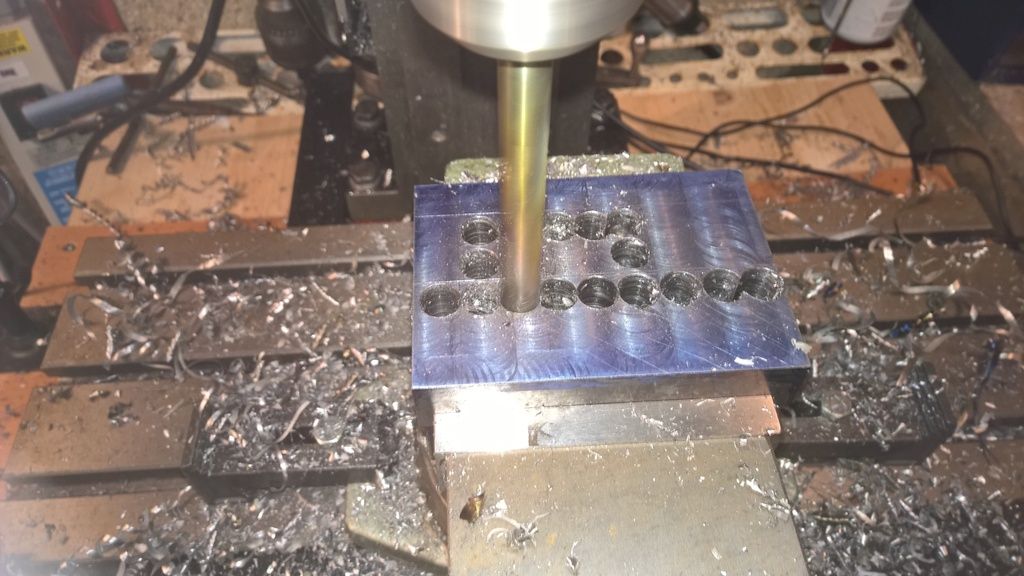
Chain-drilling was the chosen method, this time in the mill which was quite happy to drill in one go with a 10mm bit (the positions were dimpled with a centre drill, but I rarely bother with pilot holes for this sort of thing) at about 150rpm with a few dabs of supercut in each hole.
A few seconds with a hacksaw and the width of the black was reduces, but it suddenly dawned on me that if I continued with the centre bit the resulting part would be a but flimsy for drilling the holes in the end - I'd have to clamp it to an angle plate or similar, and I'm too lazy to change setups if I can avoid it so I quickly set it up in the vice and drilled the holes - one for an M8 thread and the other drilled 6mm and reamed 1/4" for the guide pin (HH uses a 5mm pin, but I happen to have some 1/4" silver steel rod taken from an old printer, so I'm using that).

I moved it round and rough-milled off the remnants of the chain drilling and then cut the centre clear with a junior hacksaw. This was actually the wrong way around, because I really didn't need to mill off the rough stuff on the part I cut out! ANyway, that gave me this:

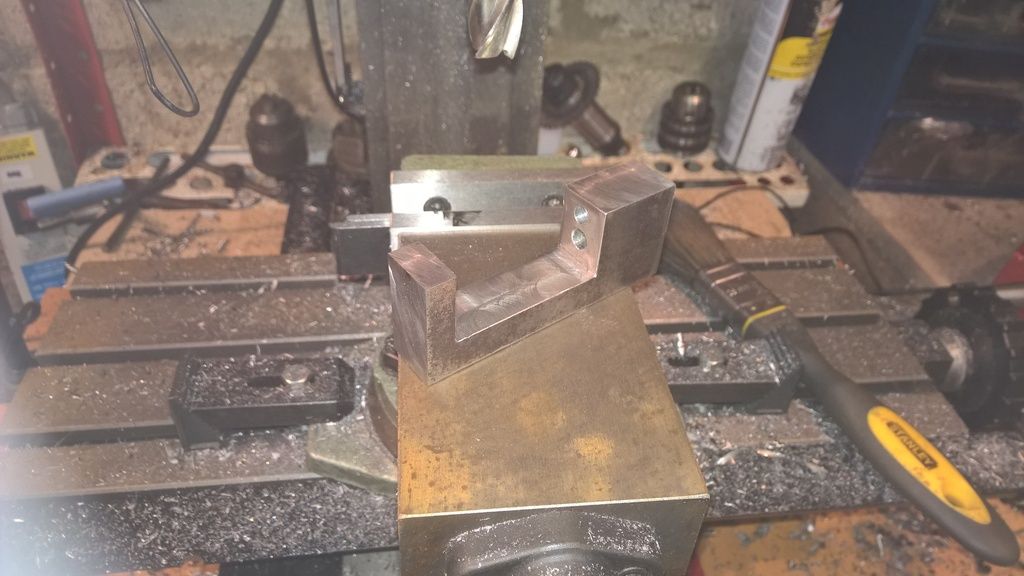
I put it back in the vice on a par of taller parallels so that the bottom of the needed cutout was about 2mm above the faces of the jaws. The internal feature was then brought to size with a 16mm end mill, and after a couple of kisses with a file to take some burrs off the result was this, which is within 0.1mm of all target dimensions (that's actually a bit of a first first for me!).
That's as far as I got today as my swarf-making license expired. Things I've learned? My Seig mills steel much better on the X-axis than the Y-axis - probably because of the longer support. It also cuts better running flat out (2500rpm) with a slow feed than at lower revs even with what for this machine is a pretty big cutter, but it needs care (if you look really carefully you might see the graunch where the endmill jumped and grabbed).
Oh yes, and I'f I'd thought about it I should have drilled the hole for the M8 bolt which actually makes the "stop" at the same time as I was doing all that chain-drilling - the DROs were all set up and the quill had the drill chuck fitted, so it would just have been a matter of moving to the right position and changing the drill bit. So next time a little more though about the sequence of events.
What else did I do wrong?
To be continued...
AS


