Lady Godiva Rides Again - Episode 3
Roy Ozoufs Coventry EngineYes! Another episode.
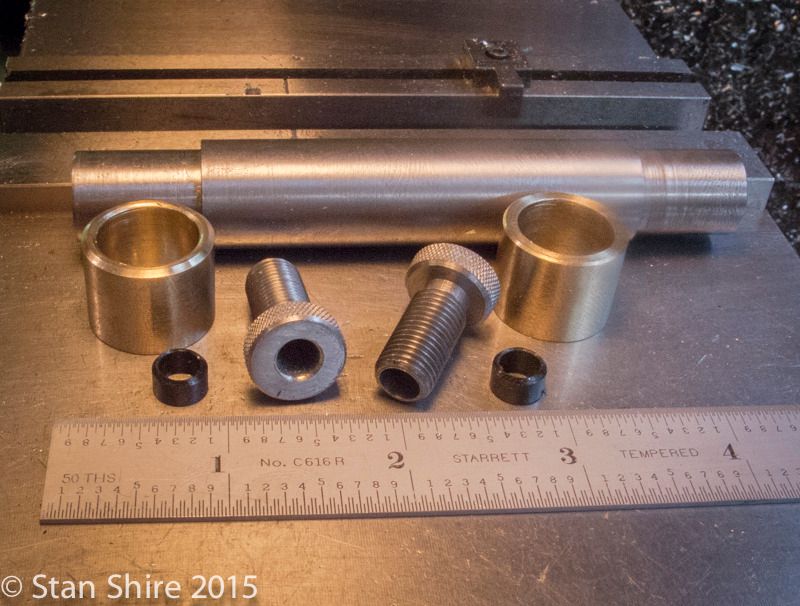
Since the cylinder pivots from the bottom, the next group of parts begins with the pivot shaft and works upward.
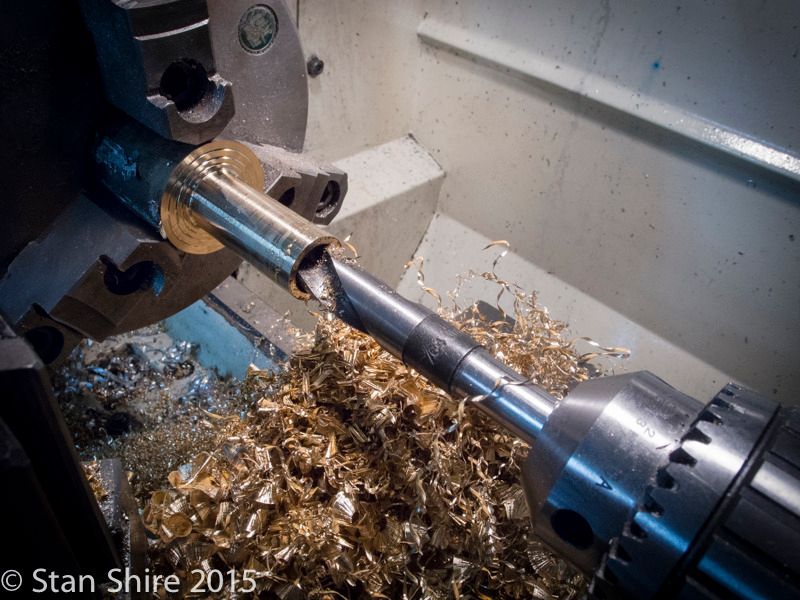
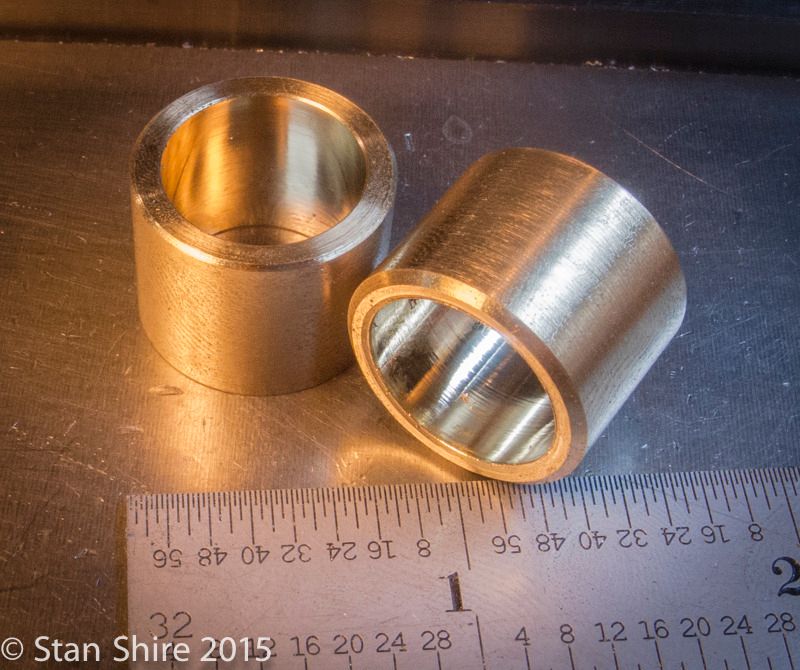
I decided to turn the bronze bushings first and then turn the pivot shaft to fit.
Turned to diameter, then drilled and bored.
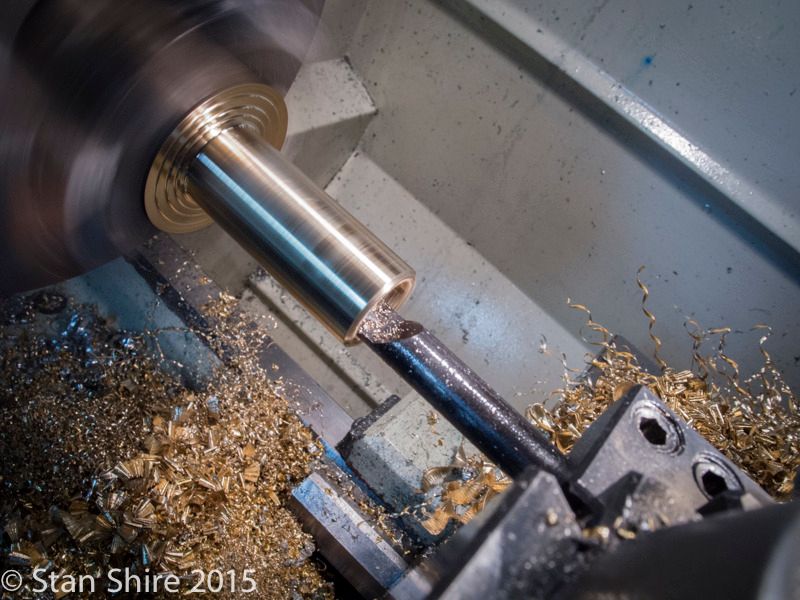
Parted off
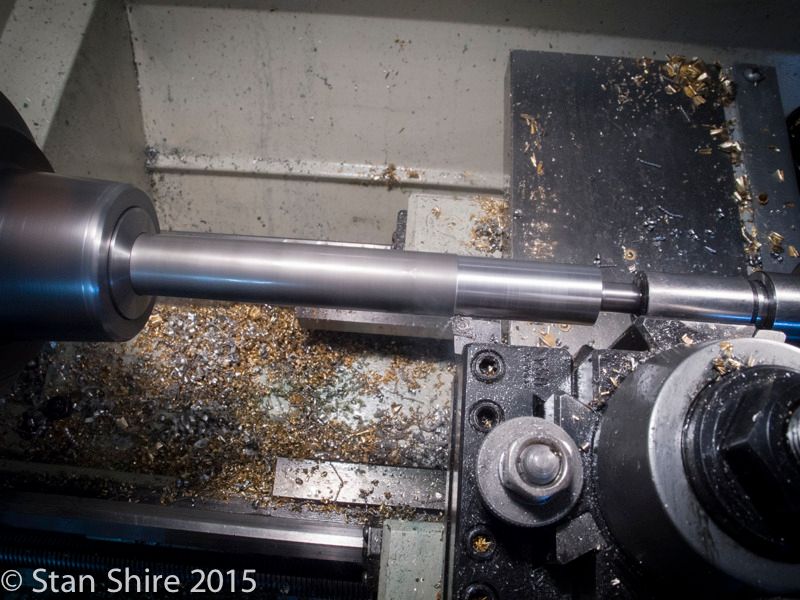
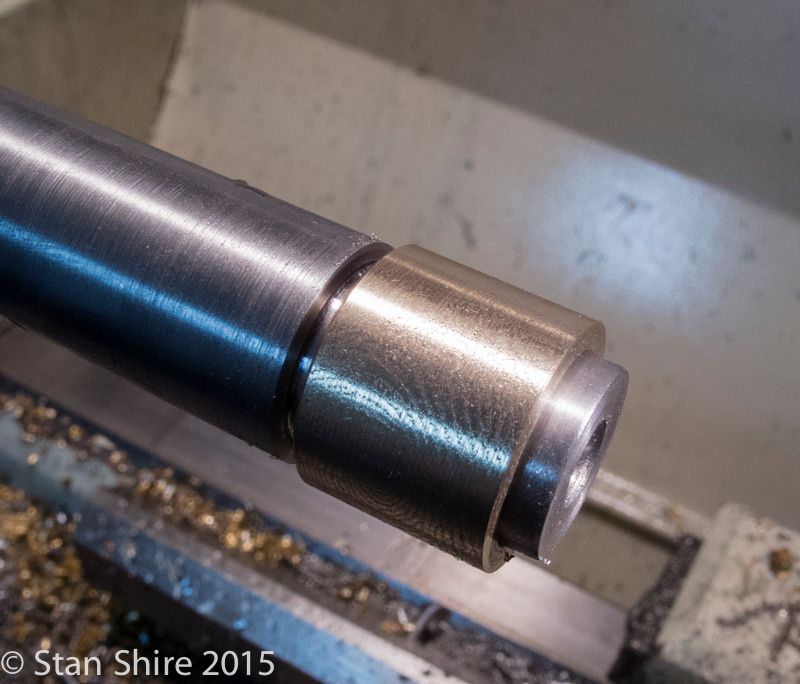
The pivot shaft was turned to diameter and the ends were turned smaller to fit the bushings.
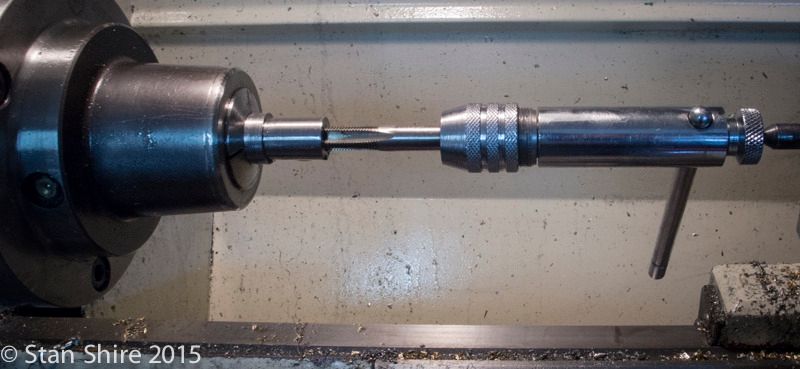
First, a ⅛ x 2.065 deep hole.
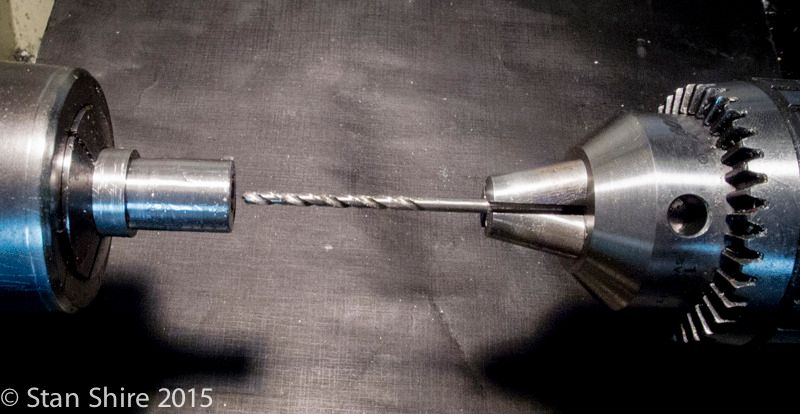
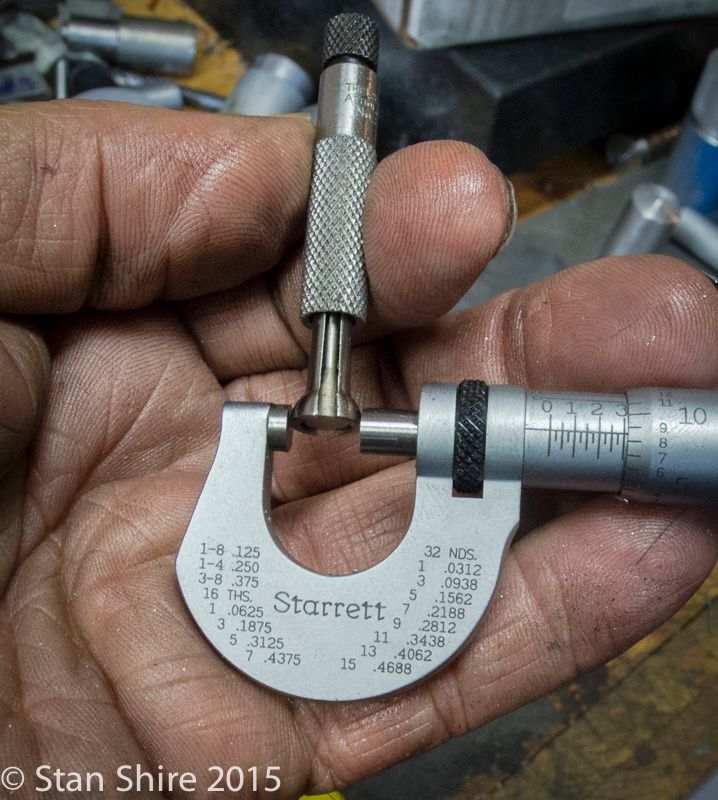
Then larger holes. Finally got to use the small hole gages.
Finally, tapped 3/8-24.
The drilling and tapping were repeated on the other end of the pivot shaft
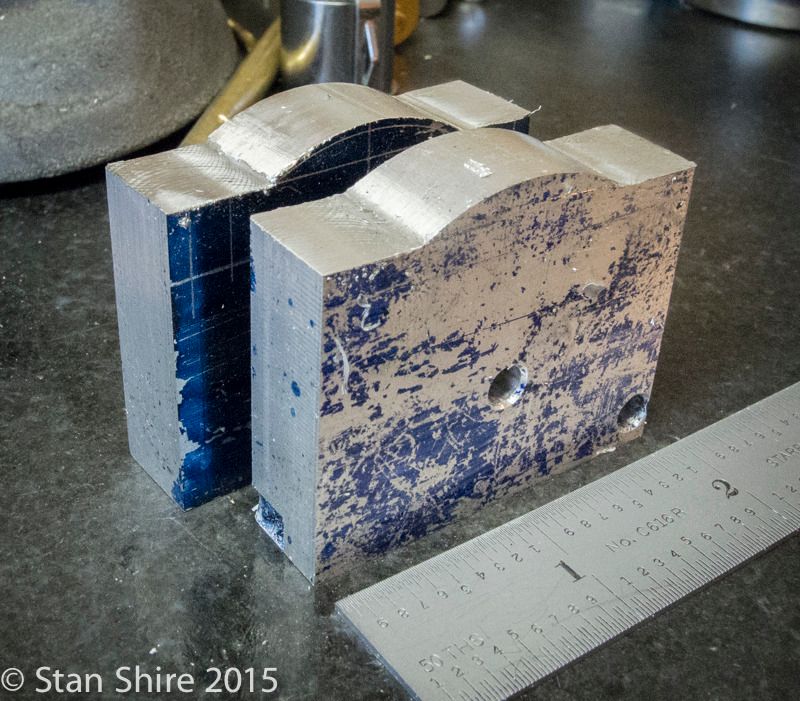
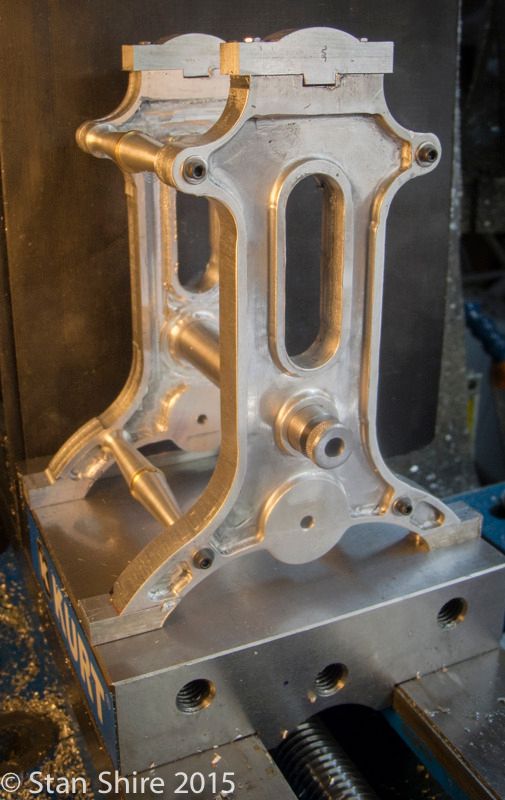
The side plates were indexed together using dowel pins in the ⅛ holes and indicated on an angle plate. The feet were leveled as they will be the reference surface for the next operation.
That was in preparation to machining and fitting the bearing caps.
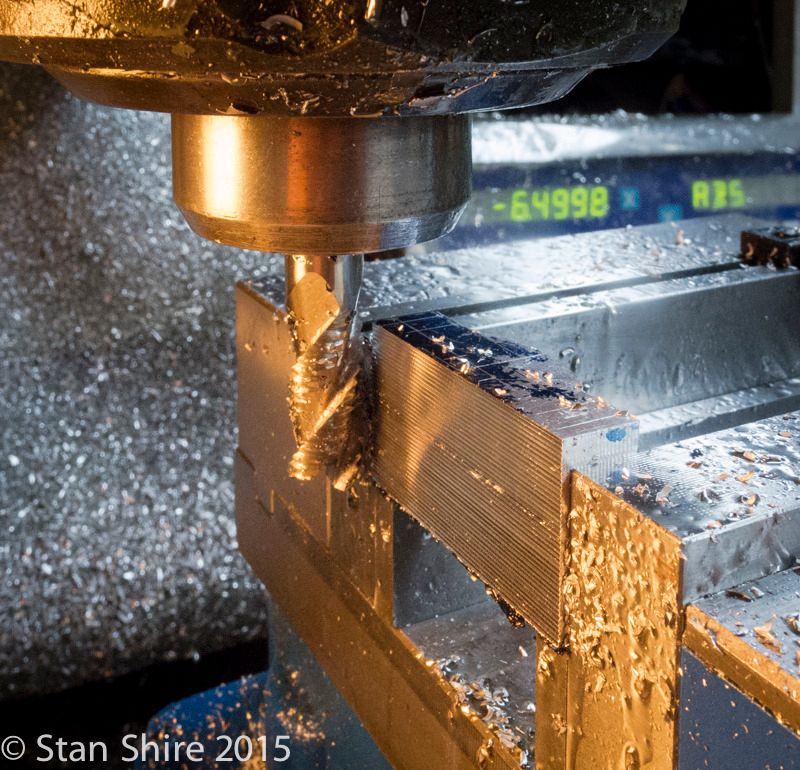
Each bearing cap was rounded on the rotary table.
Since I had left plenty of extra material to clamp the parts on the rotary table, a hogging bit made quick work of removing most of it.
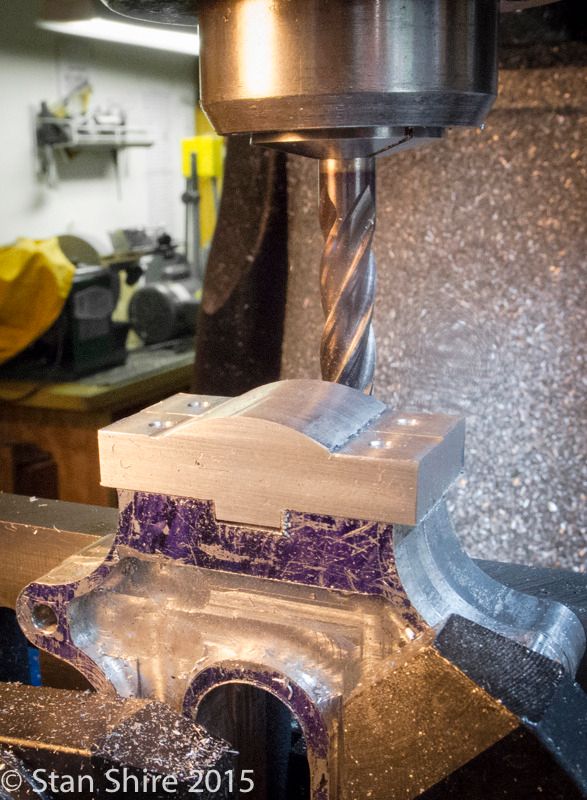
Now, with the side plates oriented correctly, a slot was milled with a center-cutting end mill and the bearing caps were fitted.
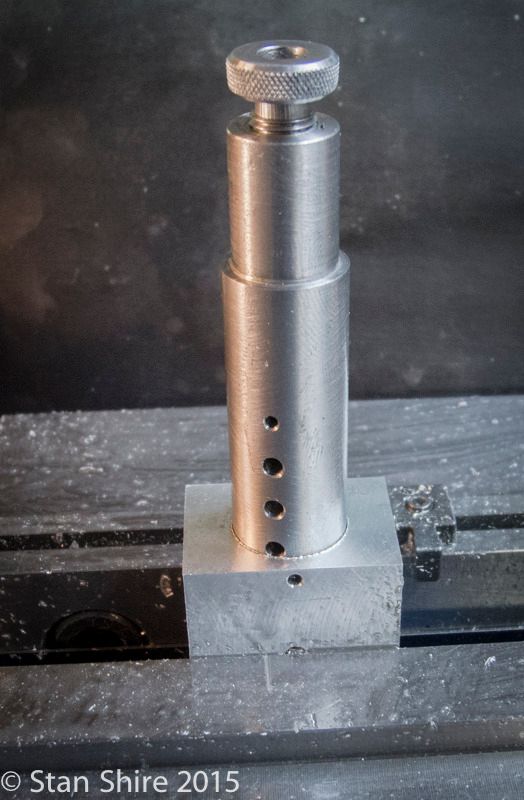
Next, the glands for the pivot shaft. Threads single pointed.
Knurling, drilling, reaming and two pieces of Delrin for packing were made.
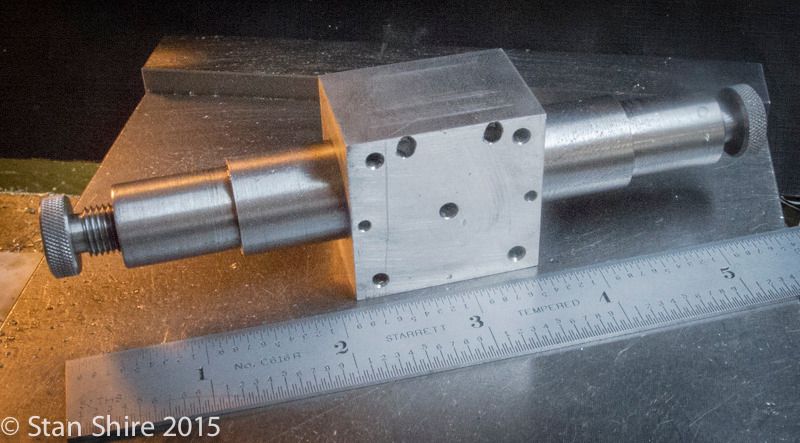
The family picture of the pivot shaft and associated parts.
And, a family picture of everything to this point.
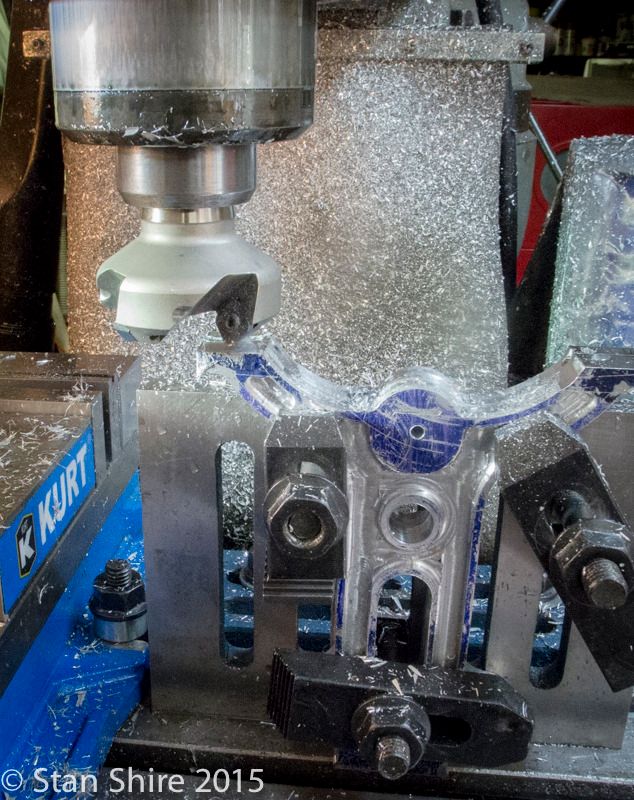
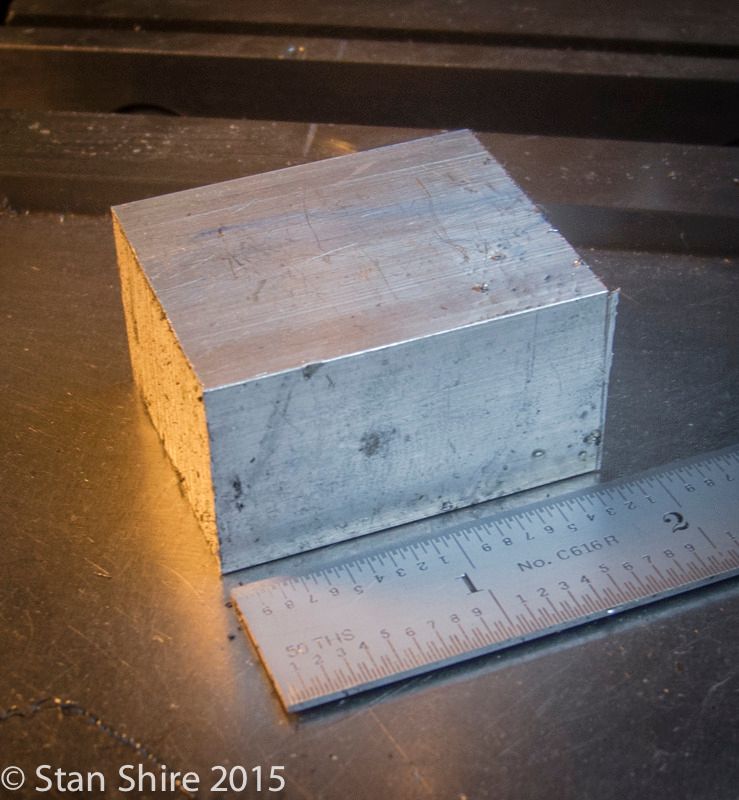
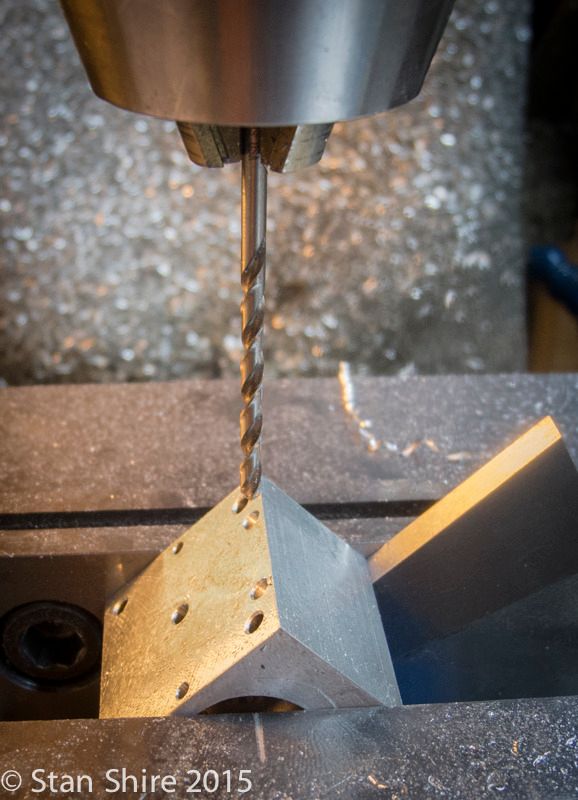
Now, the pivot block. The rough piece.
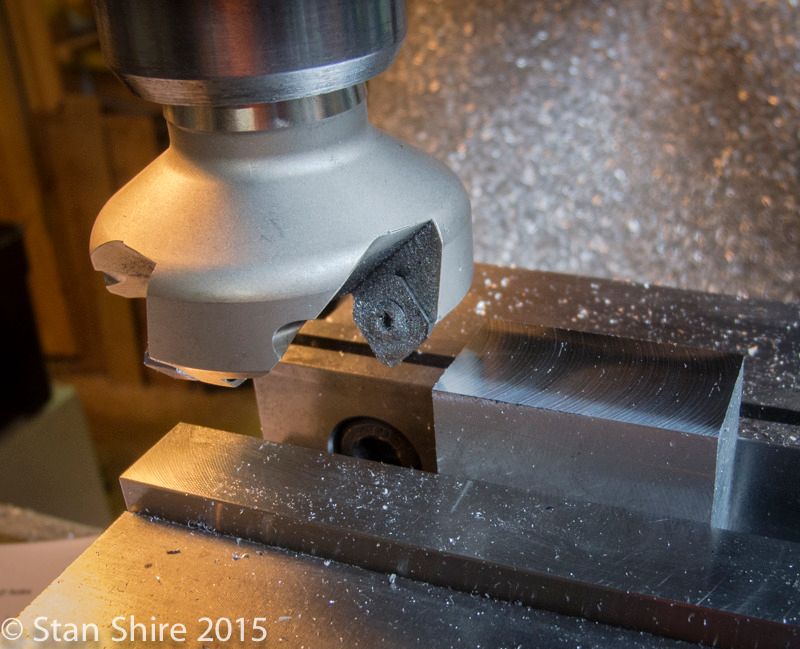
The usual operations. Squaring, drilling, reaming, etc.
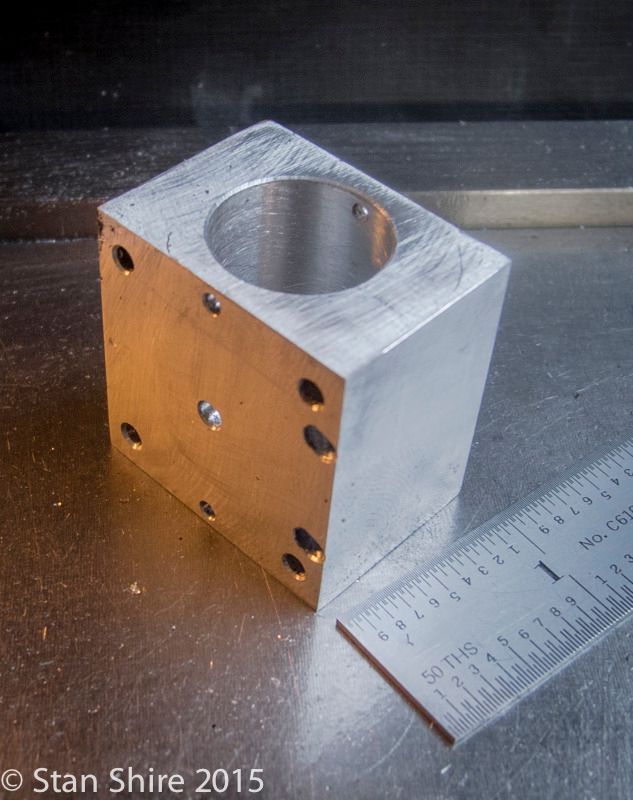
A test fit with the pivot shaft. It has had two ports and two mounting holes completed off-camera.
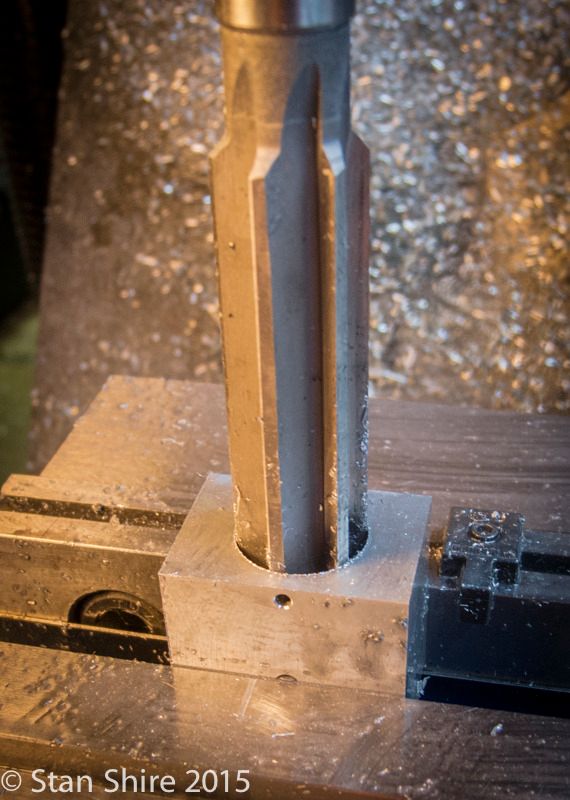
Drilling the ports in the pivot block.
Almost finished with the machining
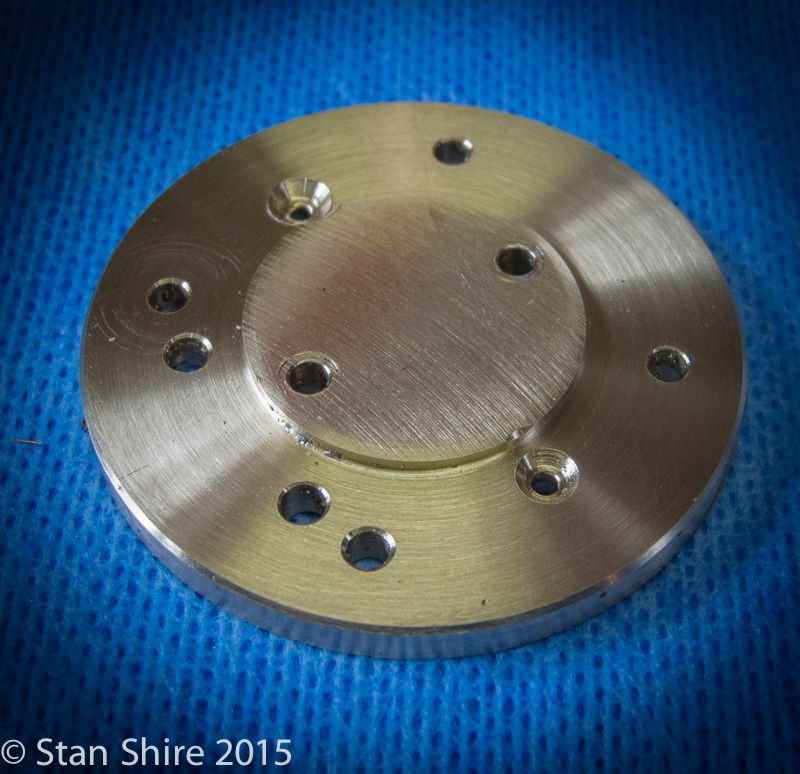
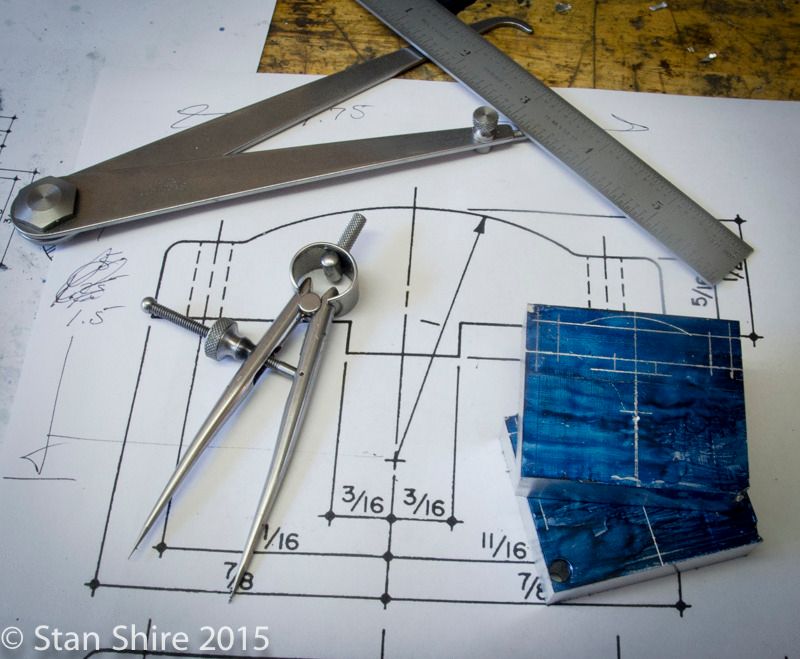
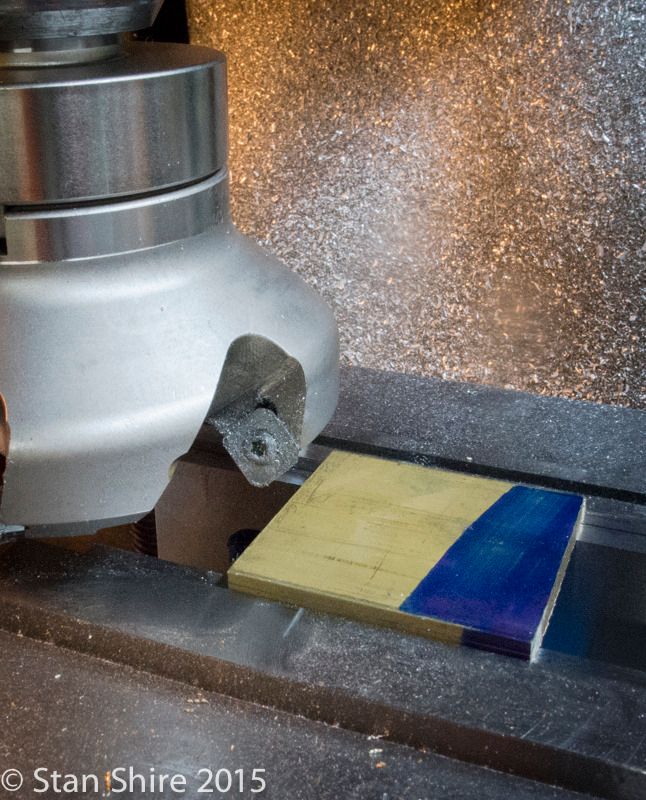
Bottom cylinder coverThe bottom cover is screwed only the pivot block. It is 2 in diameter. Having no 2 brass round in stock, it will be made from ¼ plate.
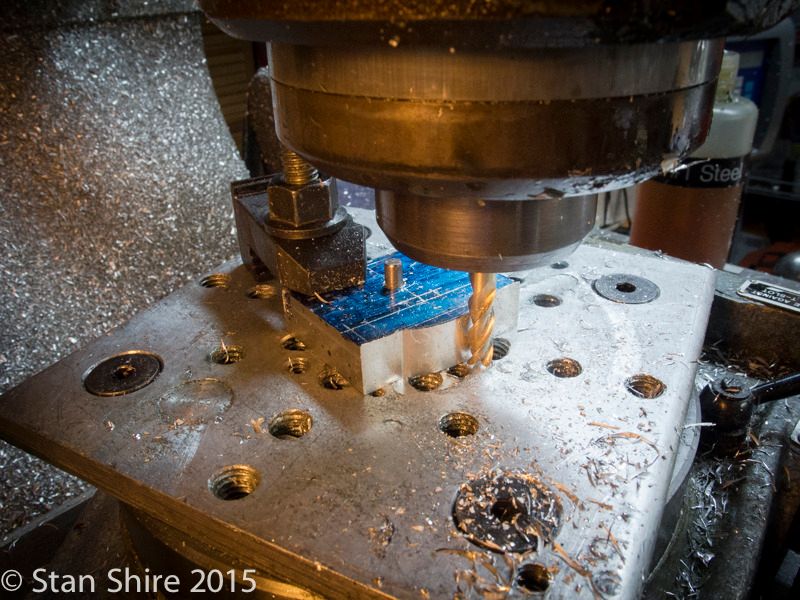
First milling to thickness.
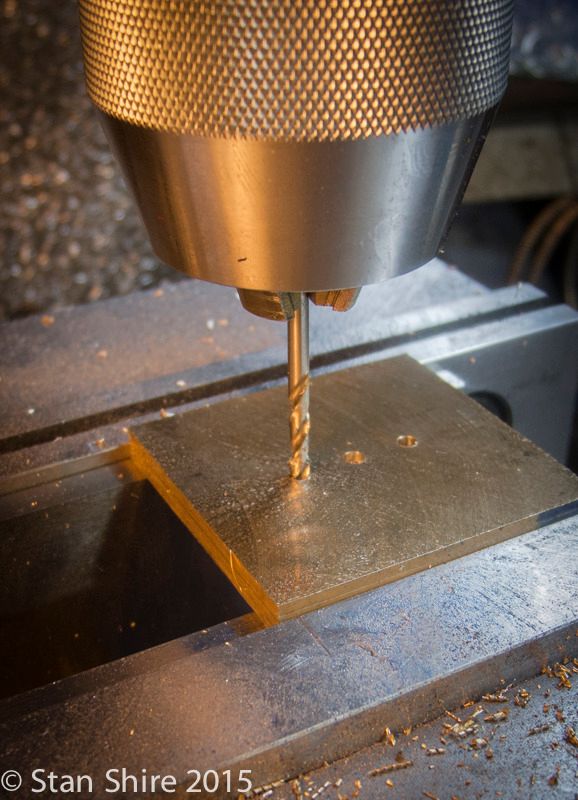
Then, a ⅛ blind center hole. This will be used after this operation to align the cover with the pivot shaft and block. The holes on either side are to secure it for turning.
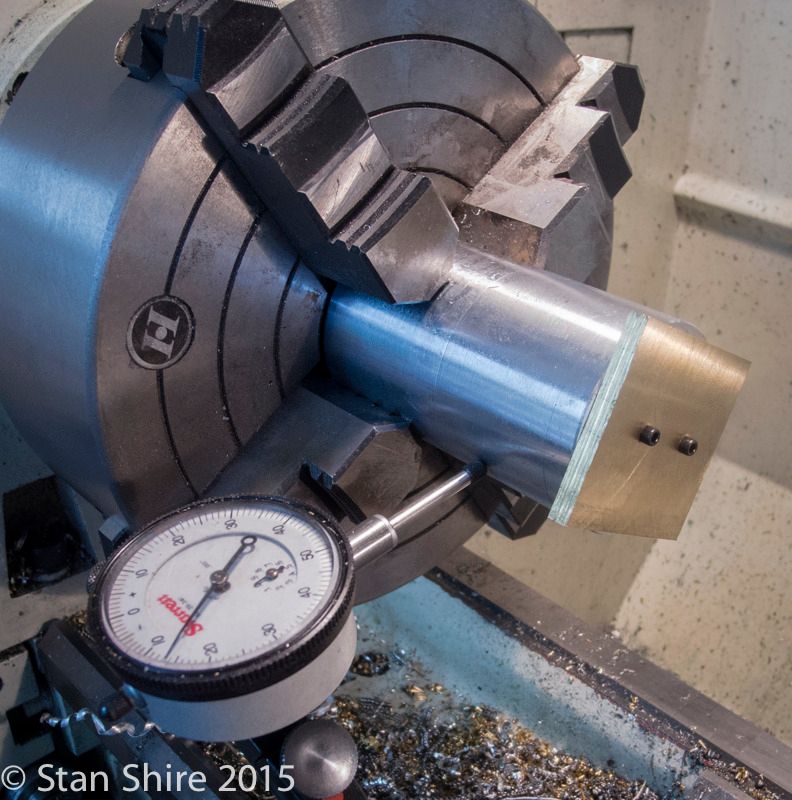
A 2.25 aluminum round with a matching set of holes.
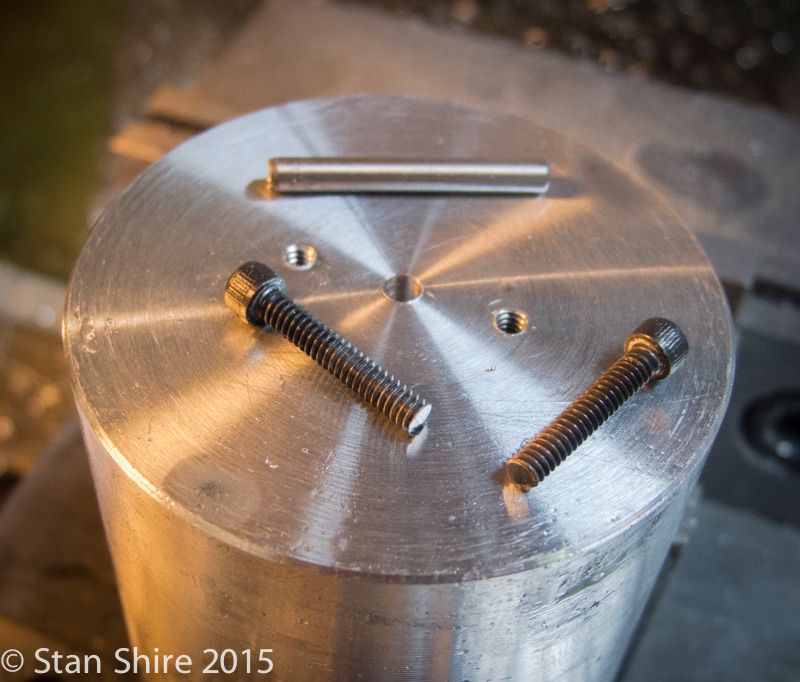
With the brass secured to the aluminum, it was indicated in the 4-jaw.
A trepanning bit was used here. Since my brass plate was 2 wide (the diameter of the cover), I began wider and kept moving in until I had a full circle.
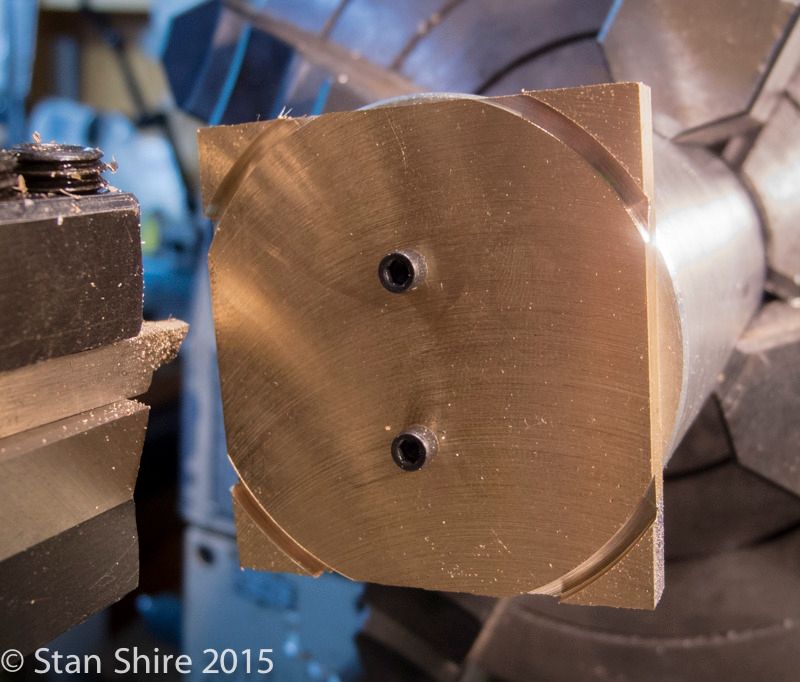
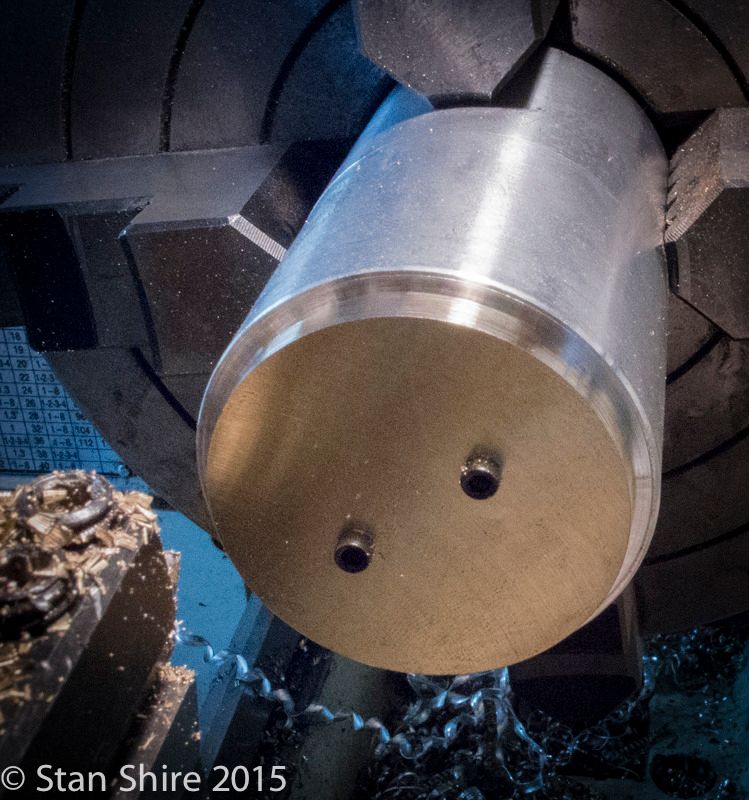
The 1 diameter center boss was turned and then the piece was moved to the mill and indicated.
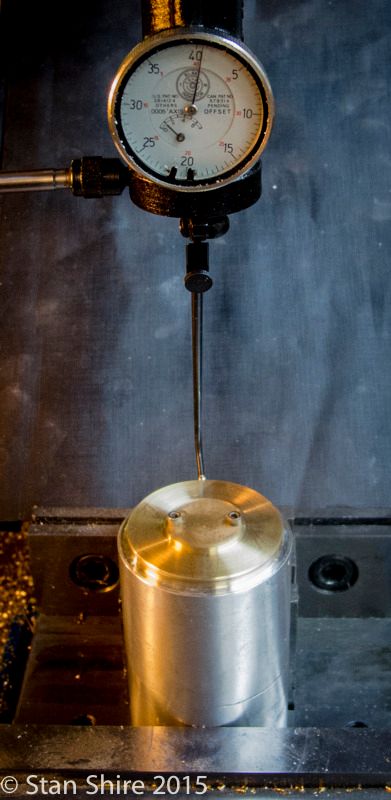
Bolt hole circle, countersunk mounting holes and intake and exhaust holes. The central mounting holes will be plugged.