Lady Godiva Rides Again - Episode 8
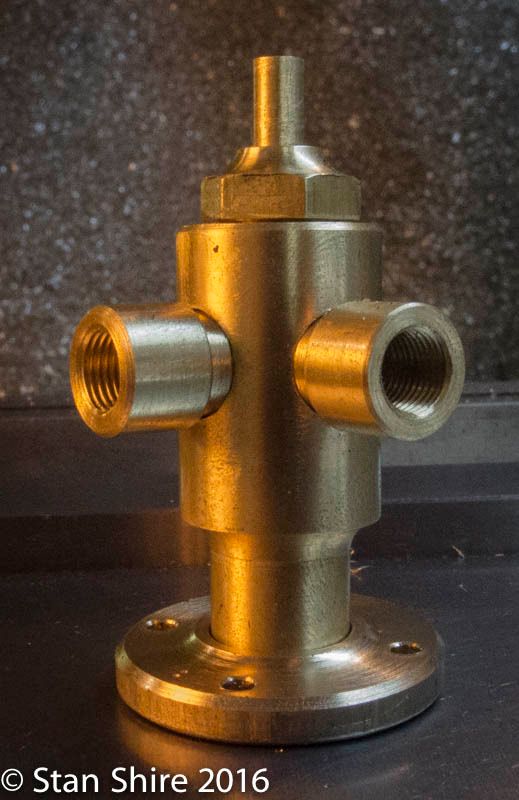
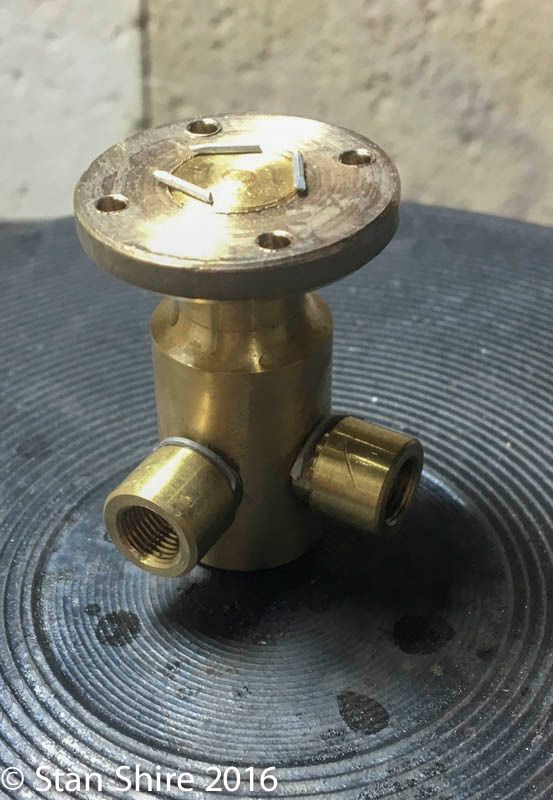
Roy Ozoufs Coventry EngineControl TowerThe drawings show an air control valve stand. They also say, see text.
Roy must have decided that if youve gotten this far, you dont need no stinkin text as it does not exist. It is pretty straightforward so off I went. I did make some changes to thread sizes, etc. based on the taps, dies and brass stock I had on hand.
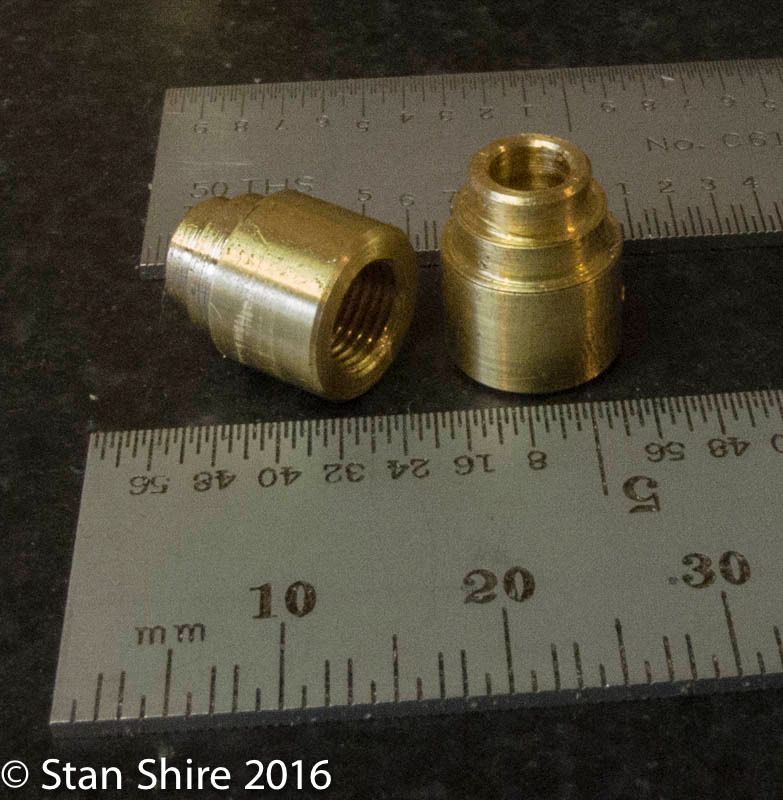
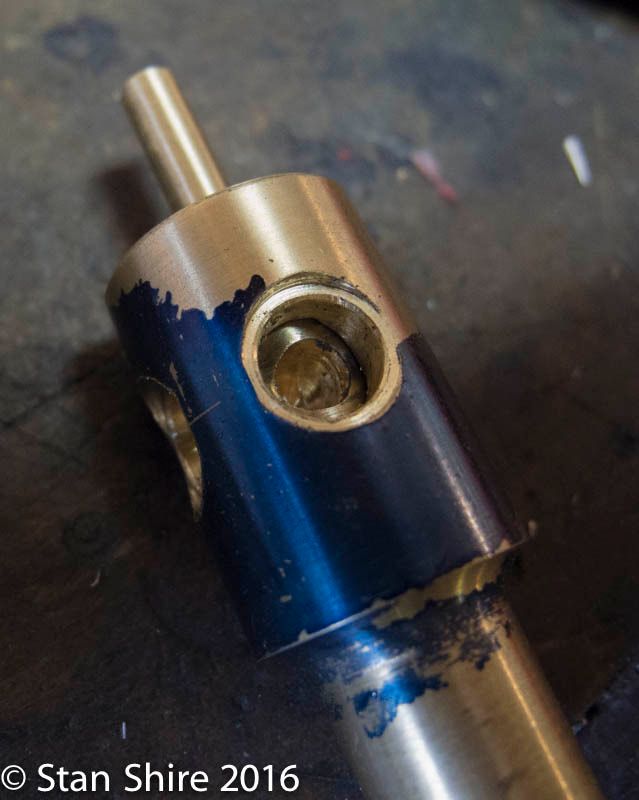
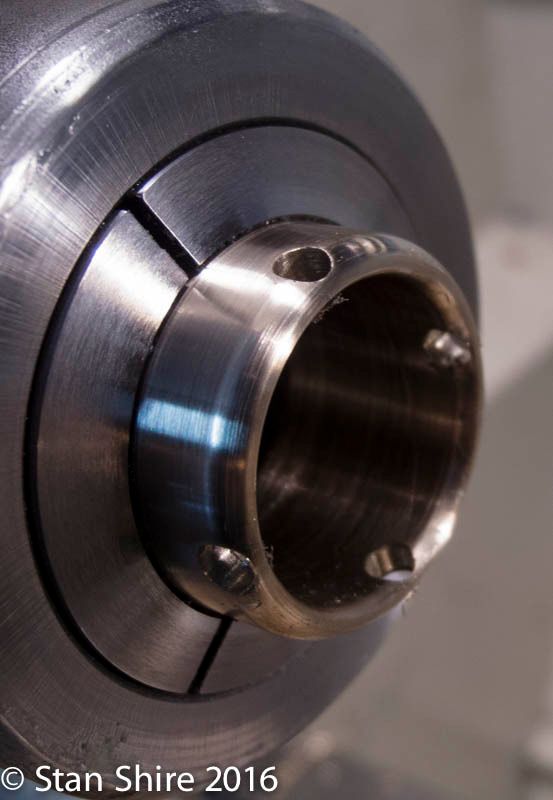
The drawing shows the body turned from a 1 diameter brass round. Since the only thing that is 1 is the ⅛ base flange, it seemed like a lot of brass was going to be converted to chips. I decided to make the body in two parts: The flange and the upper body.
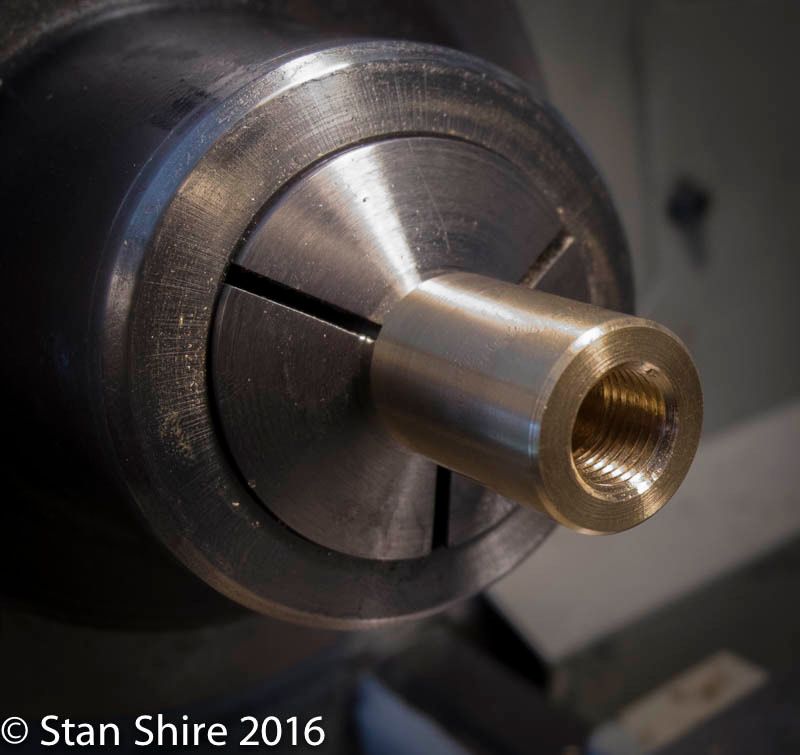
A .625 brass round was turned to shape.
Then. reversed, drilled and tapped.
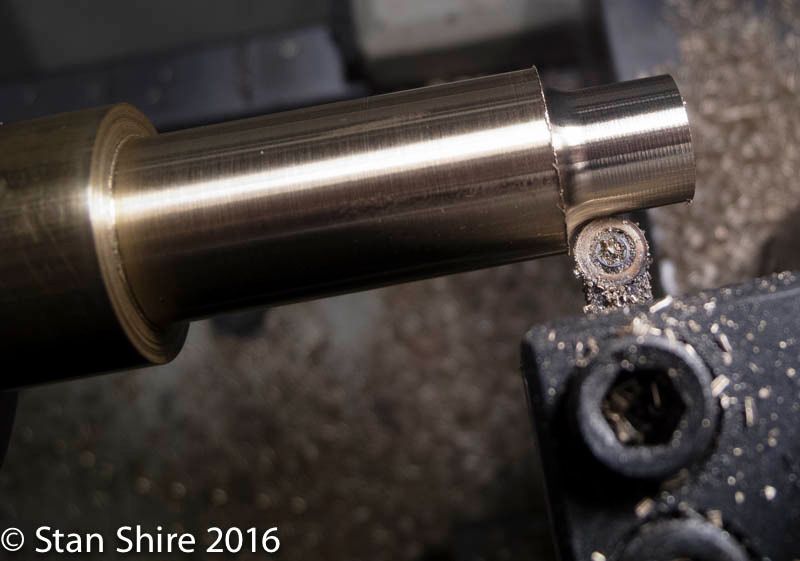
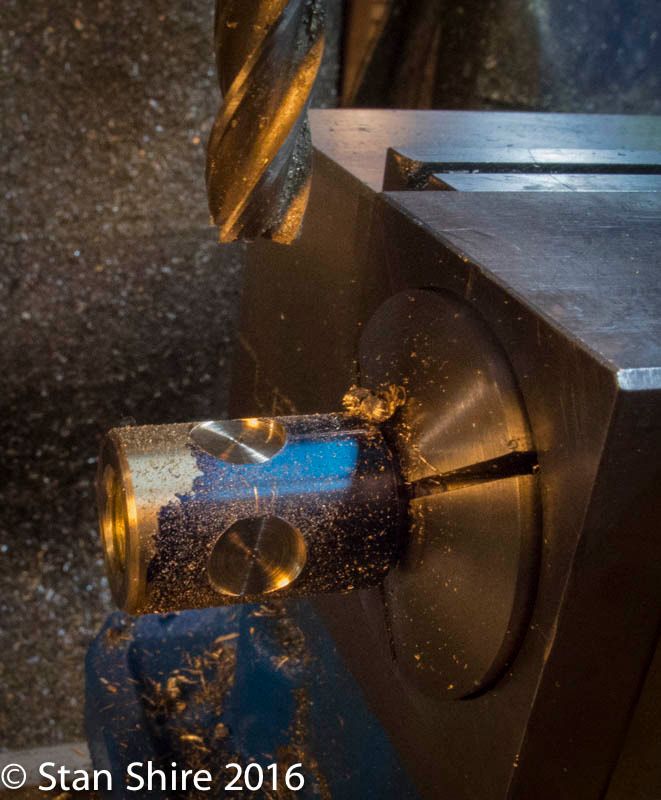
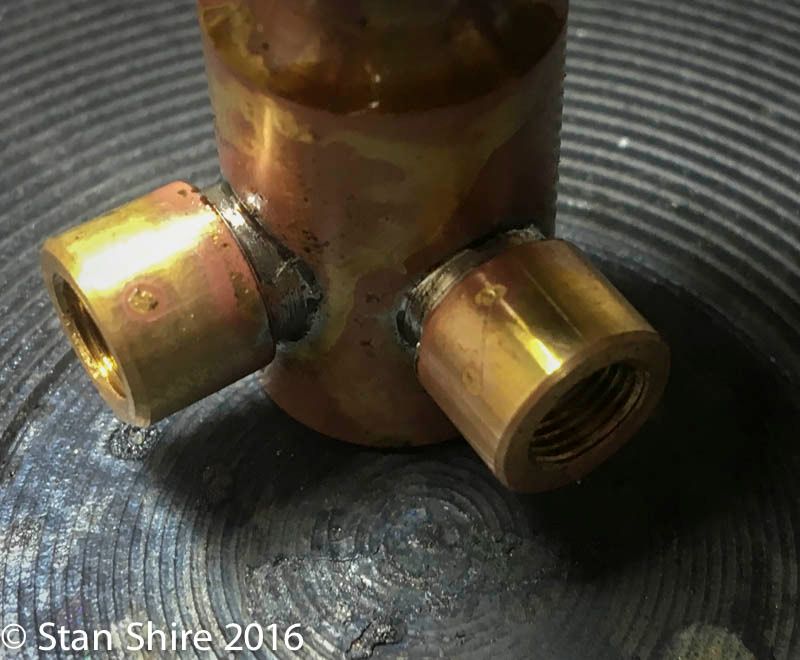
Next, two bosses to be drilled and tapped ¼-40. These will be soldered into the body.
With those completed.the body was moved to the mill, spot faced and two .25 holes were drilled 90º apart.
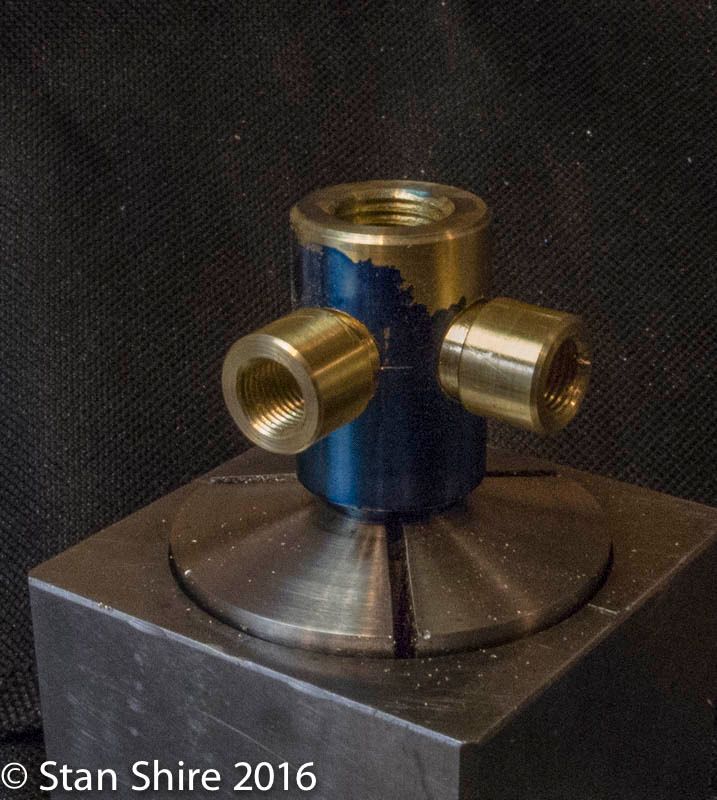
A dry fit.
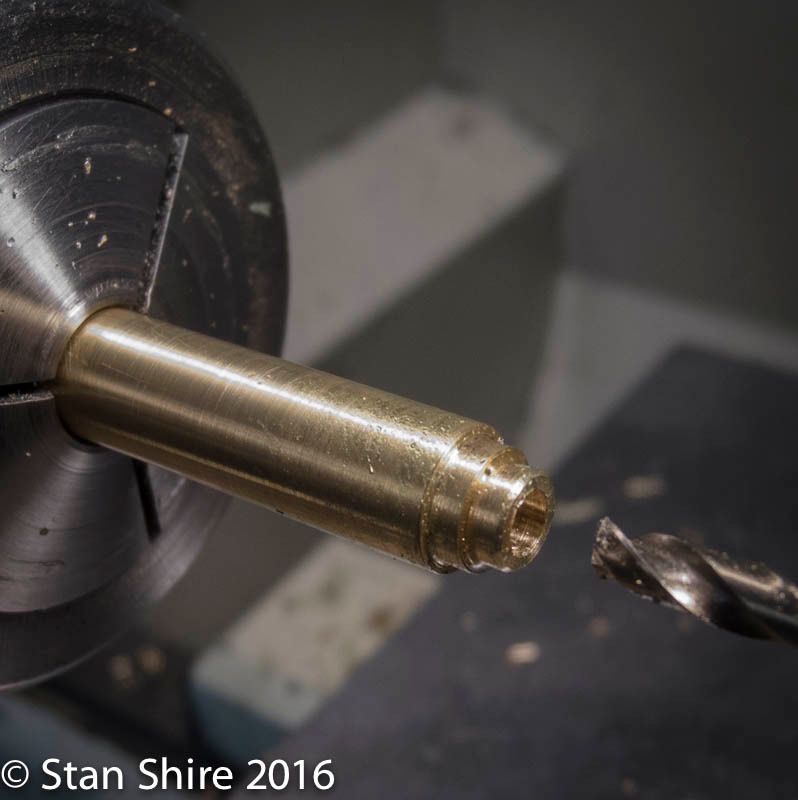
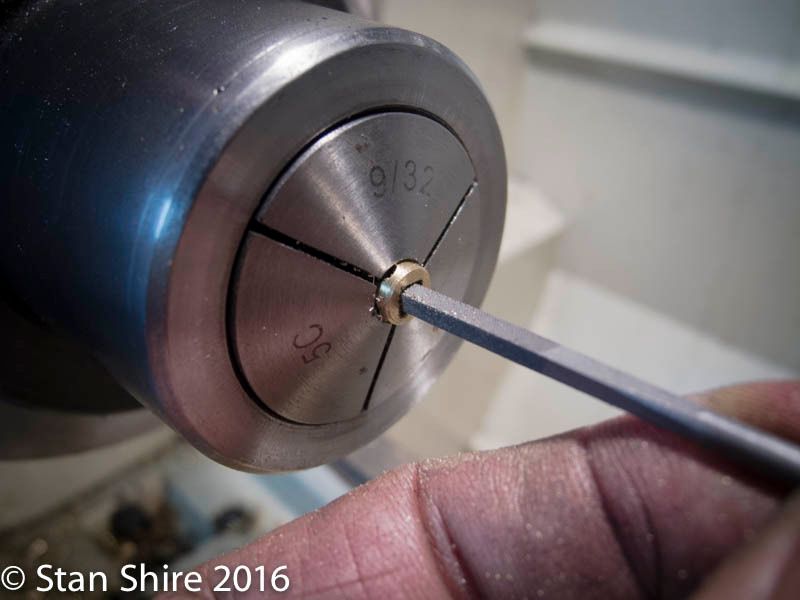
Next, the plug. This was turned and parted off.
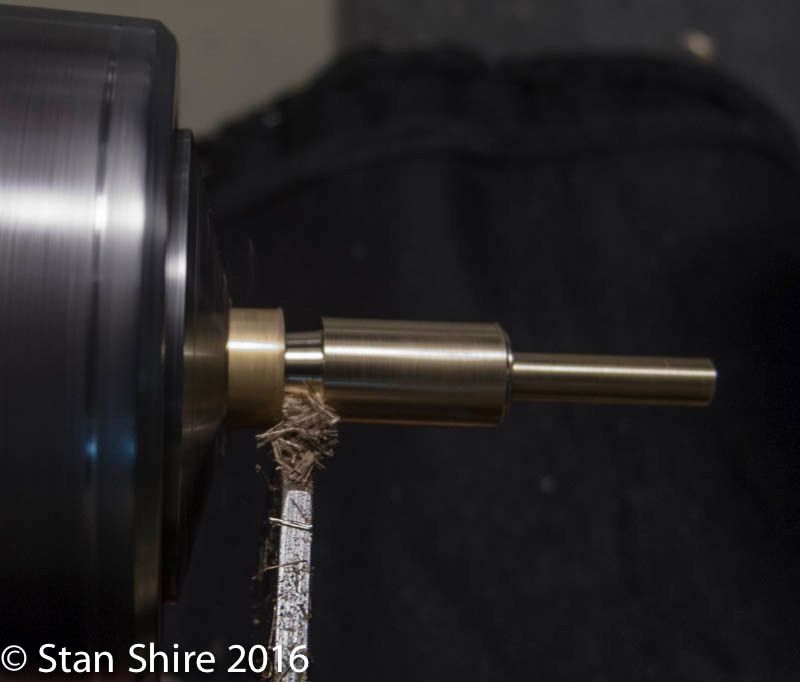
Then, two intersecting holes were drilled 90º apart to align with the holes in the body.
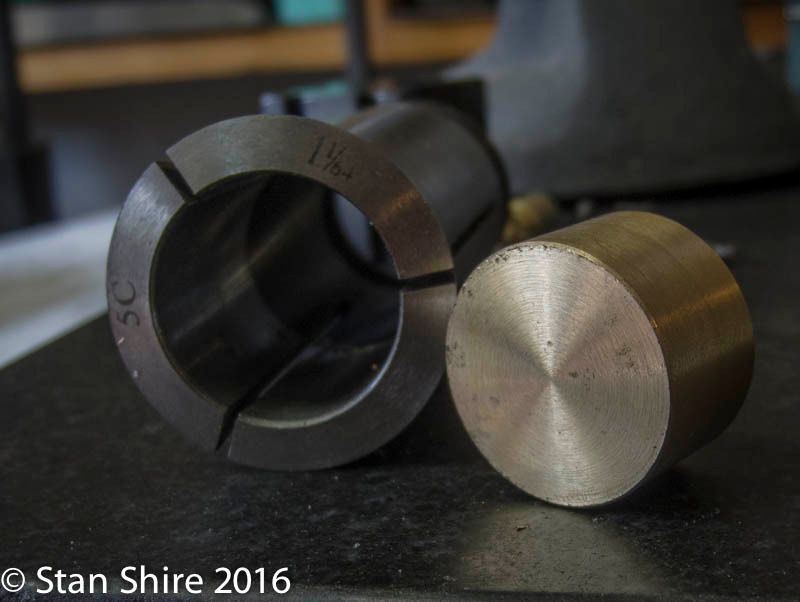
Rummaging through the brass box, I located a cutoff that had the correct dimension for the base flange. Turned per the drawing.
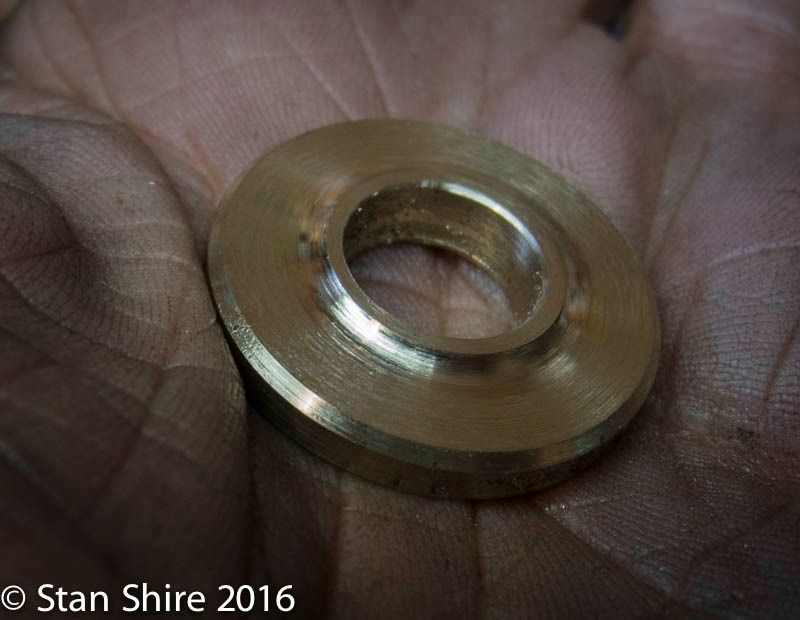
Moved to the mill for a bolt hole circle for mounting bolts.
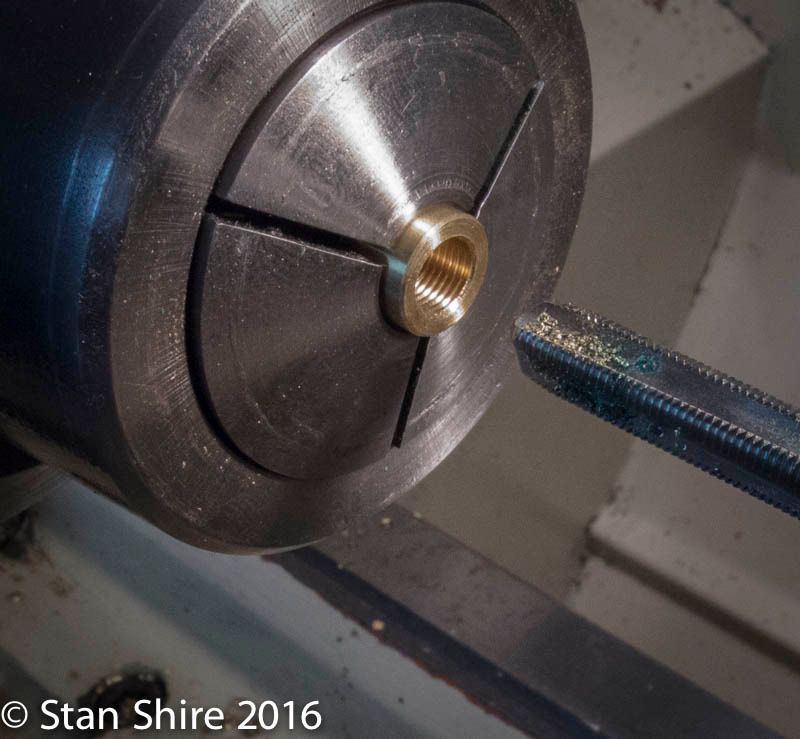
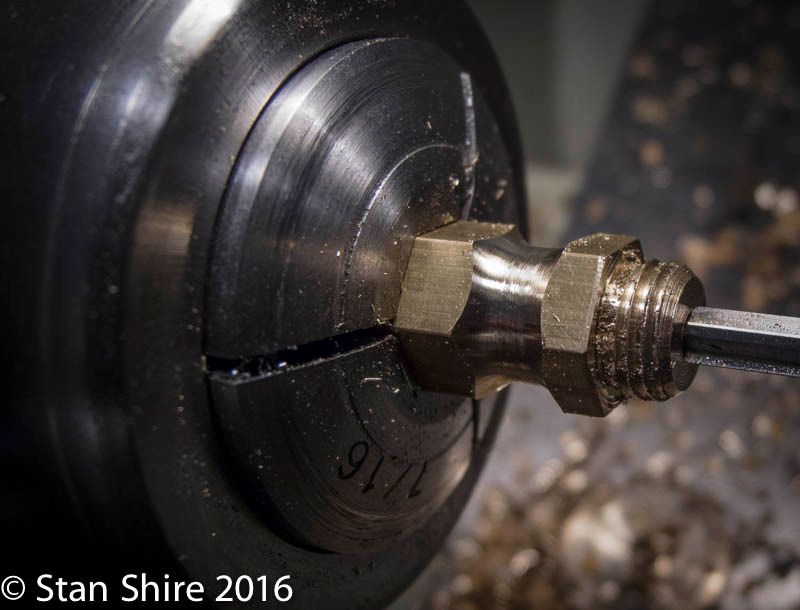
The shaft nut was turned from a brass hex, shaped and threaded.
A family shot.
One more part for the valve. The drawing has this machined from solid. I wasnt thrilled with the look of the part. My version follows.
Starting with a 1 brass round.
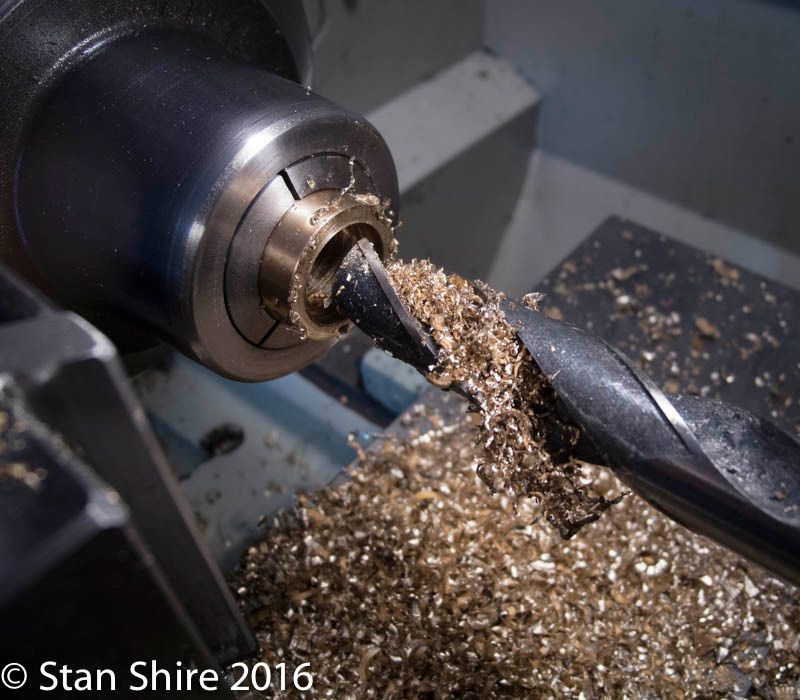
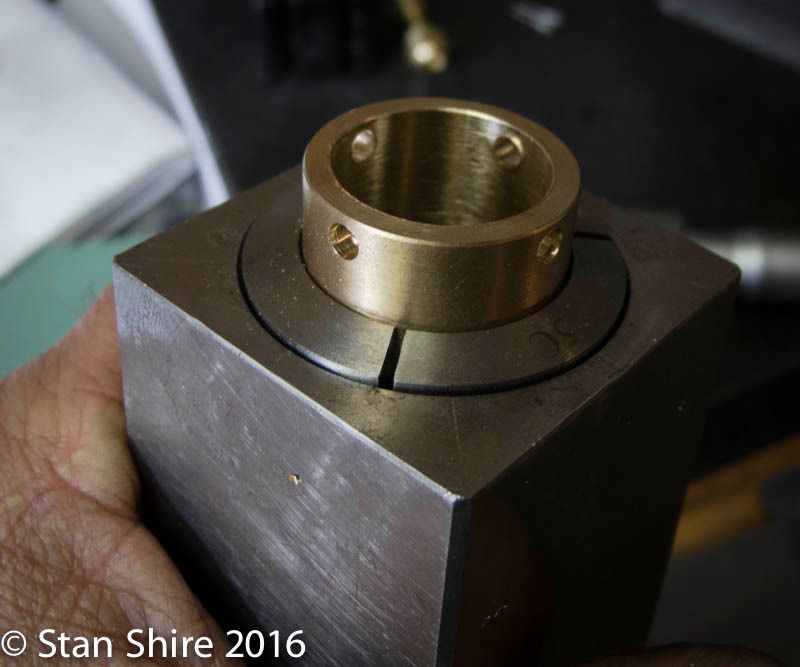
I need a .75 bore. Step drilled up to a Silver and Deming bit slightly under .75.
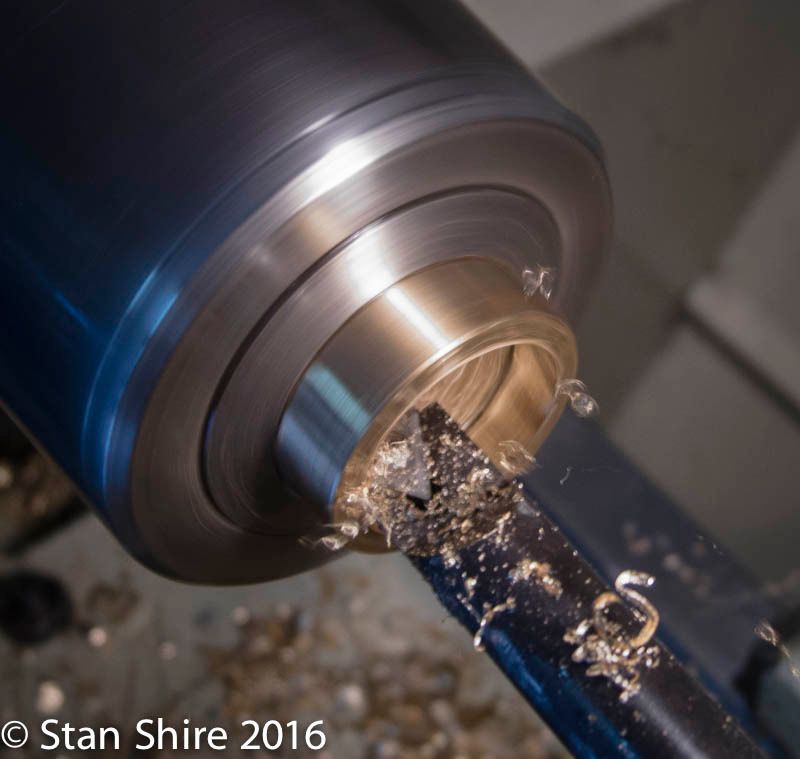
Then bored to diameter.
I wanted to maintain a .125 wall thickness. In order to measure accurately, a ball was installed on the micrometer. This adds .200 to the measurement.
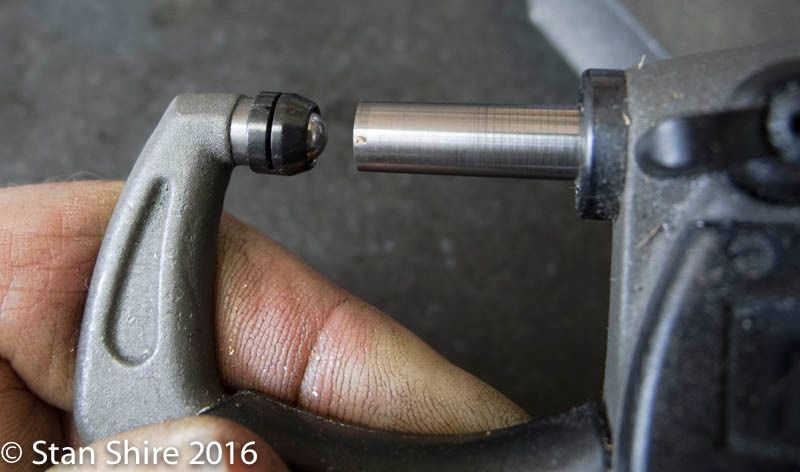
Then the wall could be measured. So, .3251-.200=.1251. Close enuf.

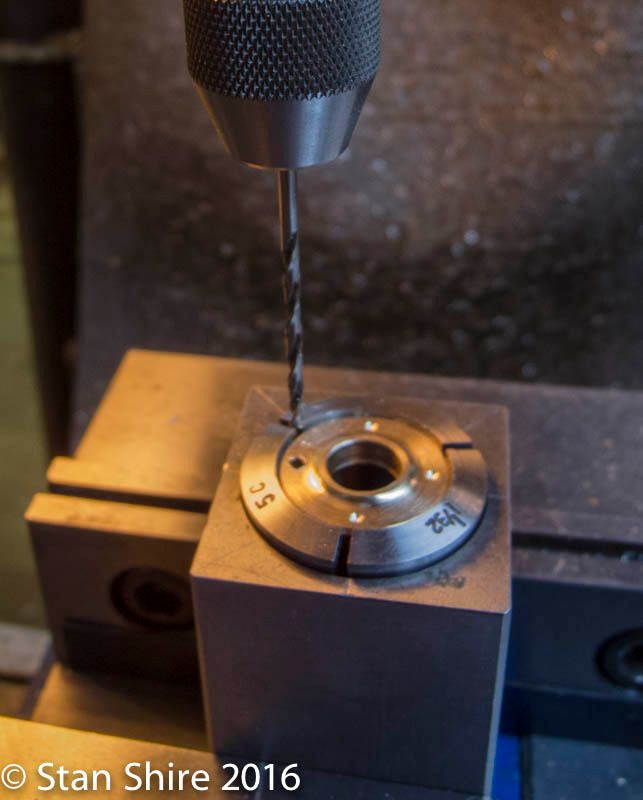
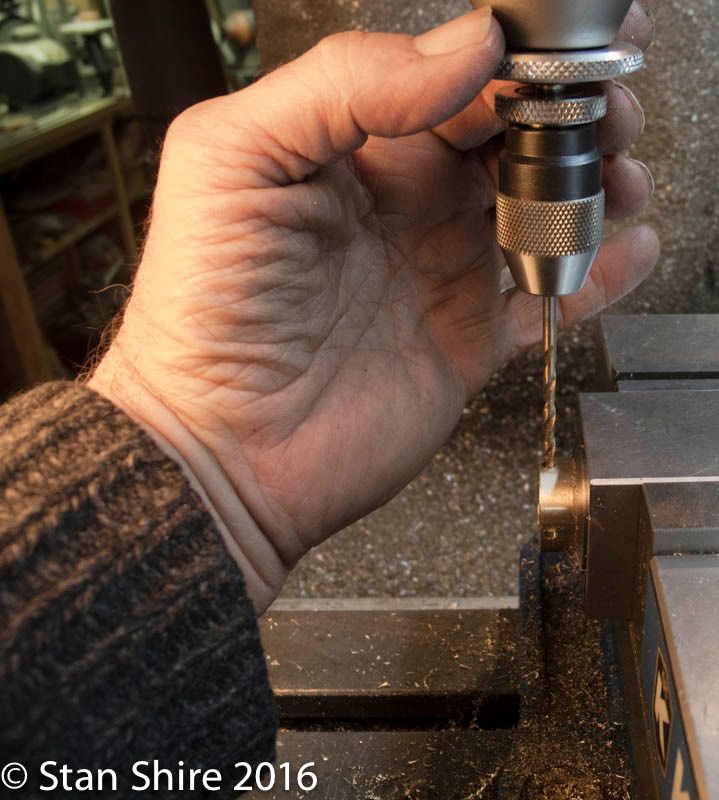
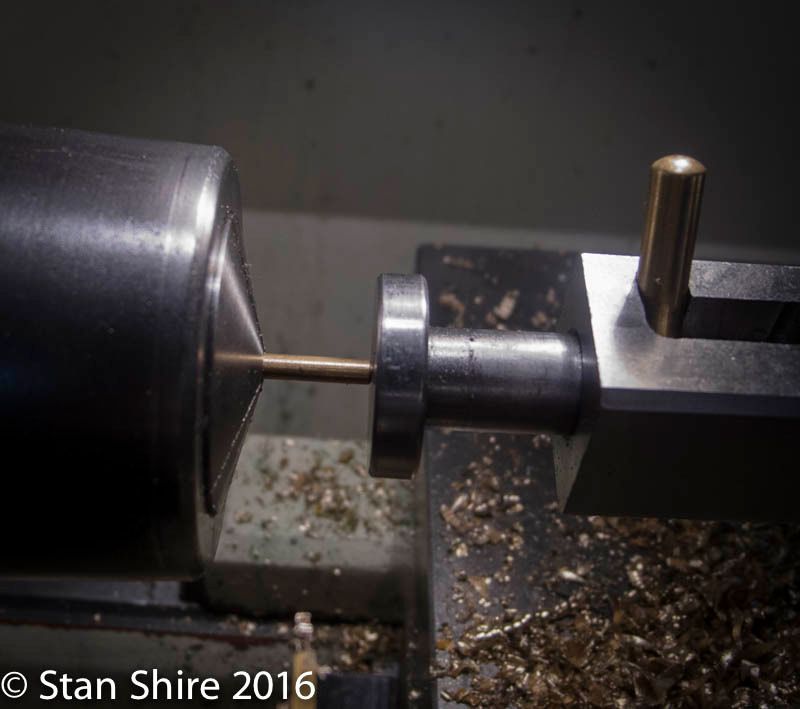
Moving the part to the mill, 4 holes were drilled around the perimeter. 90º apart.
A form tool and files shaped the edge.
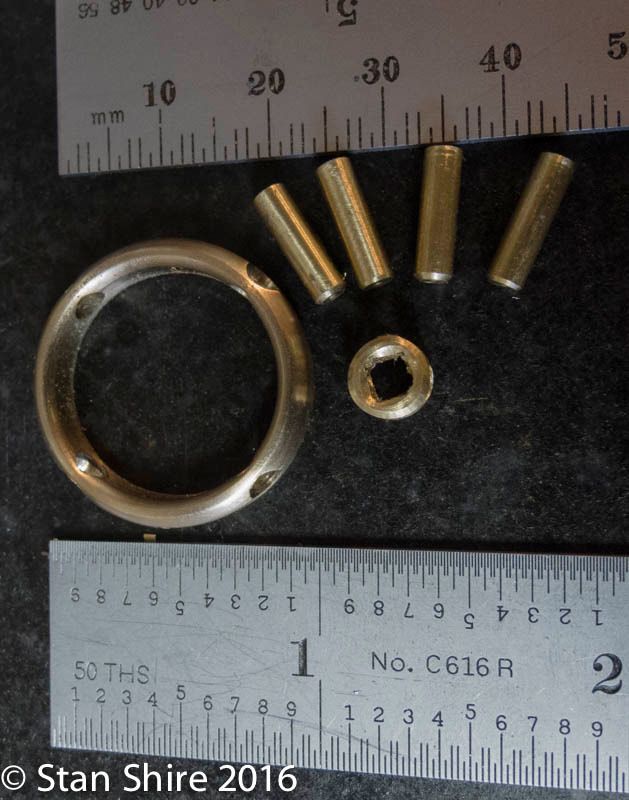
Another brass round, center drilled, 4 holes on the perimeter and the center hole filed square.
Then 4 precisely equal length brass rods.
So, we end up with this collection of parts.
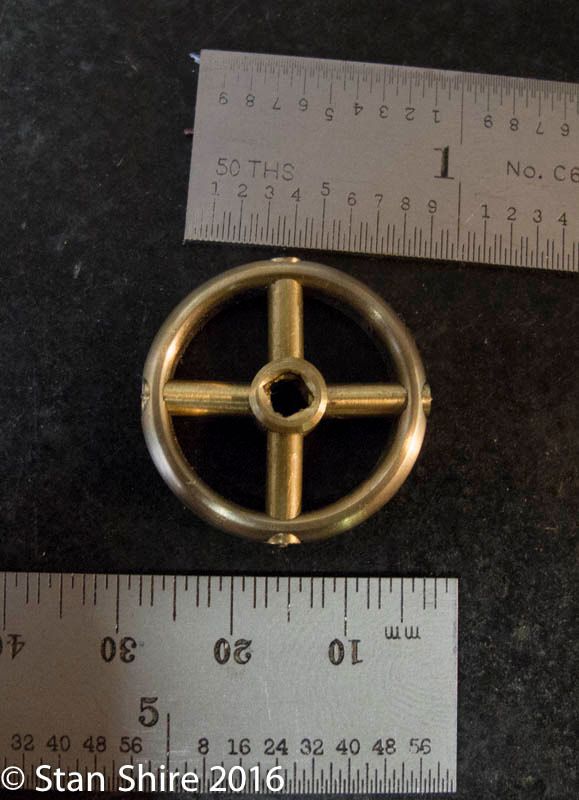
When assembled, make a hand wheel for the valve.
They will be soldered tomorrow followed by filling, polishing, etc.
The body and base flange needed to be soldered. I had been thinking about using Tix solder. It has a low liquidus temperature (275º F/135ºC) and a tensile strength of 4000 PSI. After cleaning all of the parts and applying Tix flux, I cut small pieces of the solder and put the assembly on a hotplate. Two minutes later, the solder melted and flowed beautifully through all of the joints. No torches, no melted brass.
Paint is next, then the base. Stay tuned.


