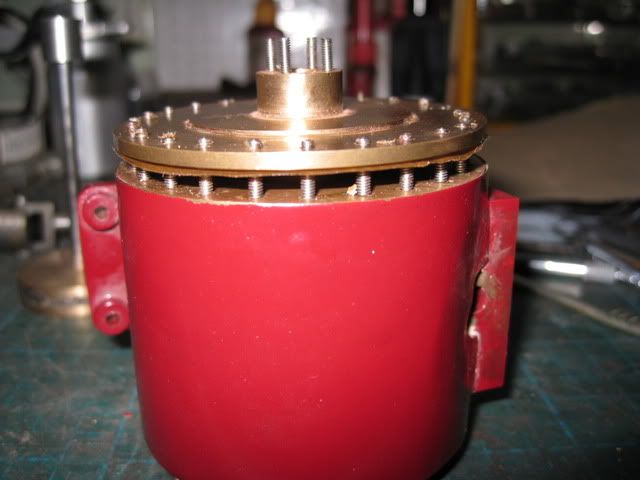
This weekend I have been working around the Double Tandem Compound?s crank:
The original design for the crank top plate was a simple piece of 1/16? steel drilled for the studs and tapped for an oil pot. However the depth of the bearings was 5/64? shallower than the cut out shown on the crank supports on the drawings, leaving fresh air above the bearings

. So my initial redesign of this plate looked to take up the air gap. But it still didn?t look right so when it came to the painting I decided to modify it further using a couple of off cuts of gunmetal that had come to me in a pile of ?come in handies?:
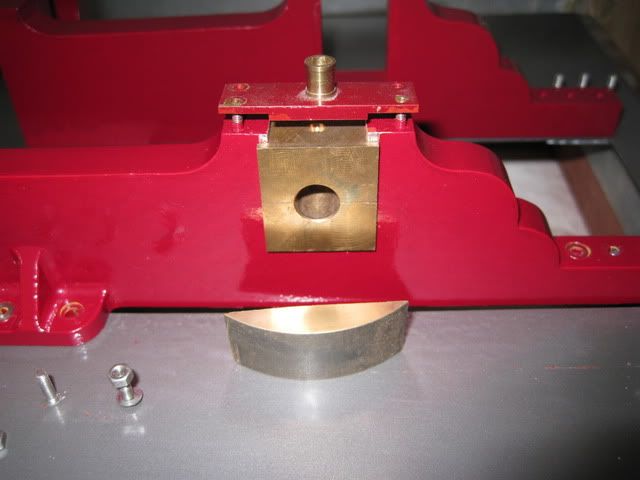
From these bits of scrap I milled a 3mm high section to mount onto the original plates:
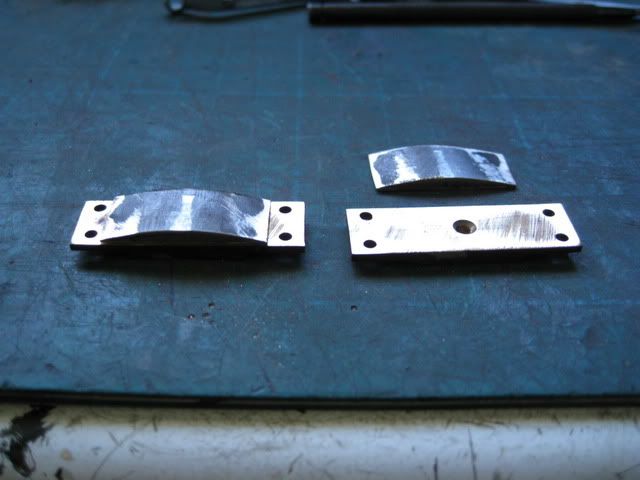
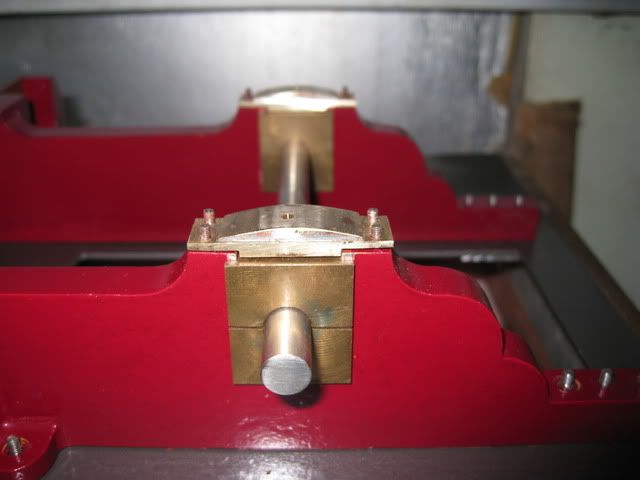
Soft soldered together they seem to be a little more in keeping:
Whilst I paint the engine I am also putting in the gaskets, these are nothing special. The gasket is cut from some brown paper packing that came free in a parcel from amazon. Ok I had to iron it flat, but by the time it is oiled the creases vanish and it is importantly free.
This photo shows the gasket cut and oiled in place. I use a watchmaker?s broach to cut the holes for the studs after the paper has been oiled in situ: I cannot yet leave it on the cylinder as that is about to be taken apart and repainted and new cladding added.
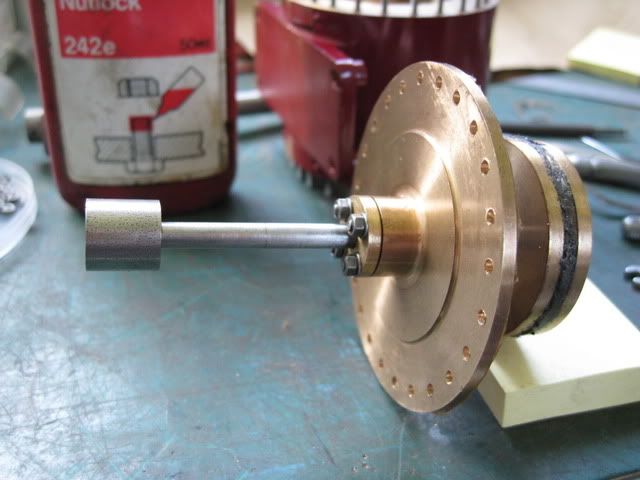
This is the low pressure cylinder piston and the tail rod, hidden in the gland is an ?O? ring seal:
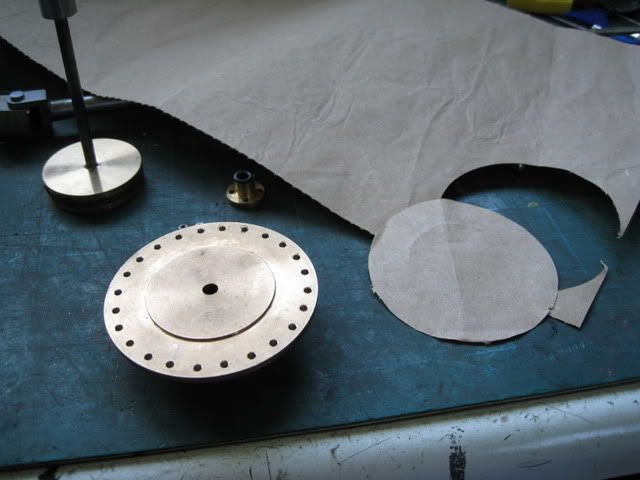
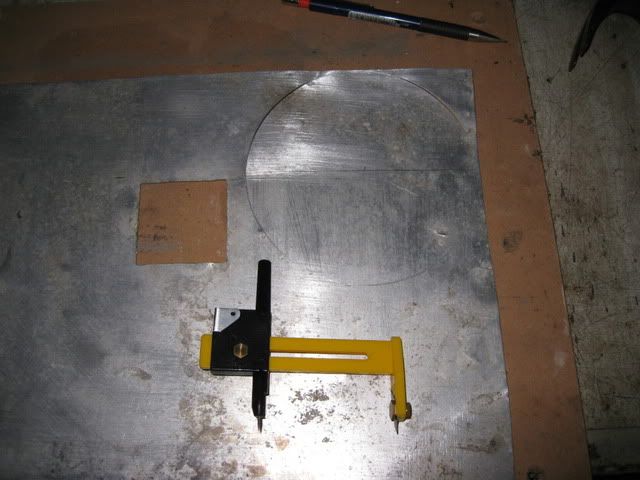
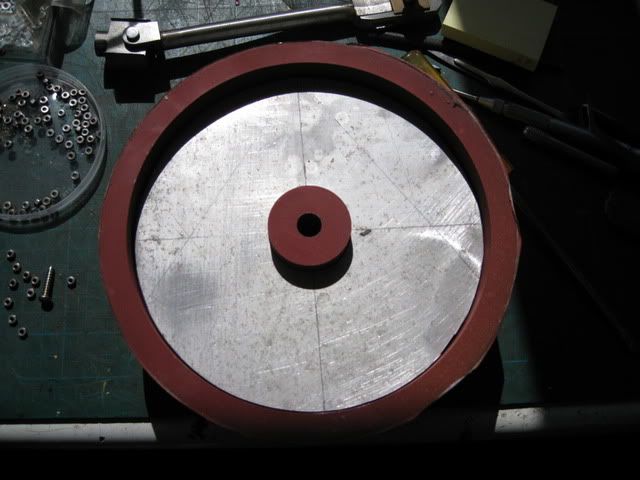
So back to the crankshaft end of the engines: The consensus on the flywheel seemed to indicate that I needed to clad the flywheel, so this is how I did it. The backing to the cladding is a 20thou sheet of aluminium. The flywheel felly inner rim and the hub were measured. The larger outer diameter was scored using a paper cutting compass and fatigued out.
The inner was punched:
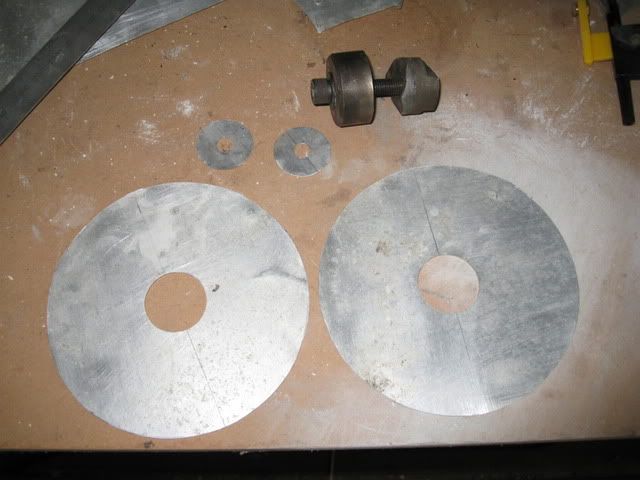
This was then checked to fit the flywheel:
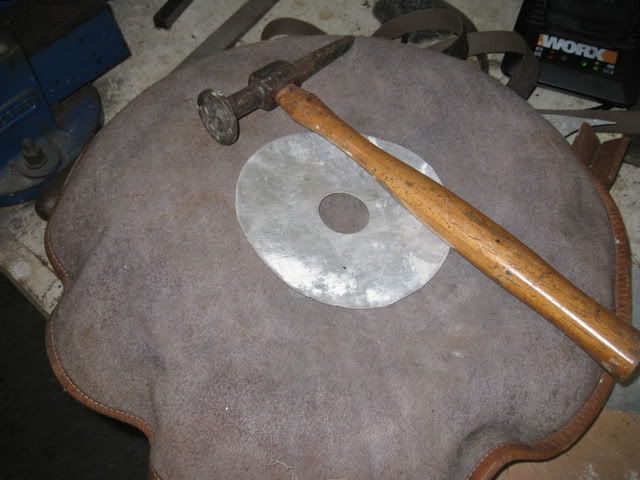
The cladding on full sized flywheel was rarely flat so the next job was to dome these plates, in the traditional manner. An alternative would have been to use a press but it only took 30 seconds by hand.
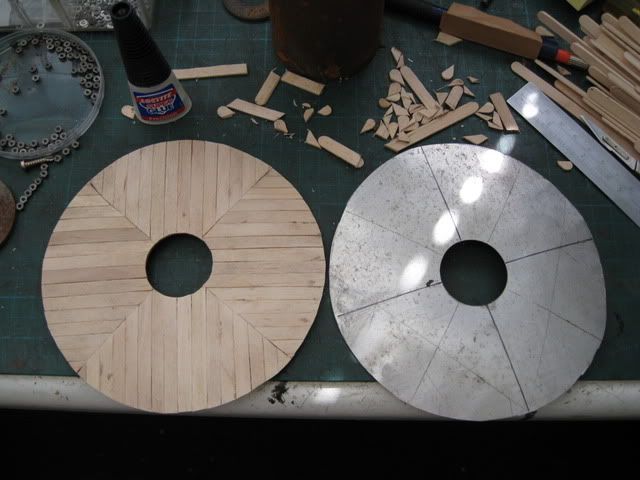
So with two domed plates it is on to the cladding. Those of you who know me will immediately recognise these excellent wooden spills which come to me at a very reasonable cost. To clad the centre the first step was to mark the plates out in 8ths and add the four primary axes either side of the quarter lines:

At this point I made a couple of mistakes; super gluing the spills in place works but I tried cutting them to length with a jewellers saw, a junior hacksaw and files. What I found worked for me was a nice new scalpel three slices and I got a perfect edge. From this start it is simply a matter of filling in the quarters using the scalpel to cut the angles on the end of the spills where they join. An hour later and the first plate is covered, the edges trimmed using the scalpel:
A quick check that it fits on the flywheel,
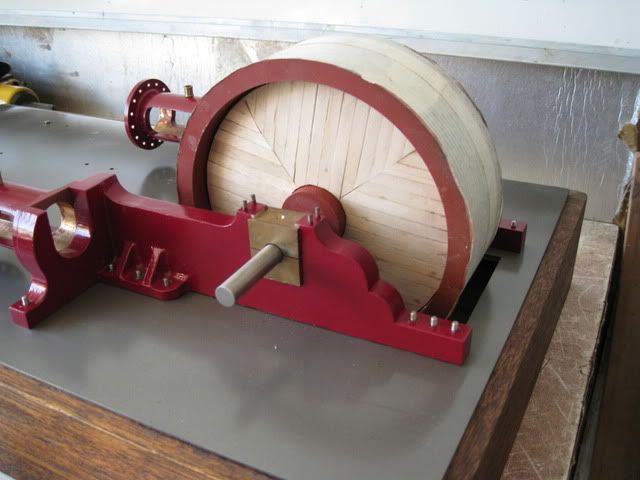
One more to go this evening.

Jo


