Rider Ericsson ¼ scale - Hot Air and Pumped!
Episode 4Stud FarmOriginMiddle English stod, from Old English stōd; akin to Old Church Slavic stado flock and probably to Old High German stān to stand.
First Known Use: before 12th centuryThat was your educational bit for the day.
I was determined to make better studs than I have in other builds. No all thread, close to the correct ratios for the depth of blind holes, proper ends, etc.
Drill rod doesnt lend itself to the nicest threads but I didnt want to start with the size larger 12L14 and then turn it down to the correct major diameter. I knew if I did that, Id end up making a box tool or turning the thin rod between centers or whatever else would slow the progress.
Wandering around McMasters website I found this.
Ultra-Machinable W1 Tool Steel
With lower amounts of alloy elements than other tool steels, W1 offers excellent machinability. This is a water-hardening tool steel that is often used for hammers, files, taps, and reamers.
http://www.mcmaster.com/#drill-rods/=saleu1Cheap enough to try out. I ordered two 3ft lengths of each in the correct major diameters for 8-32 and 6-32 studs.
Dont know about Ultra-Machinable but it machines very closely to 12L14. The threads didnt show tearing. Im sold. Ill stick with standard drill rod for shafts but use this for threading; both with dies and single-pointing.
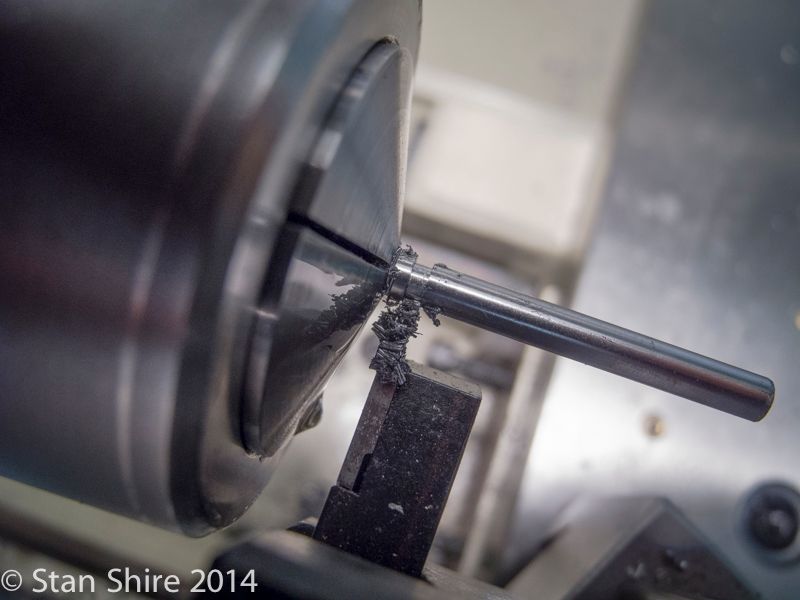
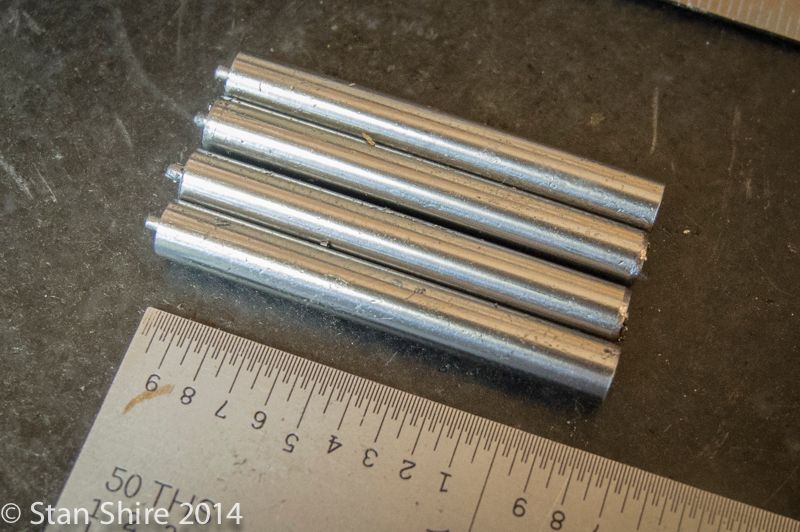
So, with that issue solved, I parted off 4 pieces at the finished stud length. My formula is derived from a variety of Jos posts.
Major diameter X 1.5 for the length of the end that goes into the blind hole (which was drilled to major diameter X 2 for the depth.)
Add thickness of the piece being held by the nut. The piece with the clearance hole.
Add height of nut + (thread pitch X 1.5) + .05 for the rounded end.
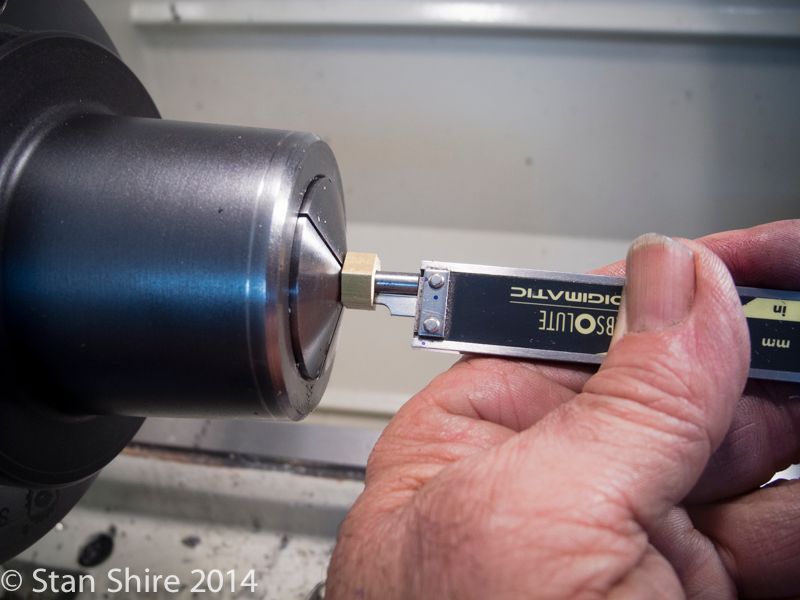
I also decided to make a stop for the tailstock die holder.
A piece of brass hex from the scrap box drilled a few thou larger than the stud.
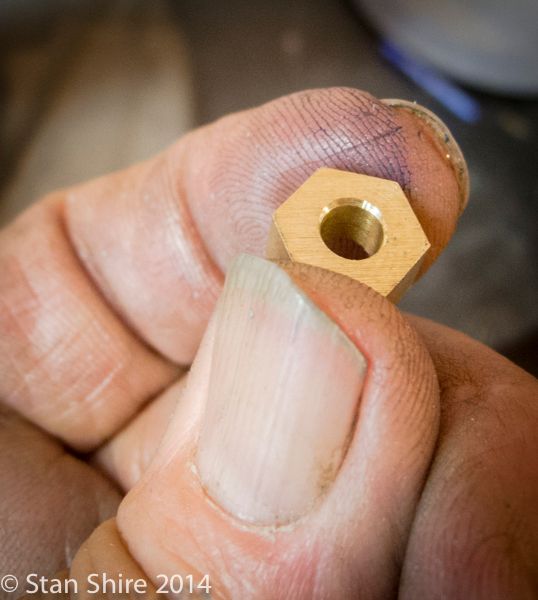
The thread length was set on the calipers and pushed against the stud end and the stop. Tighten the 5C collet and its ready to thread.
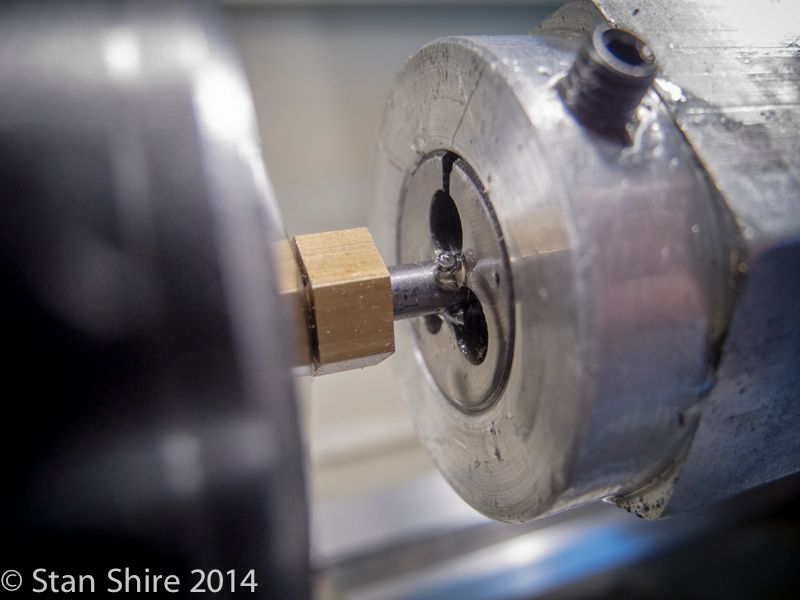
Searching through my wood router bits, I found this one. Its now become the stud round-over tool.
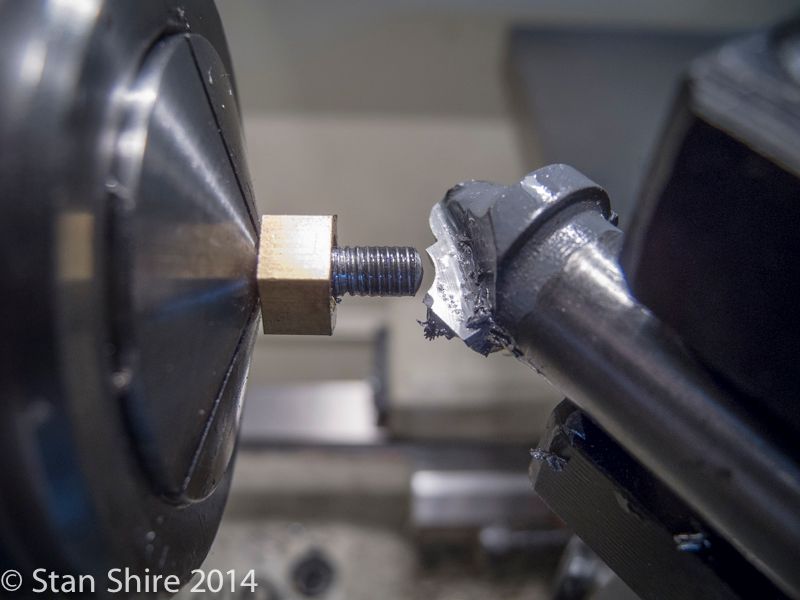
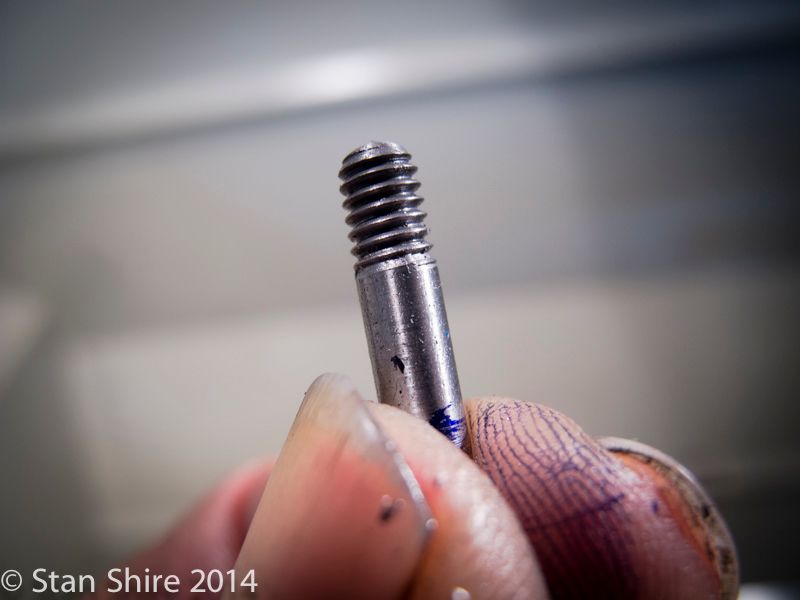
Flipping the stud to the opposite end and repeat the process.
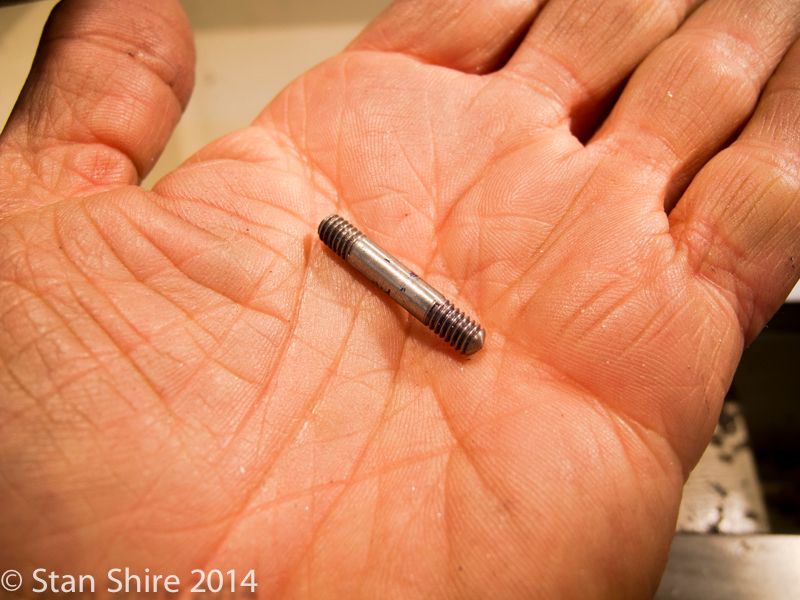
Once I had the first one done and had worked out the order of operations, the rest came very quickly.
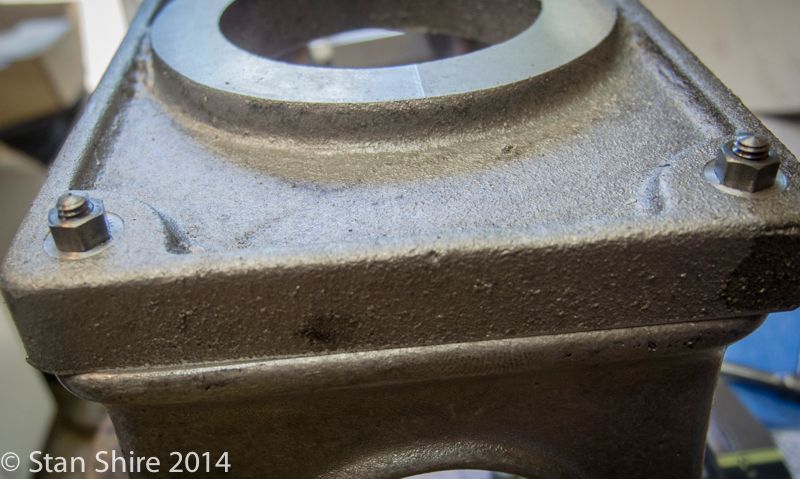
Threaded into the leg. The stud stops at the correct depth by the thread ending.
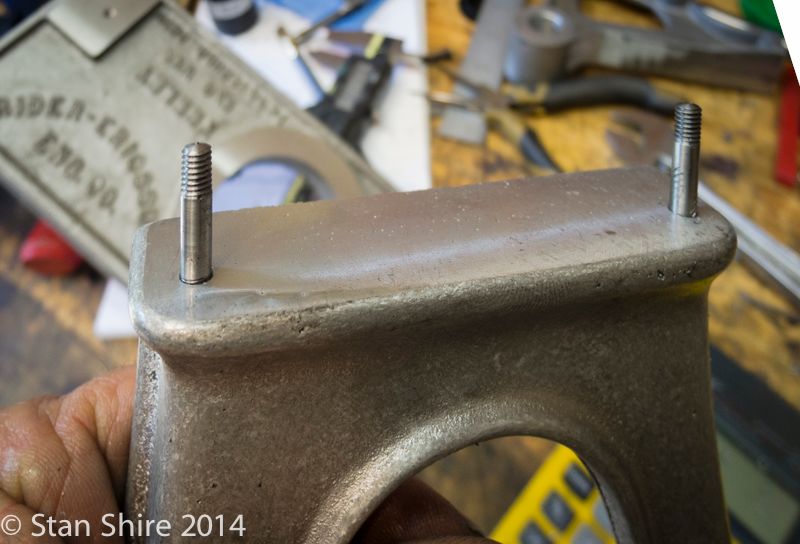
Detail

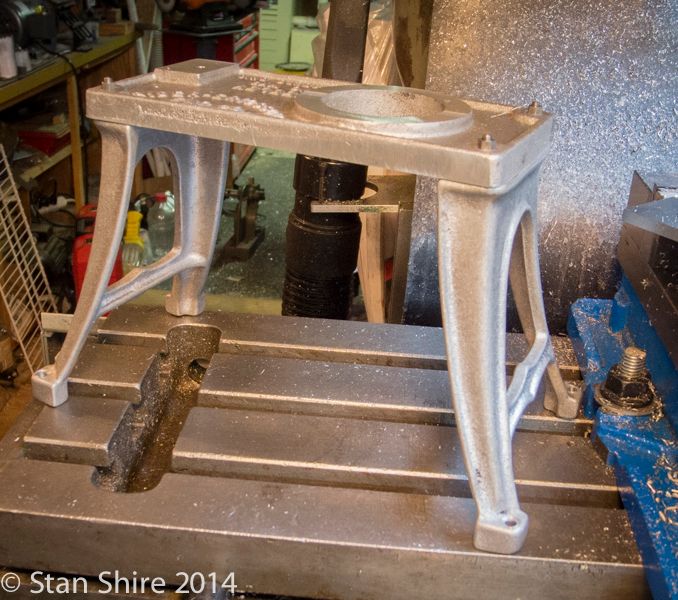
Standing on its own two legs (and four feet)
The last job for today was to drill the holes in the flywheel bracket.
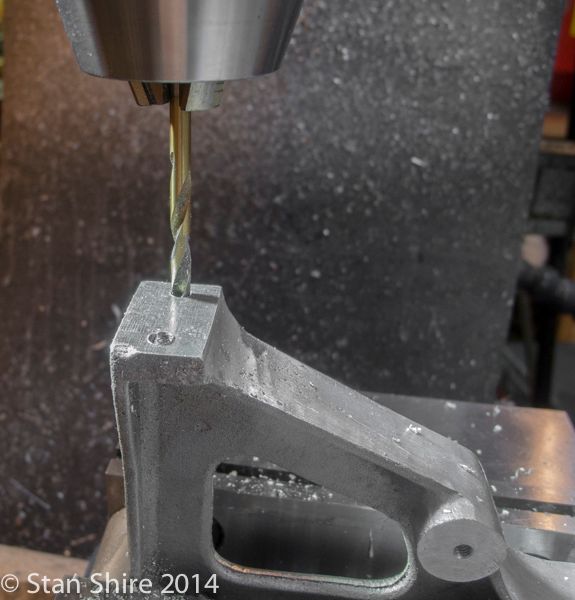
Rotate 90 degrees and drill the same holes on the flat that attaches to the cylinder.
Im leaning towards cleaning up the firebox tomorrow. Oliver gets more work and Ill fettle some also.
Thanks for following along.


