Hi Bill glad your interested.
Today was a good day not that it went smooth but I managed to make my gears. I started by making the button tool and the from there cut the cutter and finally the gears. I will attempt the walk you thru my process.
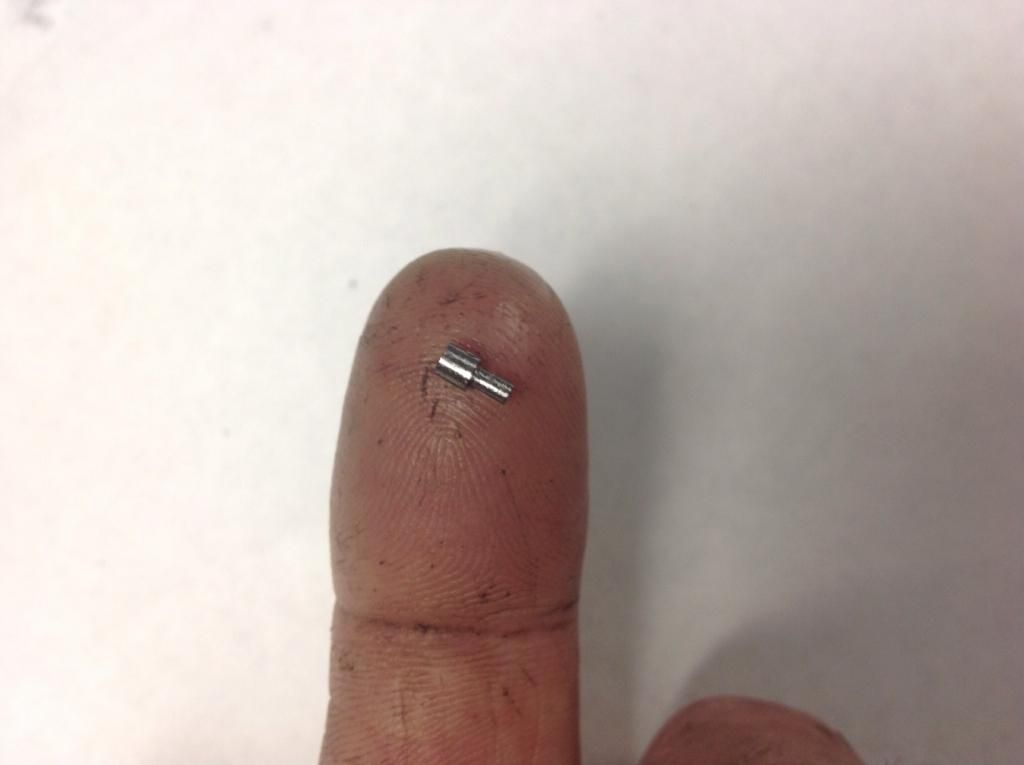
First photo the button tool button, you thought Bill's were small this button is .1068" wide.
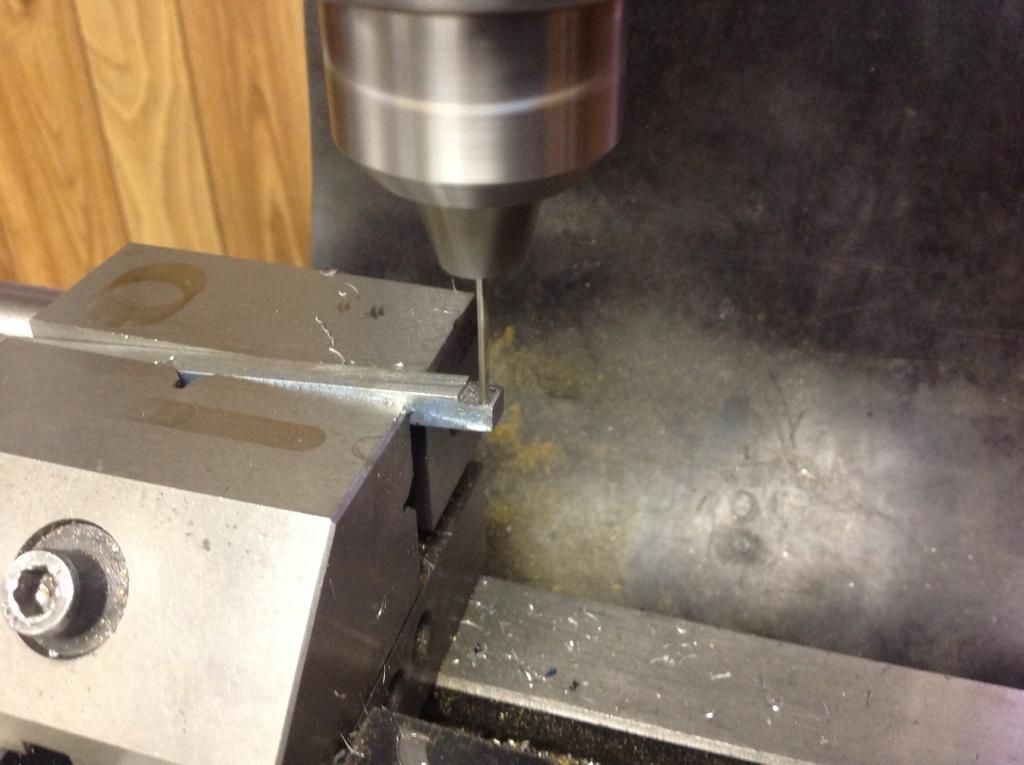
Drilling the hole positions for the buttons after miling a 5 degree offset on the tool holder.
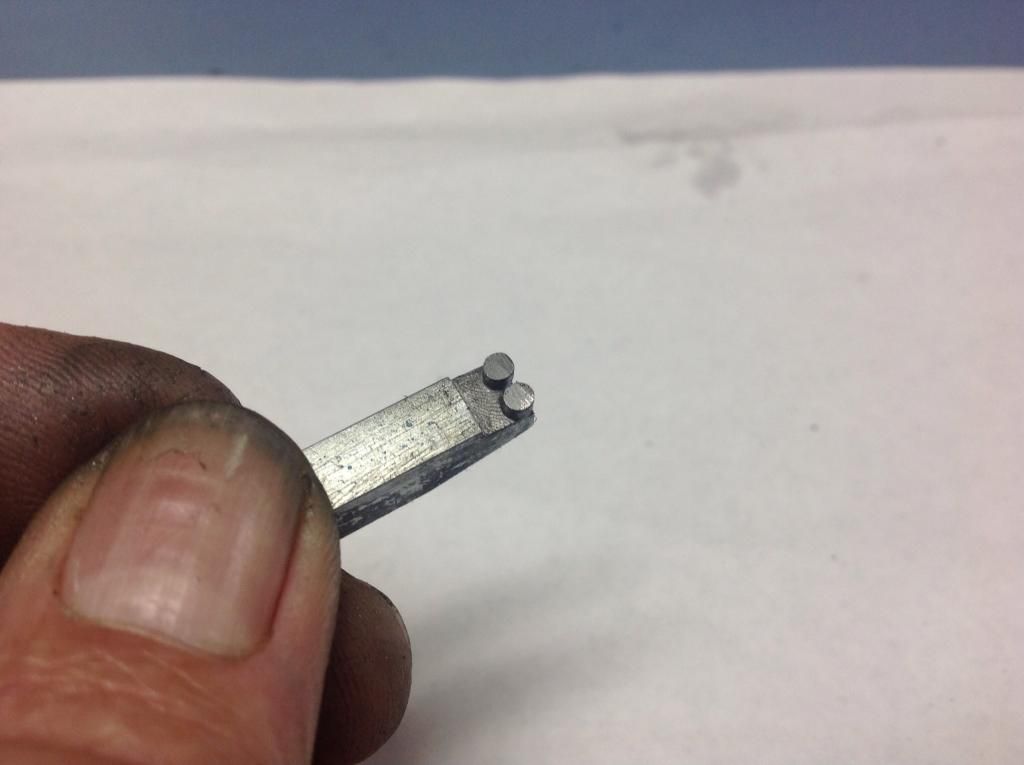
The button tool after Harding the buttons and loctite them in place.
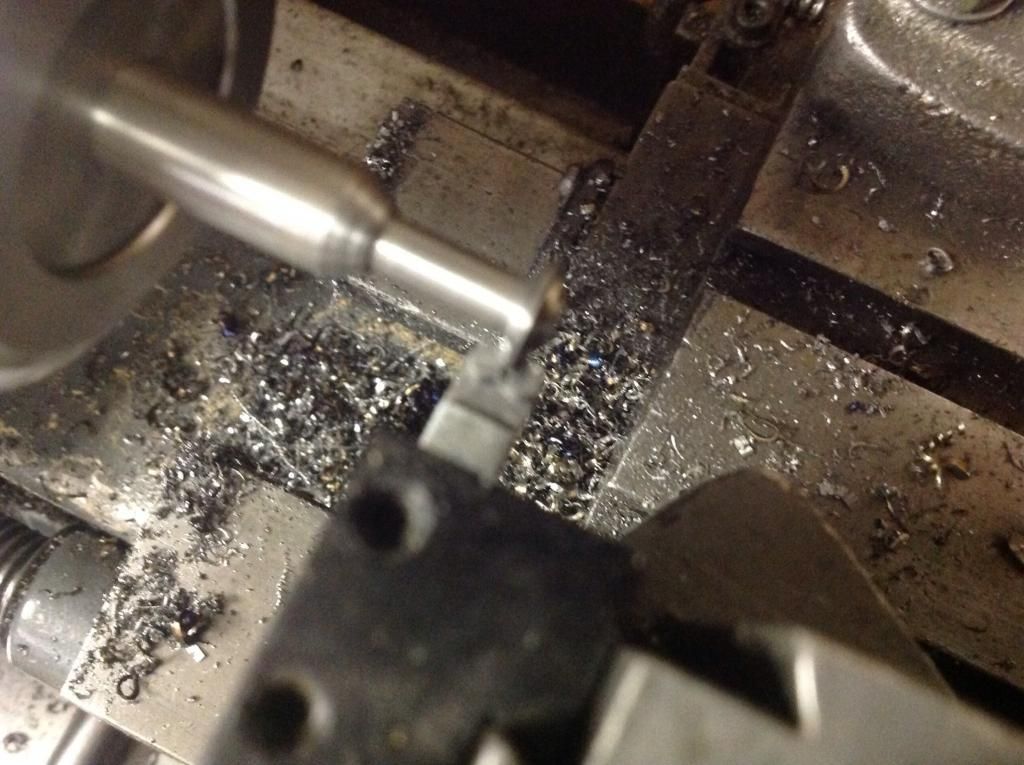
Next was the job of cutting the buttons to a 4 degree rack with a diamond tool after the loctite had cured.
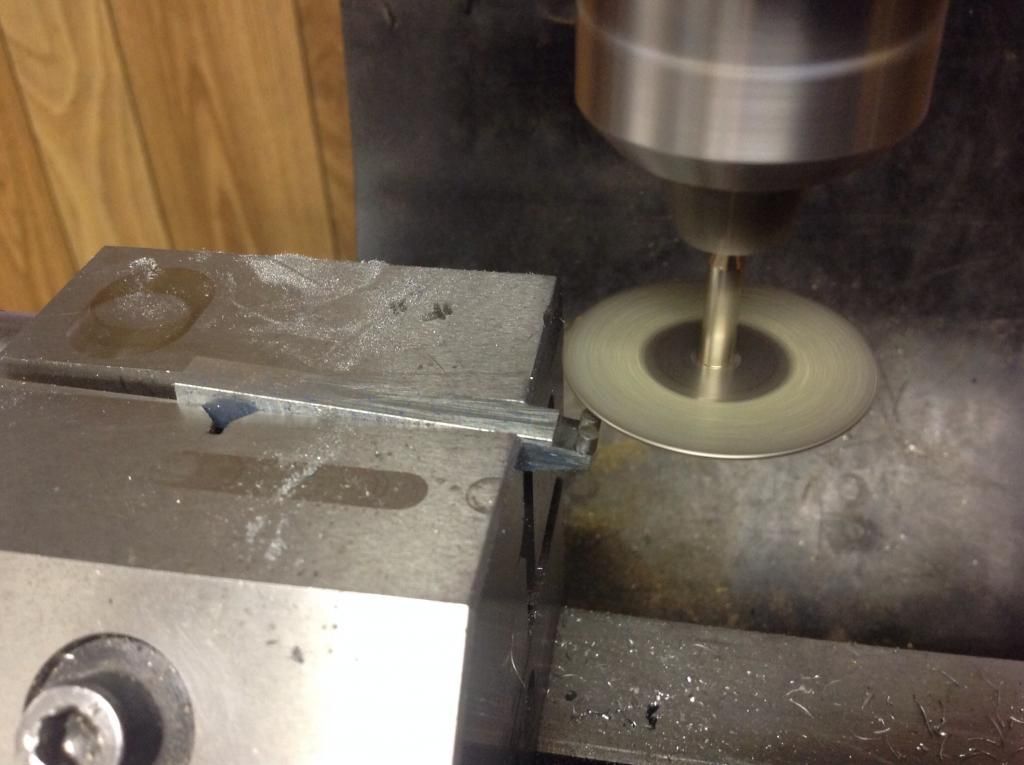
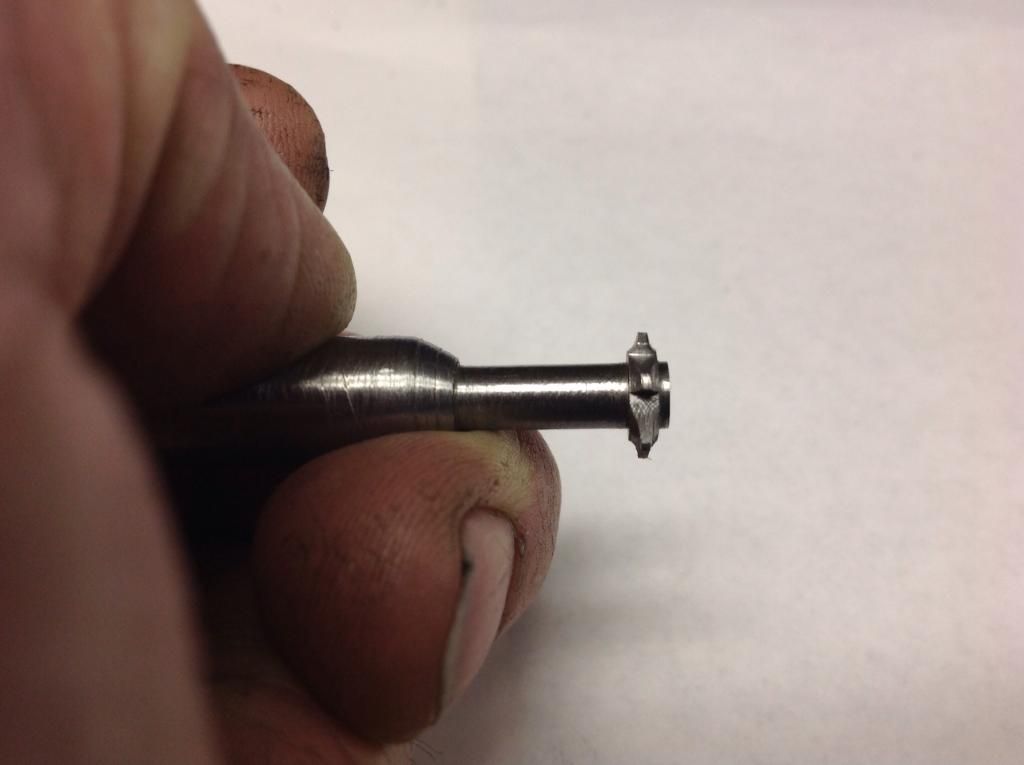
The profile of the cutter, the diameter is .375" and the width is .083".

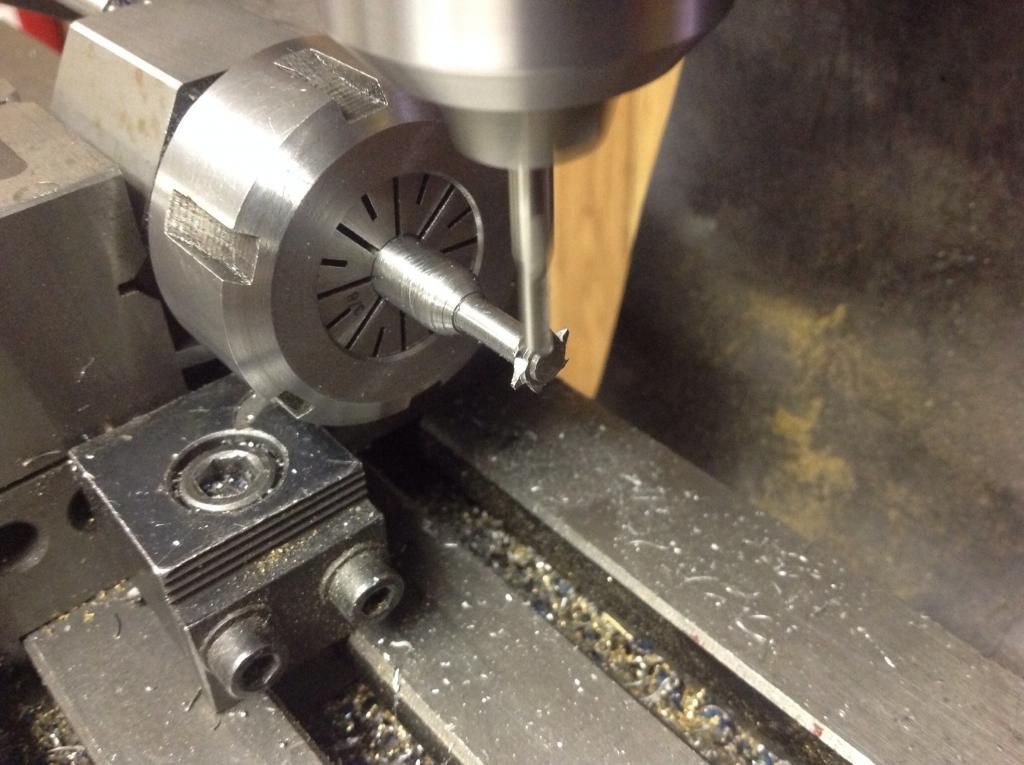
Cutting the profile into the cutter sorry about the crappy photo.
Then to the mill to cut the teeth. I cut them .080" depth.
The cutter ready for Harding after I cut some relief on the back side of the teeth with a stone.
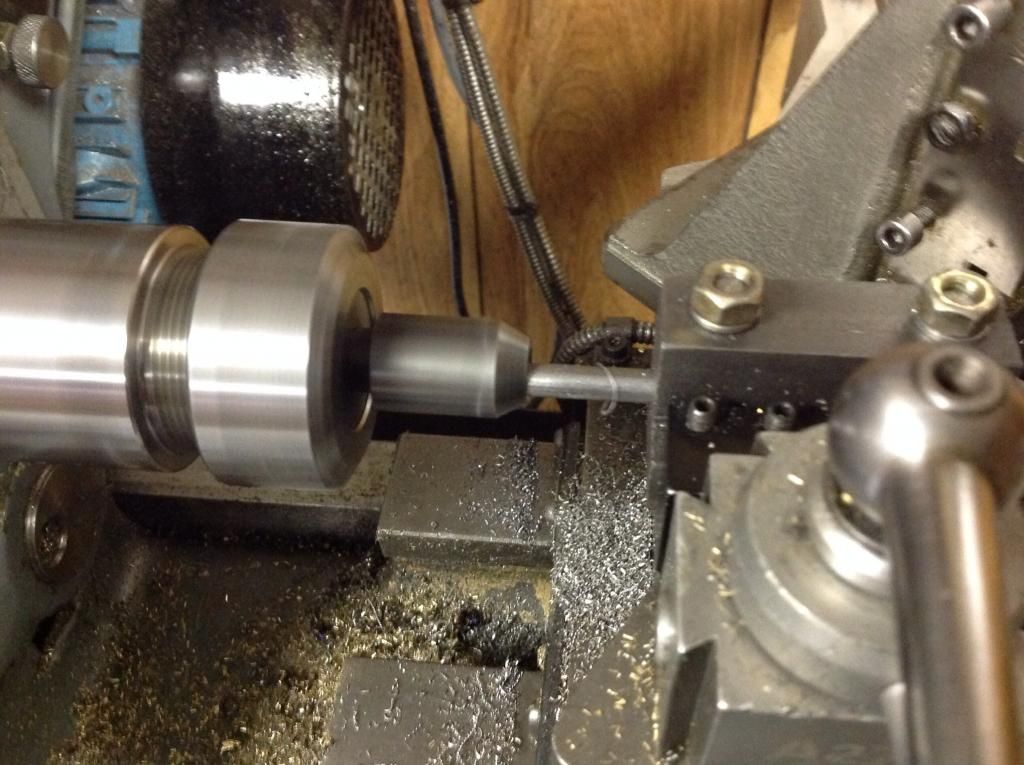
The reason for this photo is that I had soldered the end to the shaft. Well I found out the hard way what happen when it doesn't run true, a photo will follow.
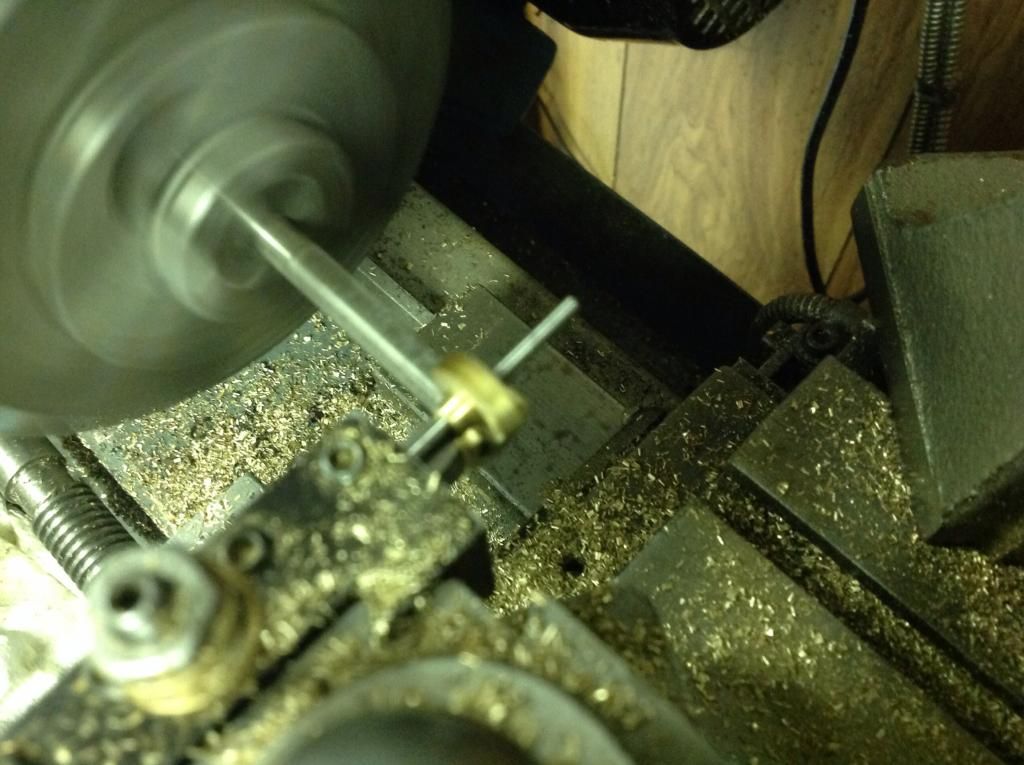
This is what happens when the gear blank doesn't run true.
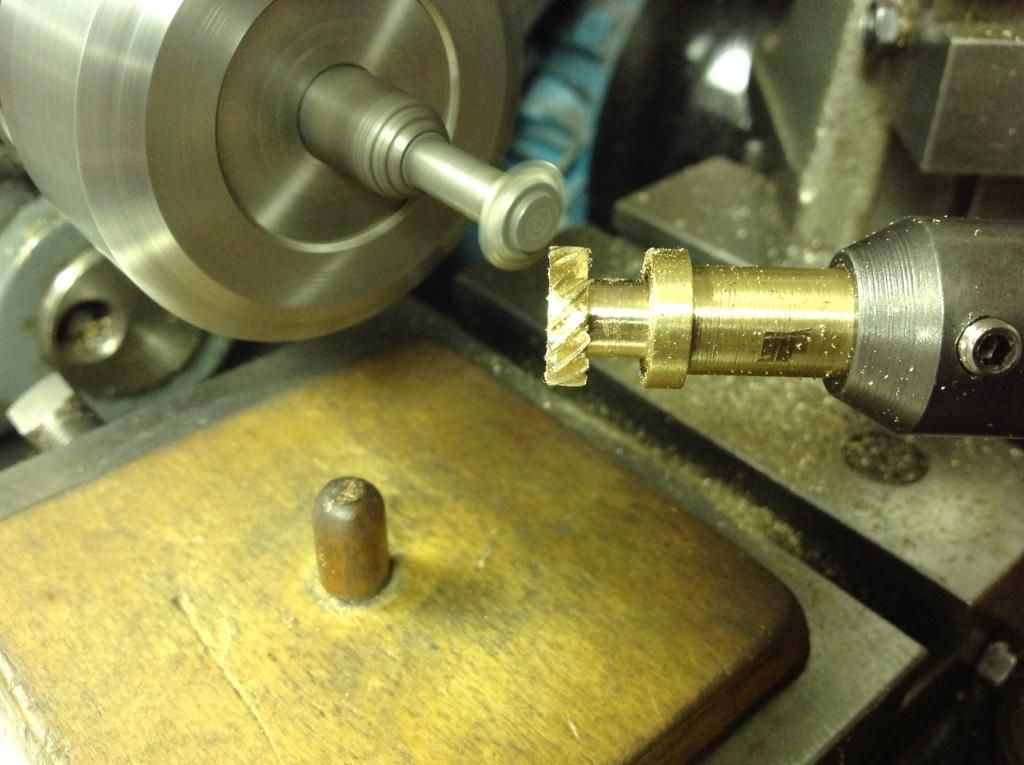
Finally the gear being cut and this was a good run.
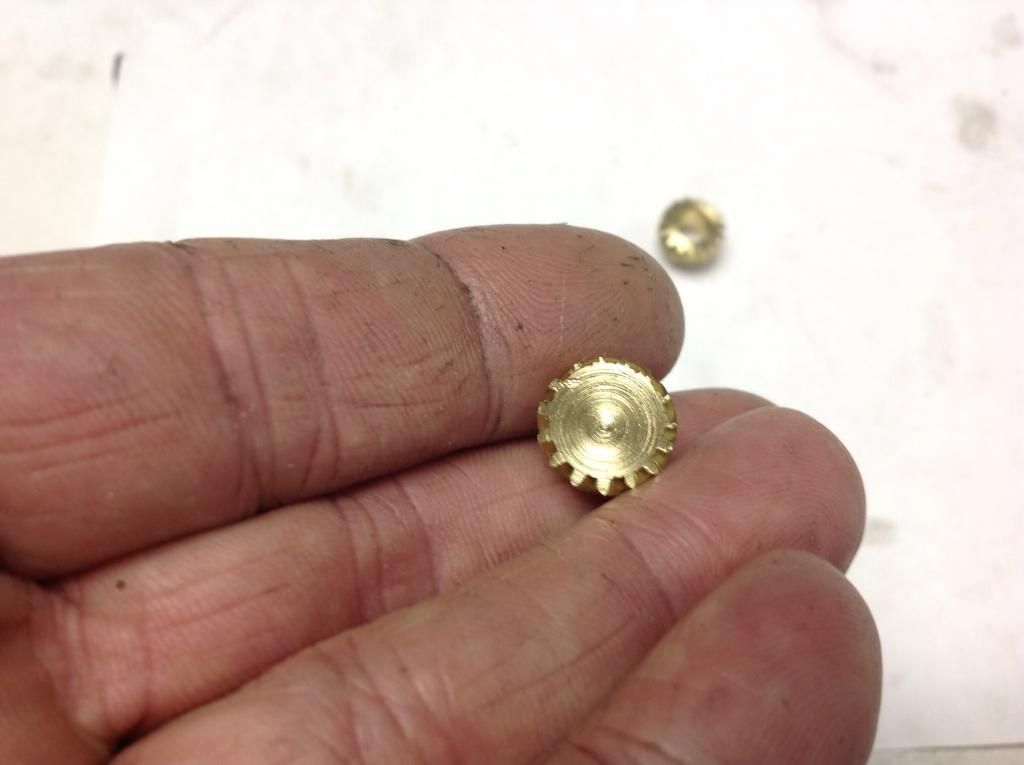
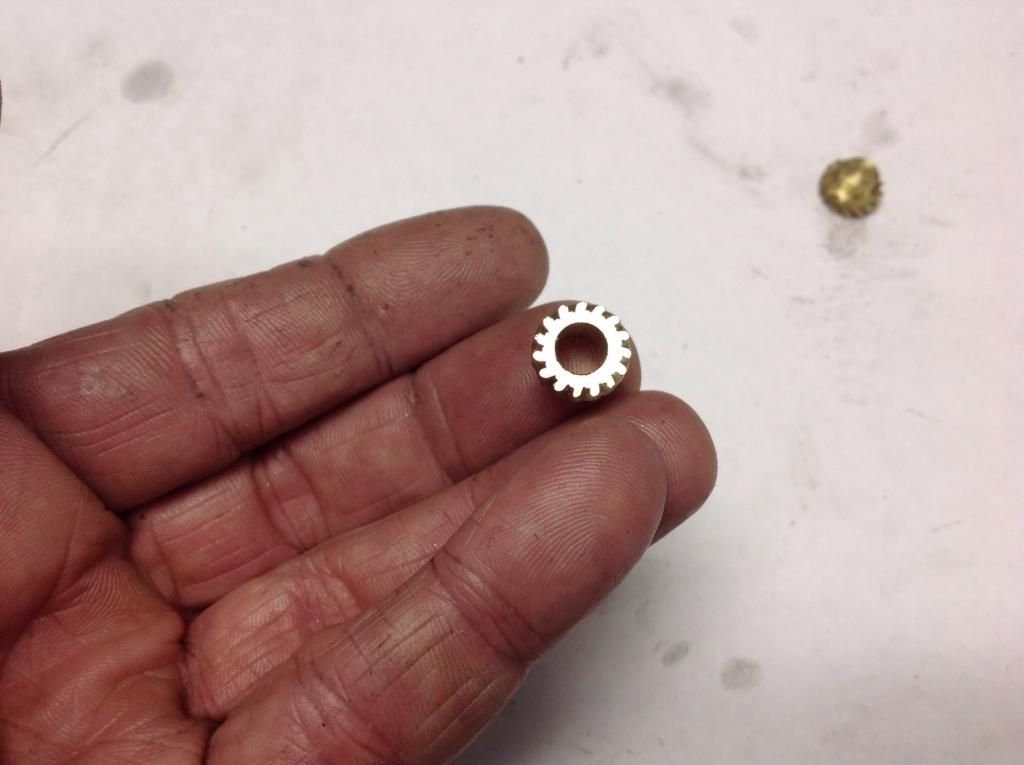
This time the good gear and you can notice the profile of the teeth.
This last shot is the gears running together. I had one more mishap on the last gear and had to remake it also so two out of four. You know these are my first Helix gears and I am very happy.

The gears together for a final shot after being run in with a little Maas.
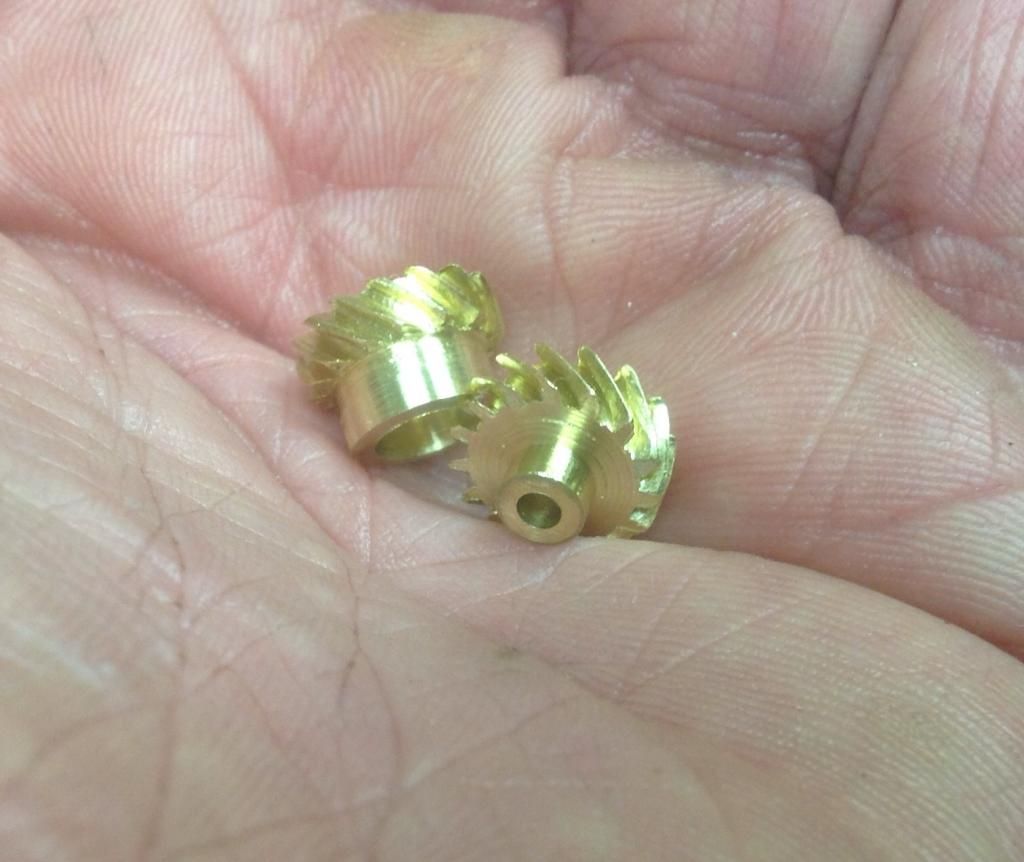
I have to thank Chuck Fellows for his ingenious fixture and Marv for his free software. I am very happy with the results and with a little thinking and calculating anyone of you can do it also you just have to try.
Thanks for looking. For any one wanting the spread sheet I have attached it and go to Marv's web site for the software on Gears.
Don


