I'm still making studs for the Corliss... but going has been tough with the 3mm stainless rod I have. Half the studs have had threads ruined by trying to get a tight enough grip to cut the opposing threads - so I got to a point where I decided to measure things a bit. I don't get split die nuts here in Windhoek - so have to use the ones I can get as-is. Measuring over a threaded section I cut with the die nut, I found that the nut brings the overall diameter on the threaded section down to about 2.9mm for M3, and that the stock I have been using is a bit over-size at just about 3.1mm.
So, thus far, the die nut's had to remove a lot of unnecessary stock just to cut threads - hence the forces required.
To make life easier, I decided it would be nice to turn down the stock a bit - if I turned it down to 2.9mm, life would become significantly easier for the threading operations. And I needed fairly long sections of 3mm stock turned down. The easiest way to do this is with a box tool to prevent flex. Tel's many times showed his and I've often thought "That would be handy for this job". So, time to make a tool...
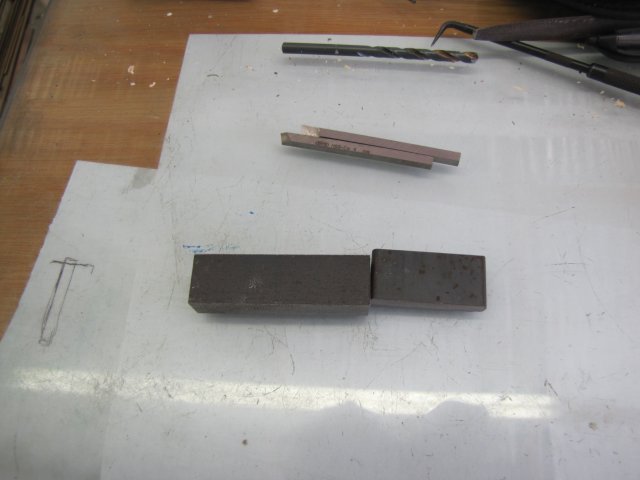
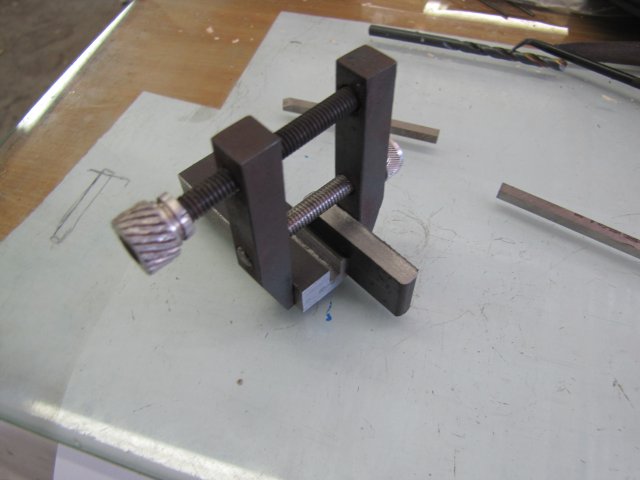
I sat down for a couple of minutes and thought things through a bit, and looked around for suitable stock. As usual, nothing suitable was to be found, so I raided the off-cut bin for bits to fabricate it from, and came up with a section of 6mm flat bar and a 12mm bar end. I'd decided to make the tool for 4mm square HSS toolbits; I have a lot of those as I buy them about 5 at a time - they are fairly cheap and quick to grind to any required shape - ideal for the way I go about things in my shop:
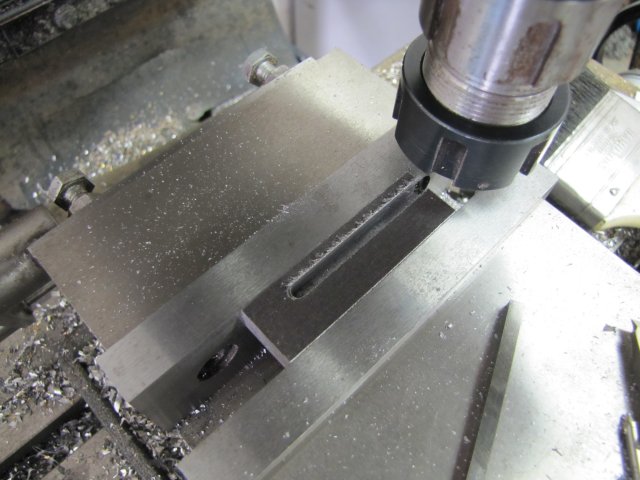
First I milled a 4mm slot about 6mm deep and about 3mm from the edge of the 12mm bar. The wider edge will be left to clamp in the toolpost:
Using a bit of 4mm HSS that had a nice edge and had not been ground down on the top, I scribed a matching line on both sides of the bit of 6mm bar with the workpieces lying on my "glass surface plate":
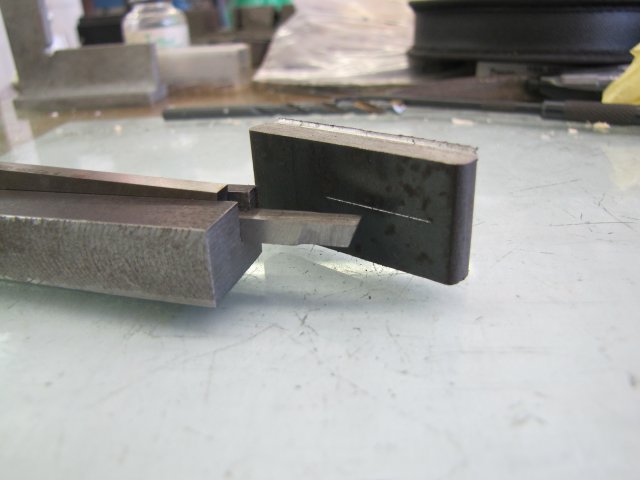
That will become the center line for the hole that will take insert bushings.
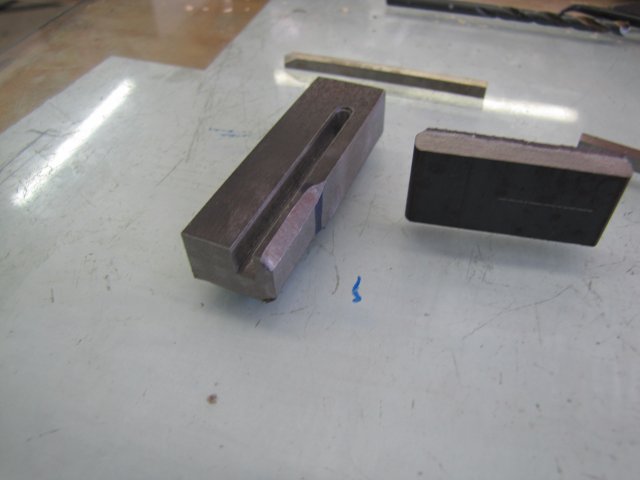
Then I ground a generous chamfer on both the top and bottom sides of the 12mm block - this is for welding the 6mm block to it:
The bits were clamped together while on the surface plate with a toolmaker's clamp:
And off to some of my crude stick-welding

- bottom first:
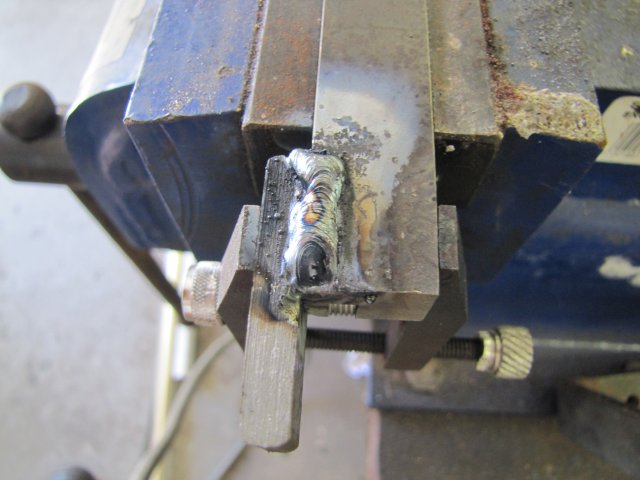
Then the top - trying to do a half-decent job and not getting any weld into the milled groove:

Things would have gone a lot better if I had thinner welding rods - but I'm out of stock on that, so the welds were globbed on with 2.5mm rods...
Back to the mill, and I picked up the center line scribed earlier and drilled out to 9.8mm:
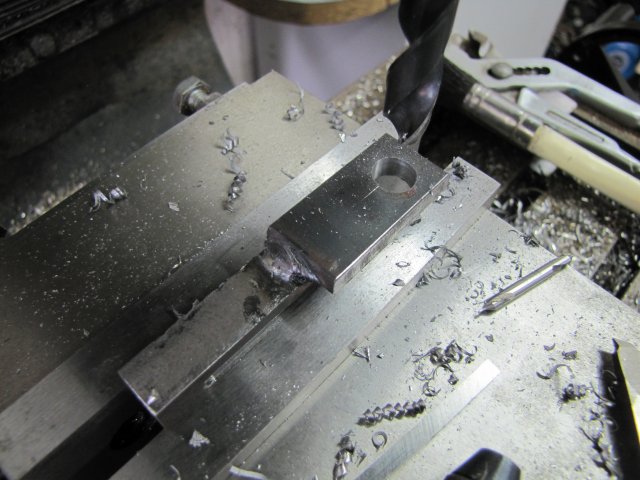
That was then reamed 10mm.
Three 3.3mm holes to tap M4 followed - these are for securing the toolbit:
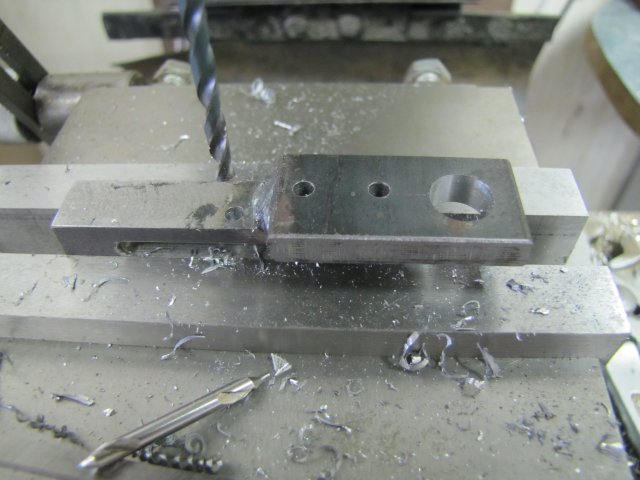
A 2.5mm hole to tap M3 followed from the back end into the groove. I chose M3 for this as it very conveniently has a 0.5mm pitch, meaning it's fairly easy to use it to approximate in-feeds; a full turn of the adjustment screw will give 0.5mm infeed - resulting in a 1mm diameter reduction in workpieces:

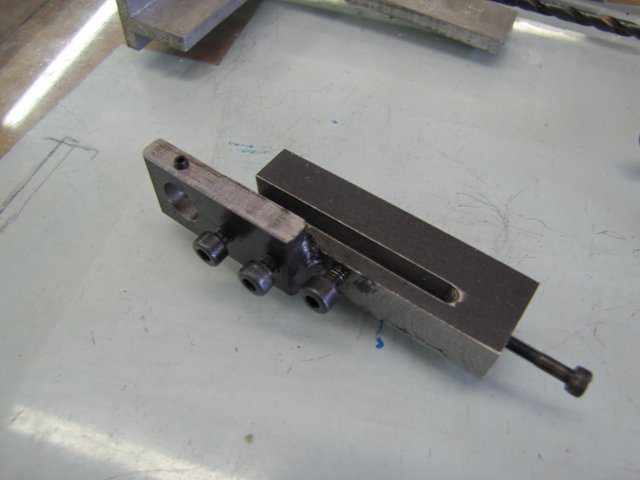
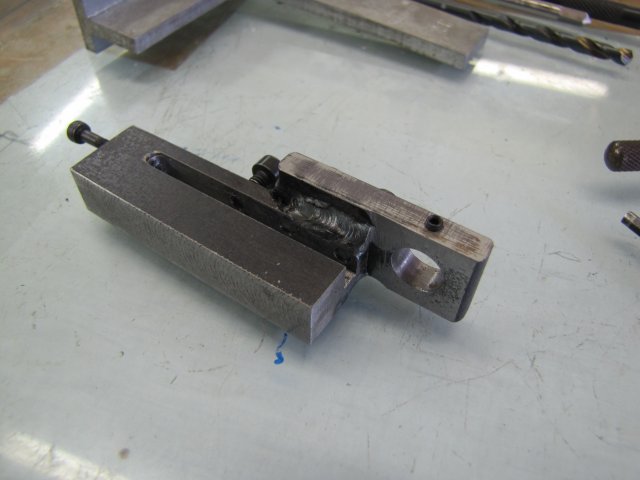
Another hole was drilled and tapped M3 for a grub/set screw to retain the insert bushes - and after tapping all the holes and finding suitable screws, I ended up with this crude bit of tooling:
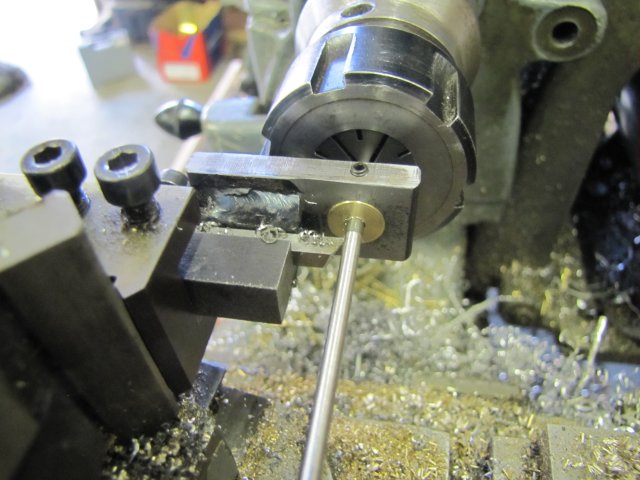
I had to give it a test-run, so I turned up a bush with a 3.1mm hole to fit the offending stainless stock, mounted that, ground and honed up a bit of HSS and proceeded to turn a 150mm length of the offending over-size stainless down to 2.9mm - That was easy-peasy with a nice consistent size along the length and a good surface finish:
I'll have to tidy the tool up a bit at some point - it's a long time since I've made such a cruddy-looking piece of tooling. For now it works just fine. I took a bit of care to make it work with standard toolbits - at a height that's already centered. That's not a biggie though - for non-standard toolbits, it's easy enough to turn the insert-bushes with the guide hole slightly eccentric - then the height can be adjusted by rotating the bush. As an added bonus, it will work on both my lathes

After making another couple of studs, the going was definitely easier - but not quite as easy as it should be, so I think my 3mm die nut has seen the back end of its sharp days. I'll get a new one in the coming week, and at some point also have a go at sharpening the blunt one, as it's a fairly high quality German bit of tooling that I'd rather not just toss in the bin. I might even slit it with a Dremel cut-off wheel and see how it will work as a split die afterward.
Kind regards, Arnold


