Small fittings, valves and steam chest covers.Cut two covers from 4mm brass sheet, and another couple from some black anodized alu.: just drilled the holes for the screws,
will bring them to dimensions after the ?test?. I?m in haste, now.
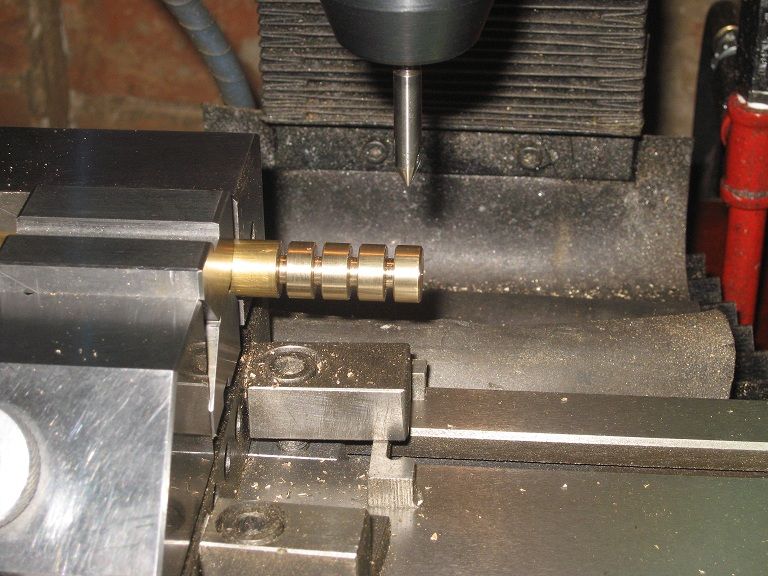
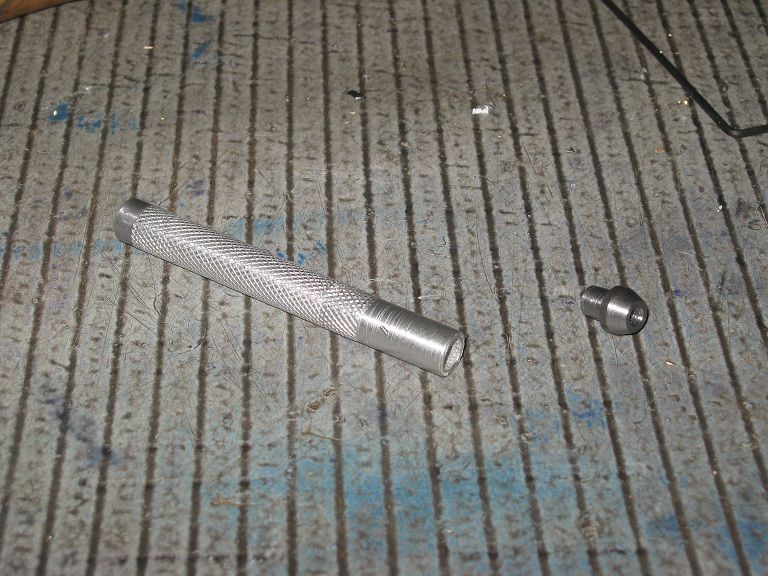
Here are the valve rod ends as they came out from the lathe, going to be drilled for their threaded holes.
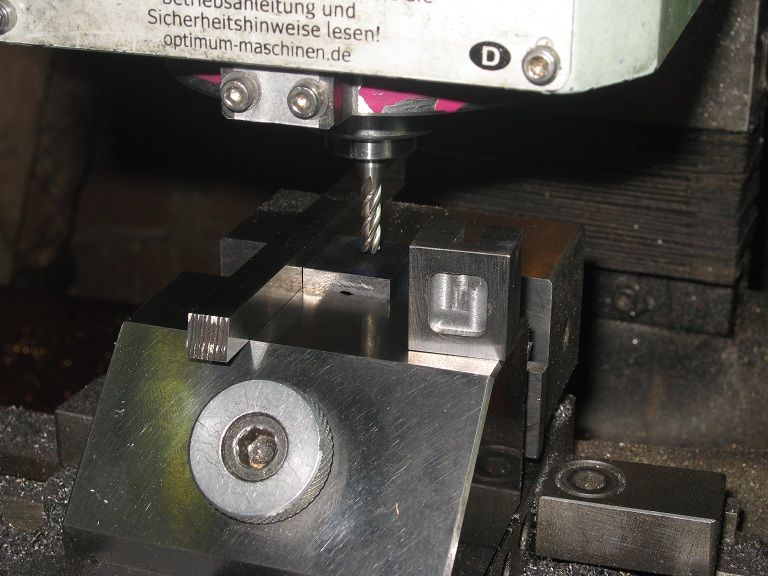
Some tapping later, I?ve the problem of holding them for milling the elongated holes. My solution came through machining a push fit
holder, still in the vice, to hold them while plunge milling the holes.
No problems, here. They will come later.
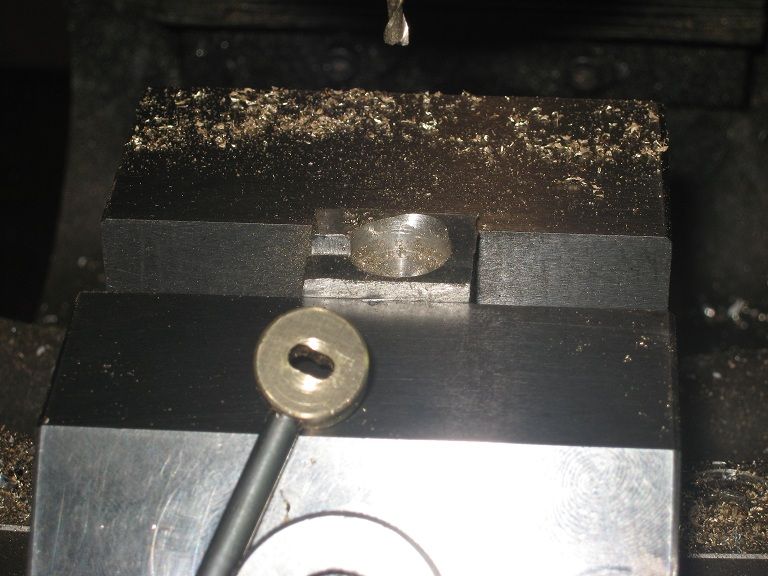
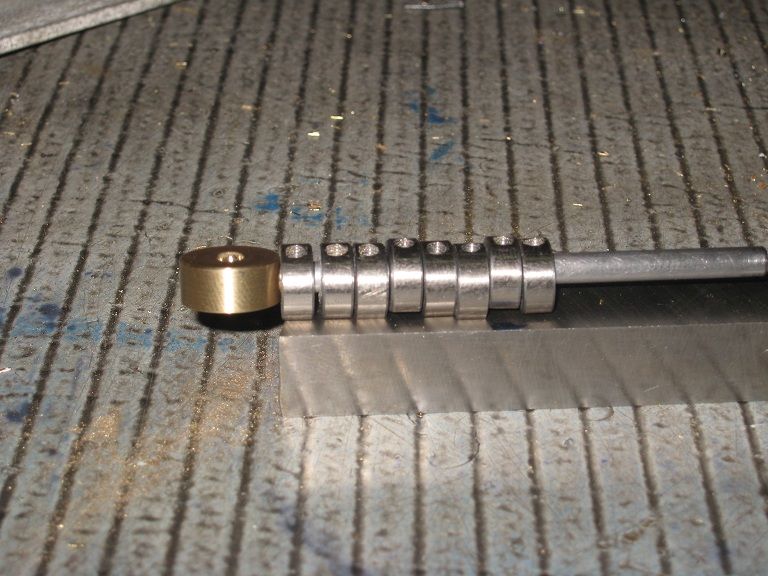
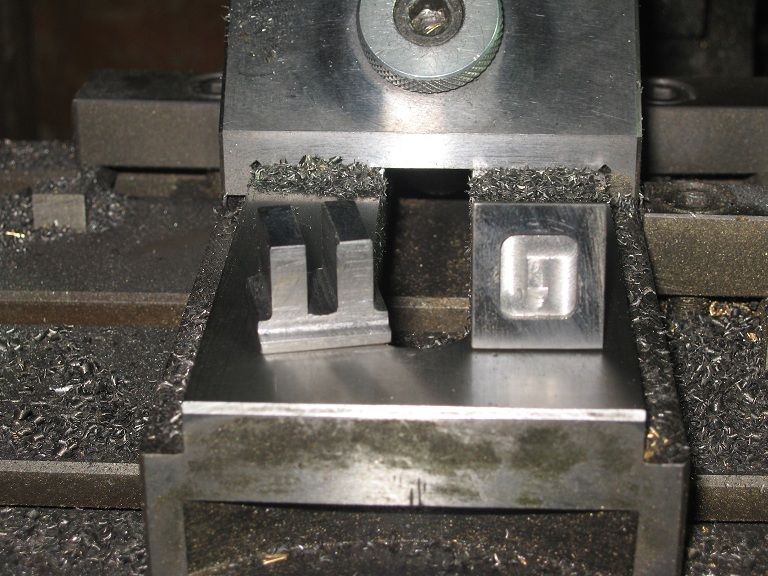
The set of valve retainers, being drilled for the grub screws, then milled for the flats. The brass screw I put as an indicator,
to have the flats square to the tapped hole. Useless.
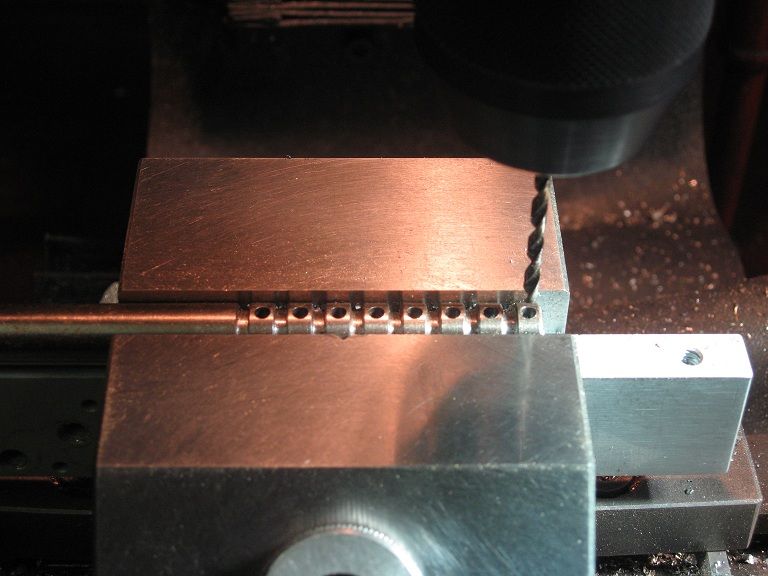
In fact, I drilled them in a row, on the lathe. The drill bit, meeting the cross holes wandered into any direction.
Here?s the (poor) results.
Will do, in ?matching? sets of two.
The other retainers, I made on variations of the same way, with identical results: the only way that worked, besides making them one
at a time, was pre-drilling the axial hole first, then the cross holes.
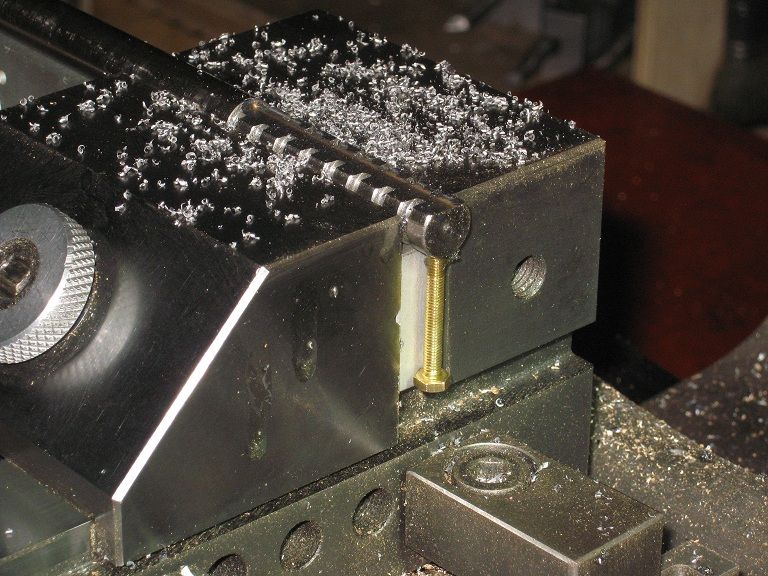
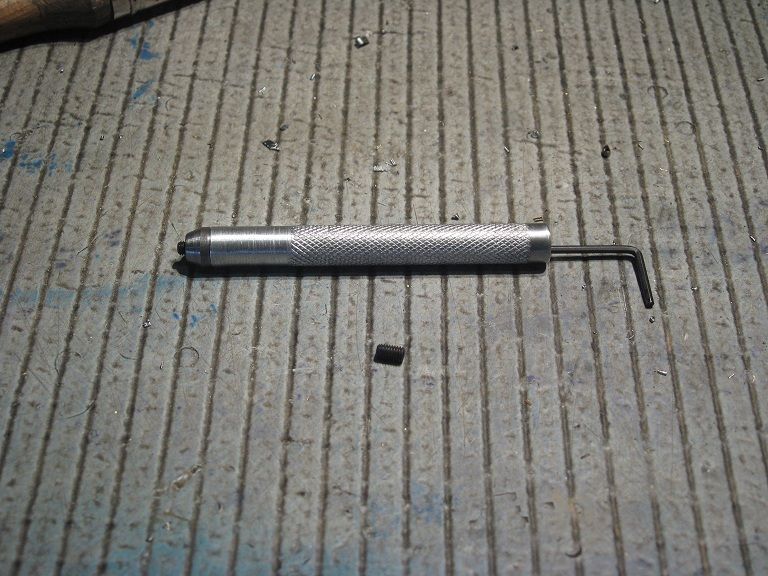
A tool I?ve made from a piece of alu. tubing and a bit of steel from the scrap boxes.
Should help into shortening (quite) a few 4mm M3 grub screws to the length I need them without shortening my already clipped finger nails.
I?ve no idea whether it would work or not, I?ve not used it yet.
Made a couple of valves (three to be exact: had to remake one of them when I got too enthusiastic into turning the wheels when milling
the pocket, and stopped the table travel a couple of millimeters too late.
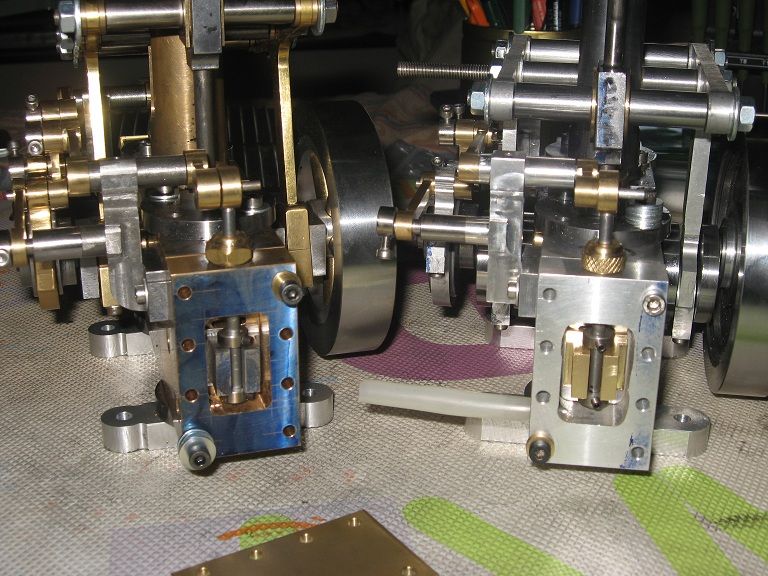
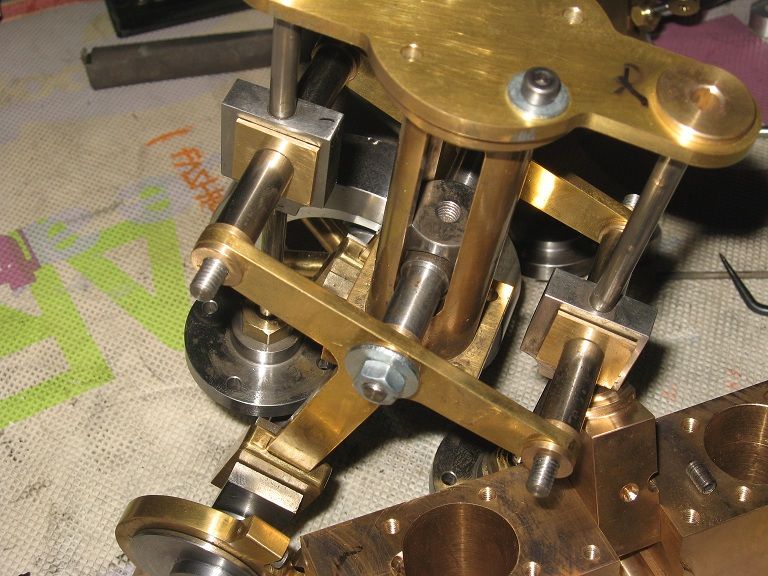
First test run.(On the alu. Bernay).
Failure, however I timed the valves. ?That?s that one I screwed, obvious?. Remade it, fitted the new one.
Failure again.
Best I could get was a turn and a half, at full pressure. Providing I gave a strong start to the wheel with my hand.
Ain?t particularly satisfied with my work. (That?s only four lines, but they took good part of the afternoon).
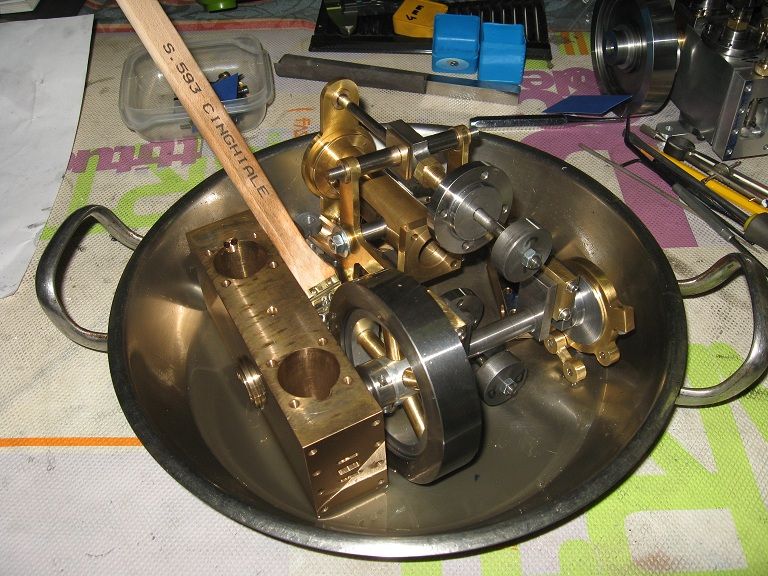
Decided to put aside the alu. and gain some prize out of the bronze one: ?it?s much smoother, when turned by hand?.
Dismounted the valves, fitted them to the other engine, played with the timings, the pipes the pressures, oil thickness, whatever?
The only positive result I got was two consecutive strokes when giving pressure in some carefully chosen positions of the crankshaft,
never a full turn.
Dinner time is long gone, now. I?m in a mood for tears and a booze. Went to the pub.
(Got ?granita?, instead: crushed ice and mint syrup).
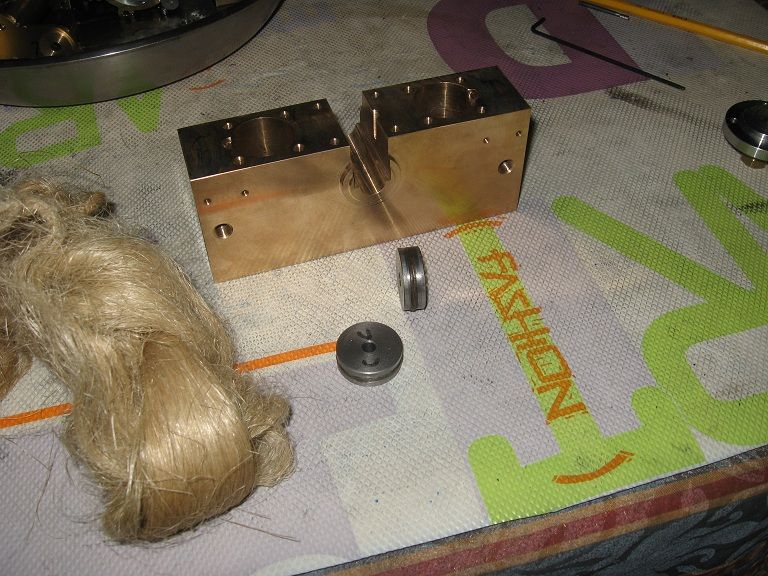
New valvesAs they are shown below, made on different dimensions (they cover a wider area, and have a smaller pocket) out of C.I.
When looking for the edges of the wp. I held a tool blank in contact with the sides and moved the table till I felt the milling bit was
touching it: there?s no need for a precisely centered pocket here, as long as the offsets are within reason. Ended with 3/100mm difference, btw.
New valves, new day, same results: a non runner. Two, TTTT.
 Where the problem(s) were
Decided to dismount everything, add some (petr)oil, ..
..and clean it thoroughly, for a start.
While I had it apart, I took the occasion to add a few ?extra? features:
A 0.6mm hole, counterbored 3mm, then countersunk, on the insert, to act as oil reserve for the crankshaft. (The drawings show two diagonal
drills from the sides, but I should have drilled them before finishing the surfaces, now I won?t risk the look of the part.
Another 0.6mm drill into the crosshead insert, at the bottom of the already threaded hole. Here, there?s room for a small screwed in oil cup,
if I get around making it.
Piston grooves: made a square groove, then lunged a V at the bottom of it. Didn?t take measures, while making them, they should be about 2.5mm
wide and slightly deeper.
Being piston rings still out of scope, for me, I had ideas about fitting some cannabis into the groove: the type plumbers use to make joints.
Put some onto the piston and valve rods, too.
Then, made blade out of the ?china ink? end of a compass, the type we used in school times to drop wide stains of black undeletable ink on
already finished pencil drawings, for us to have a valid excuse to make them again.
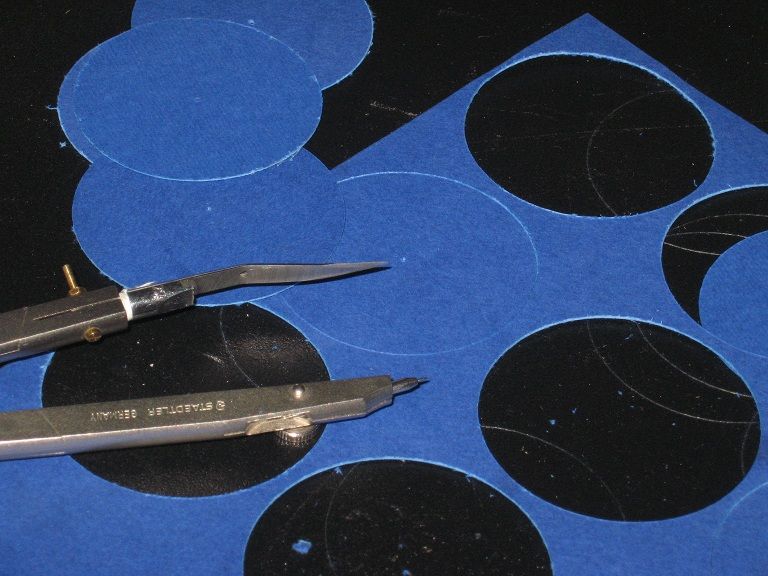
Worked like charm, got all head gasket made in a few minutes. Other gaskets for steam chests and covers, I made with an ordinary knife cutter
and steel ruler.
The material is not the best, I agree, nor its colour.
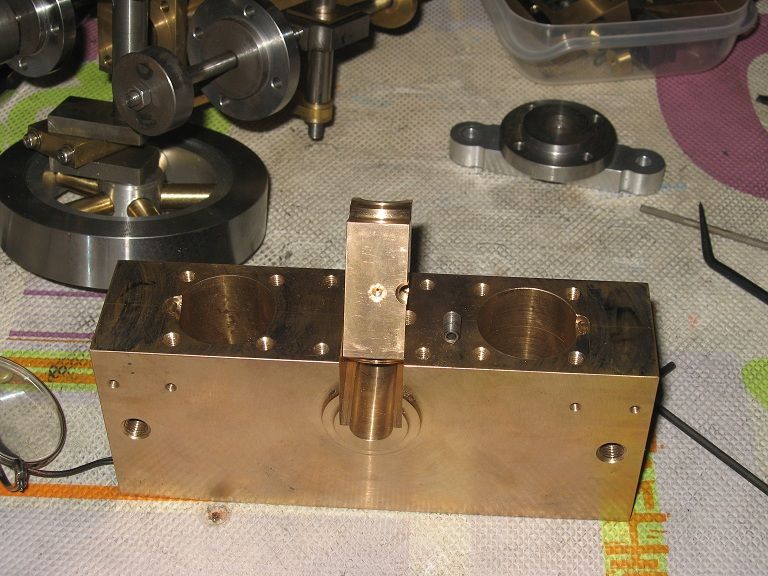
While looking for the causes of the malfunctions - it only worked with the pistons on the down strokes (now, it should work on the UP stroke,
if any! There would be less leaks, in it! - I noticed the heads completely covered the cylinder ends of the lower steam passages. Being very
close to the cyl. dia. they made a nice seal, there.
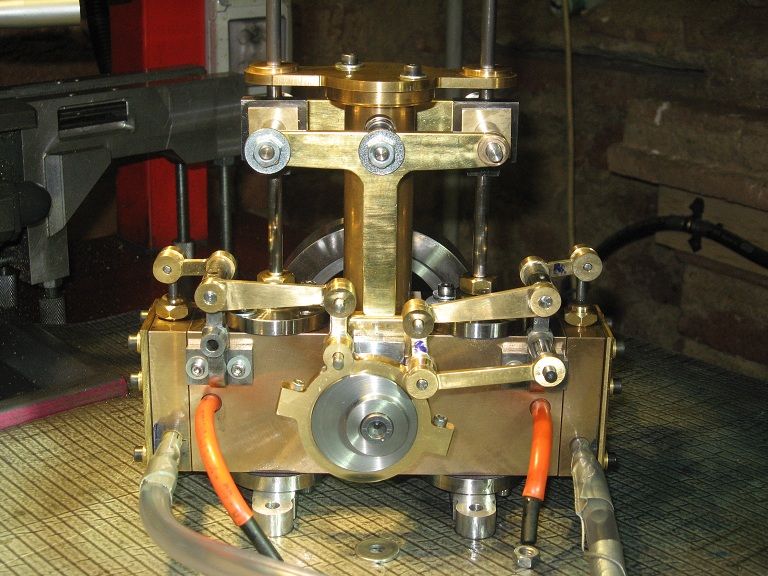
All She was in need with, were gaskets, packings and 30 seconds work with a rotary file on a Dremel: re-mounting the parts, with no variations
into the valve timings, gave working results.
Marcello


