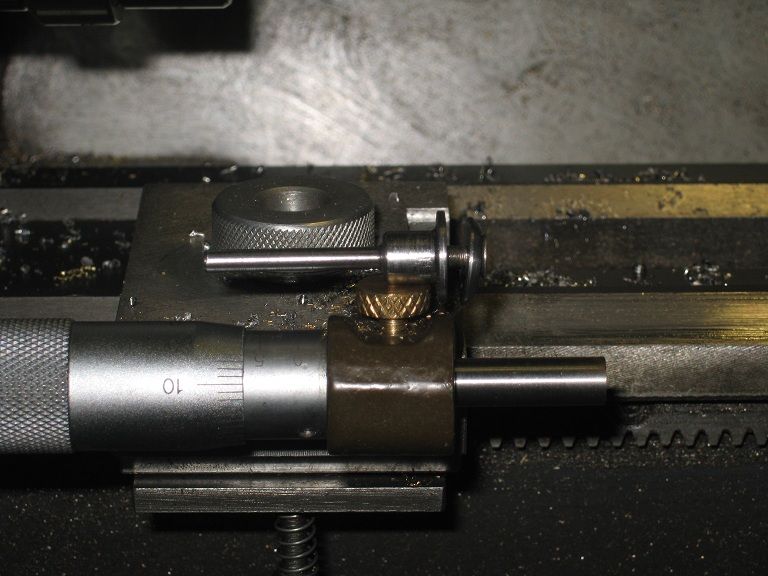
Dremel sanding diskI chucked a 12mm rod into a collet, then turned a length of it to something less than 3mm dia (in steps:
about 4mm to finished size, then the next 4mm and so on..) for the shank, made the body about 7mm and left
the plate to 12mm. Having the workpiece reversed and held into a 7mm collet, I drilled, countersunk, filed
to shape and parted the washer then faced, drilled and tapped the body.
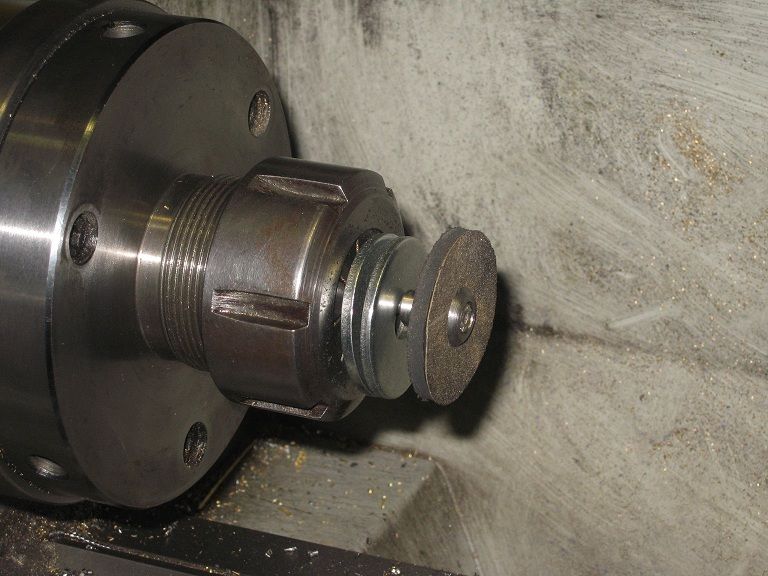
Having held a disk of rubber roughly cut with scissors in it (between the two large washers now hanging on
the shank, I put it into a 3mm collet and made an experiment into turning rubber.
It came round enough for supporting sandpaper disks for the Dremel.
 The Alu. Bernay
Managed to have her running again, though still on low speed, no power, high air consumption and little
reliability: time to give her a better fit. I might have said earlier I have ideas this one could do with
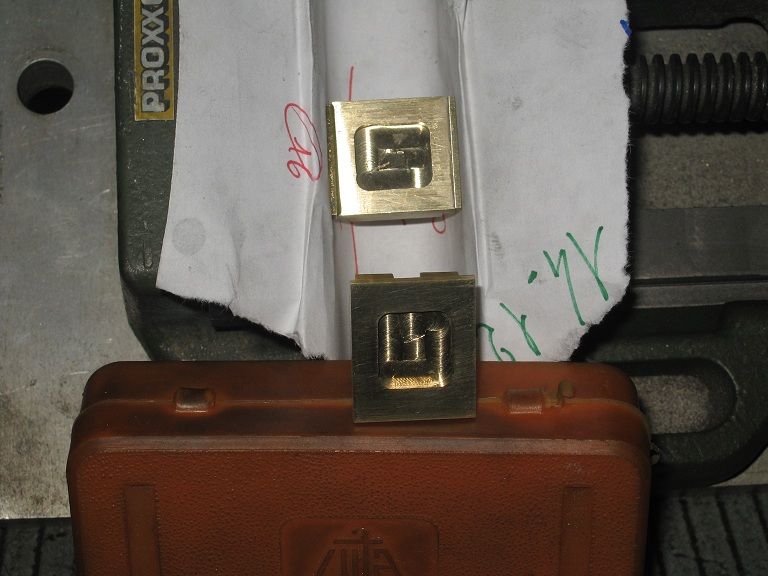
larger valves. So, I cut and filed some 2mm wide strips to be glued on the top and bottom of the valve faces
And, while waiting for the loctite to cure, gave another opportunity to the Bernays retaining rings I had made
and then decided not to use.
What filing buttons they did!
? of the valve enlarging works were OK, the fourth is back in a vice with some more glue.
Giving a finish, they will never be decent, to the connecting rods was a real pain: the file clogged every
third stroke, however chalked or soaked into petroil it was. So, it was a matter of
-three filing strokes- turn the file-3 filing strokes- clean both file sides?.
And there were four connecting rod faces to do before I could start using coarse sandpaper, then finer
sandpapaer, polishing paste...
The best part of an afternoon went this way.
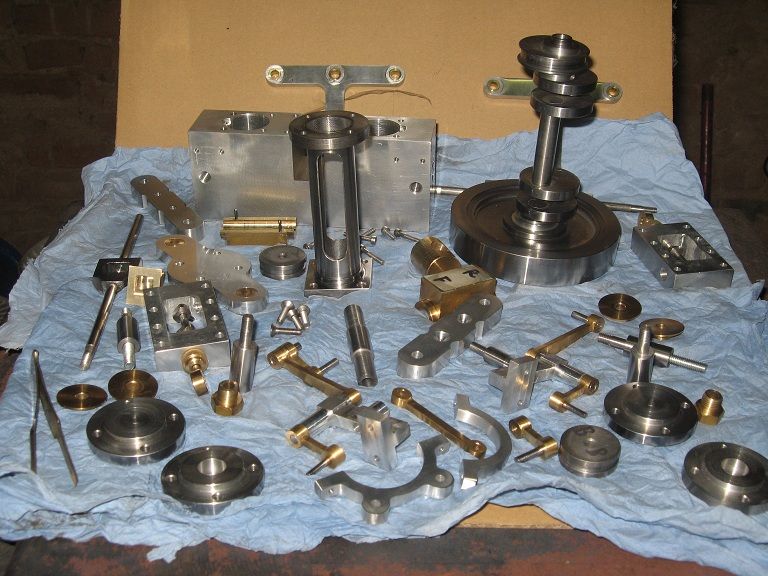
In the evening I could finally see all the Alu. Bernay parts finished, polished, washed into petroil and
set on piece of cardboard waiting for their turn to go back in place.
Here they are :
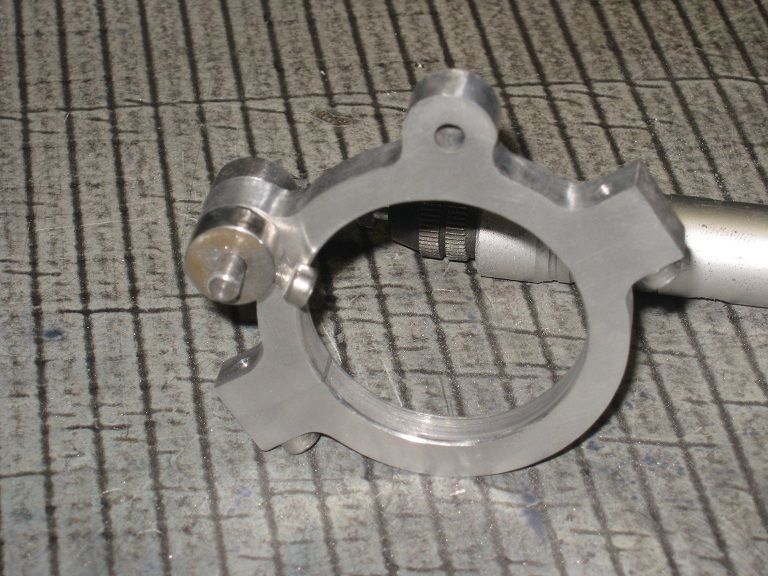
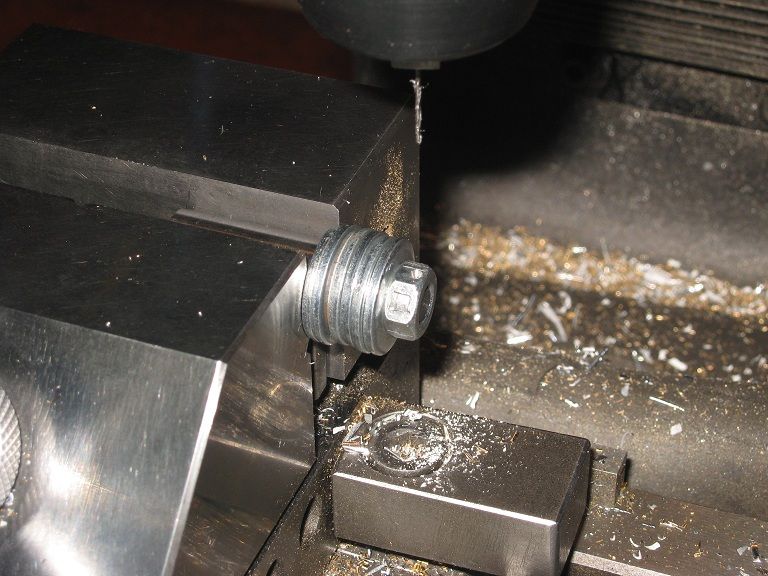
 Cross drilling jig
for the connecting rod shafts: a chamfered hole into an M6 nut, well tightened on the shaft on a few
stacked washers, acting as a guide for the .7mm bit. Once the bit is gone below the thread, I removed the
nut without disturbing the setup and drilled through the shaft.

I have ideas I have applied too much torque when tightening the drill chuck into the spindle.
Packed the pistons & gland nuts using Teflon tape: much quicker than the natural fiber I had used on the
other engine. And a better seal, too.
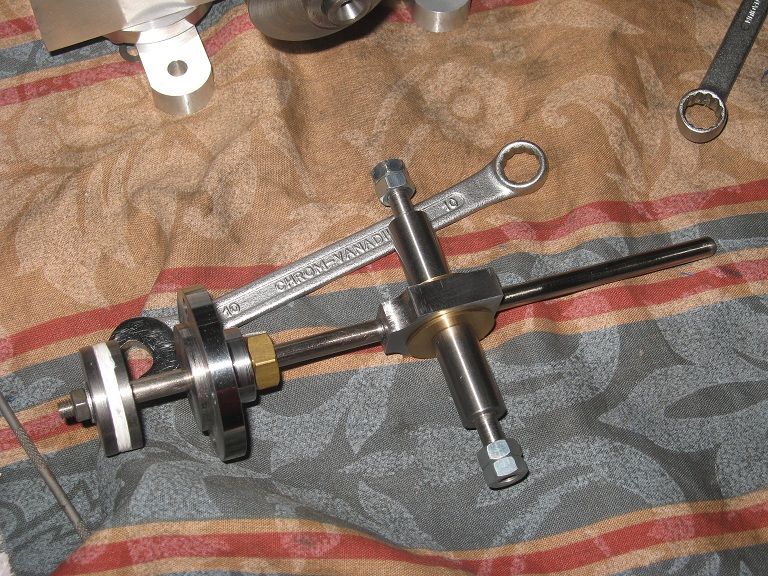
The studs-fitting trick worked a treat into tightening the connecting rod shafts.
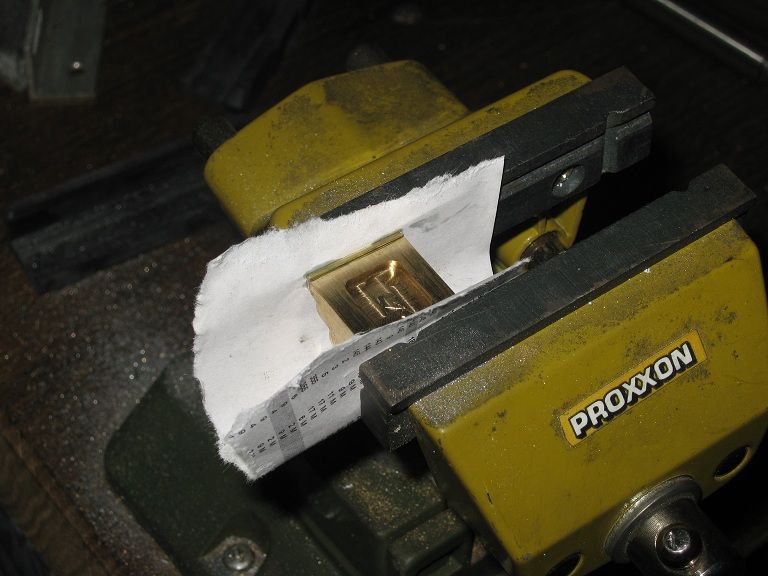
Was right in my fears about having overtightened the chuck: had to apply a piece of tubing to the key, to
have it dismounted again.
The key exploded the same moment the chuck was released, it?s now shown band-aided with paper tape not to
loose the parts till the day I will try some fixings on them.

Marcello


