Hi again guys - it's nice to hear all your views and comments - I know this is a bit 'wooden' (oooh!) at the minute but I hope it will be taken as part of the bigger picture - hopefully it won't be too long before it does what it's supposed to and contain a
steam engine 
I mentioned the 'rivets' - well traditionally, ie fullsize, the planks are fastened using copper nails and dome shaped washers called roves ...
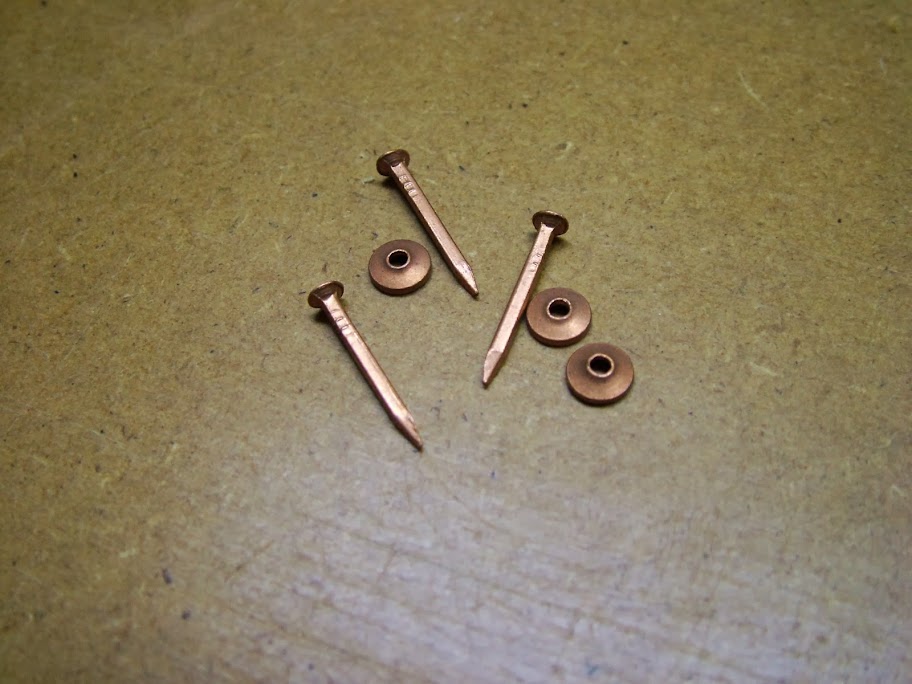
The nail is driven through pre-drilled holes through the planks from the outside, the rove is then driven, dome outermost, over the nail using a steel dolly to drive it up tight then the nail is nipped off or 'clenched' using nippers and finally peened over the rove. That's a lot of work on any boat and it was just the same here though I cheated a little - well quite a bit I suppose
I bought these nails above in 1972 - nothing like getting prepared eh

- they and the roves were the smallest available at the time though I believe much smaller roves were one time obtainable. I've always thought that they might be a bit over-scale but would have to live with it however someone set the grey matter working when they suggested using snap-head copper rivets as used for boilers/tenders etc. First thought was that the head would flatten slightly when peening over to 'resemble' a rove but a little work produced a simple punch and die to stamp the rivet head to a more convincing shape ....


If these were inserted from the inside and then peened over and filed off on the outside they might just look convincing enough.
Just how convincing they turned out to be was quite a surprise - more a bit later.
A few were done and a small test piece made to satisfy myself it would work. 1/16 dia rivets were used and surprisingly they worked out just under, but very near to scale

For the first time then that home made fly-press actually got to work on a repetitive basis and produced several hundred of these little devils in 1/4, 38. and 1/2" lengths. The 'die' BTW, actually really an anvil, had a sprung loaded ejector below hence the rivets sitting proud
Every rivet then had to have a point filed on so as to penetrate the pre-drilled holes. Held in needle nose pliers this was done one at a time with a needle file - quite time consuming, especially when fitting the planks as every one had to be inserted, as said, from the inside and using a mirror to see the hole
Trying my best to ignore the total number of rivets required, the hull, came together surprisingly quickly at a rate of about two planks every day and a half - make a template, trial cut the plank and shape to fit, make the opposite plank, steam one at a time, glue then rivet before moving on to the next until finally only the sheer plank was left to do ...

By this time the shape of the individual planks were needing quite wide material - It's quite surprising how each shape develops. So much so that the 21/2" stock that I'd cut was not wide enough for the sheer plank so another two pieces at 3" were required and finally that last of twelve planks went on - I think I might be allowed a

at this point ...

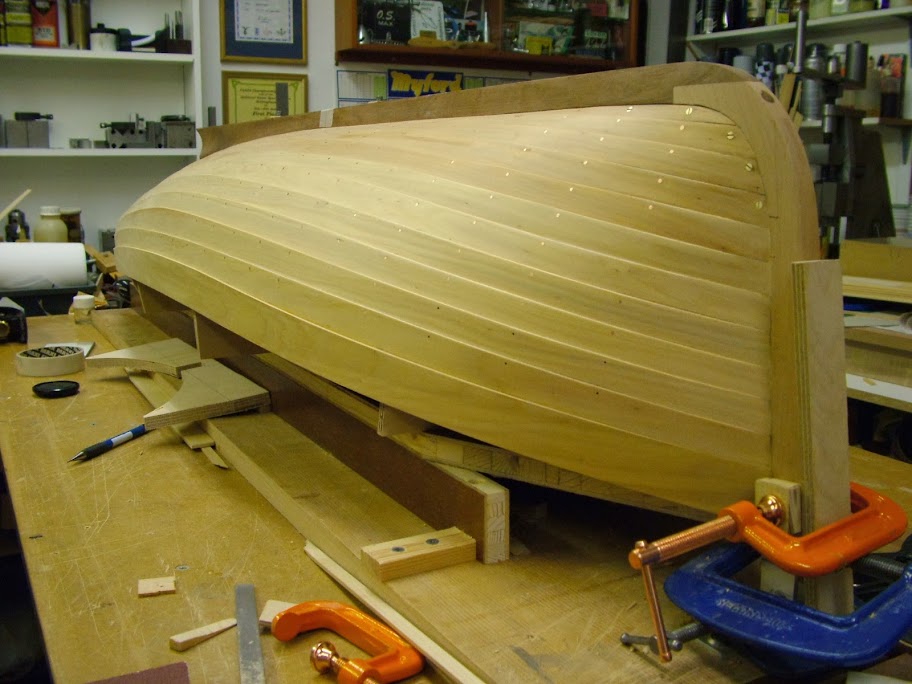
The brass stem plate was cut and fitted before trimming and flaring the stem to the planks...

And finally the big moment of taking it off the moulds had arrived

....

..and that inner sheer plank could at last be fitted..
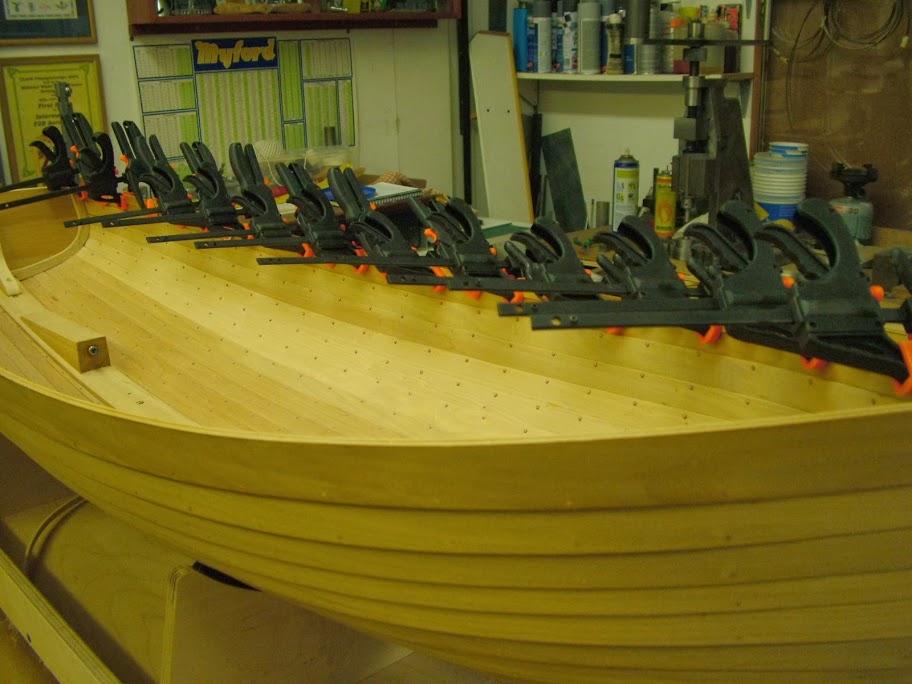
At this stage I took it back to the Boat Building College to ask some more questions before fitting the ribs. It
really made my day
when not one but two instructors who came to look at it independently both remarked 'Where did you find those little roves? Yep truly
That isn't it though - there's a whole load of ribs to go in and near as many rivets to do too

- more on that a bit later.
Hope this is seen as a little change from the mainstream but with that intent firmly in mind
Regards - Ramon


