Liney RV-1 - A New Double Wide
Part 7
Everything ElseI know you all missed having this captivating build log yesterday, so I did a major push today. All parts are made. Tomorrow: assembly, intake and exhaust port drilling and
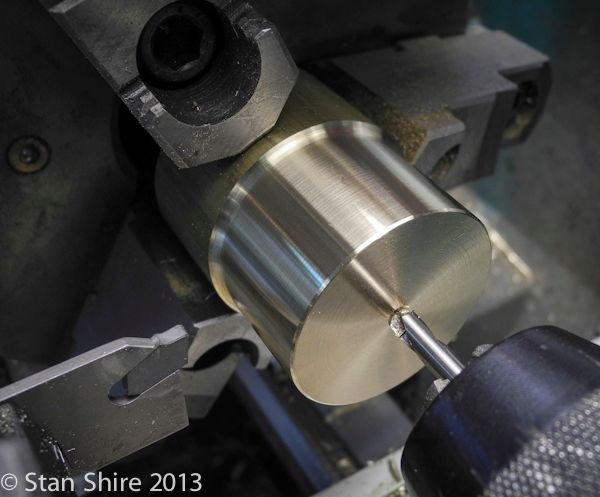
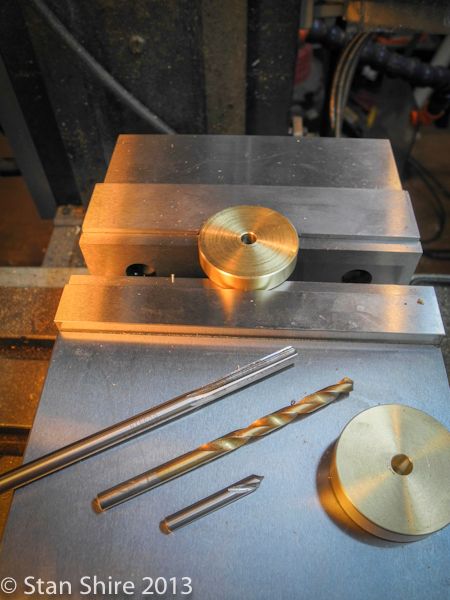
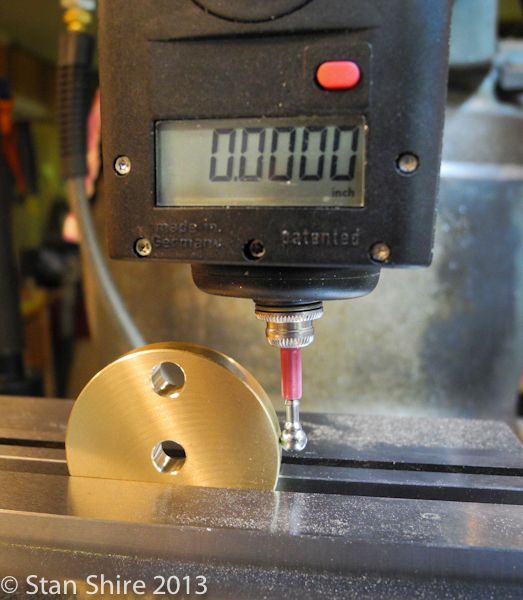
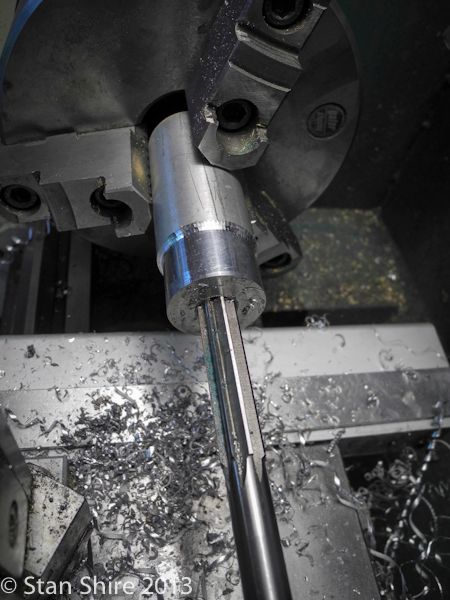
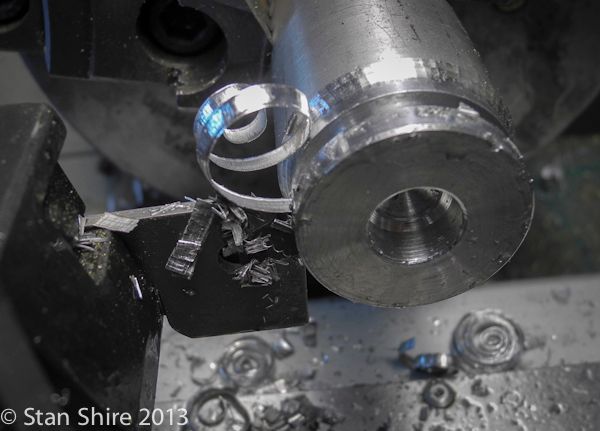
First the cranks. Brass round bar turned to size then drilled and reamed .251 for a sliding fit of the flywheel shaft. It will be held in position with 6-40 setscrews.
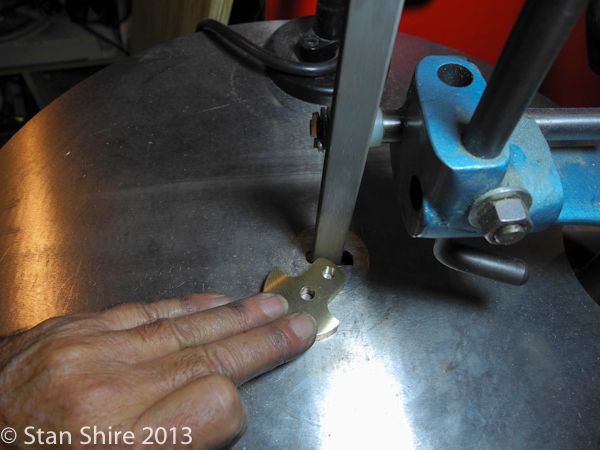
Parted off both cranks then its off to the mill.
I switched to a v-jaw on the vise and then indicated center.
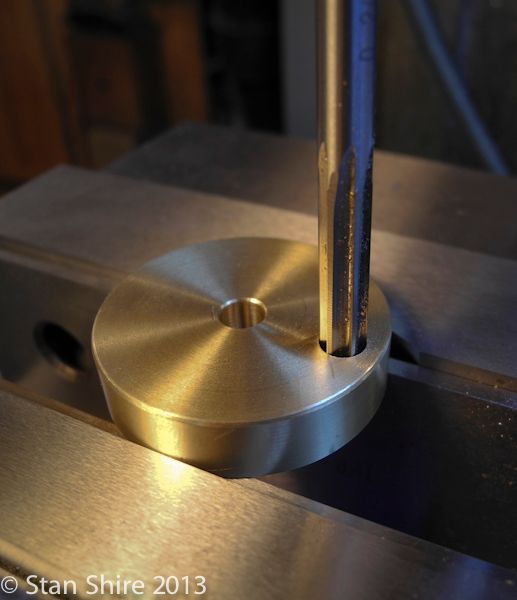
The second hole for the crank pin was spot drilled, drilled and reamed .249 for a press fit.
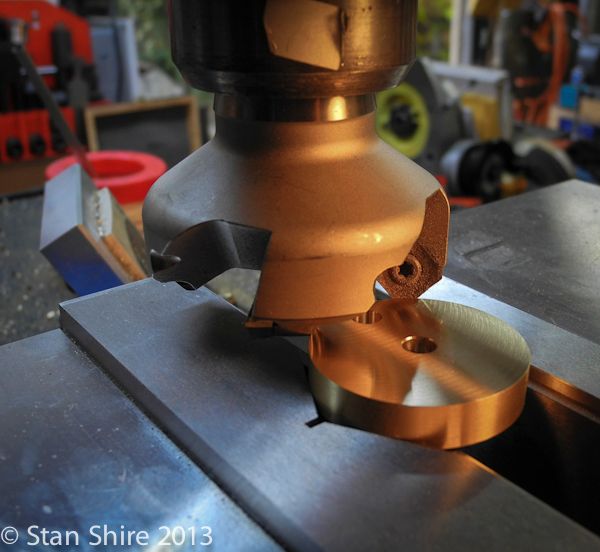
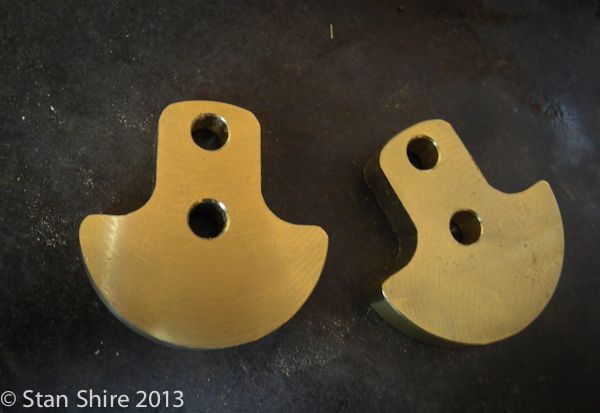
Next, the cranks were smoothed out with the face mill.
I placed the cranks upright in the vise and used a 1-2-3 block to align the two holes, close-enough, to vertical. At one point, I was going to make a fixture with flat sides and dowel pins which would slip into the holes. Id then chuck up the DTI to adjust for a vertical orientation. Never happened. Close-enough here wont impact the operation of the engine.
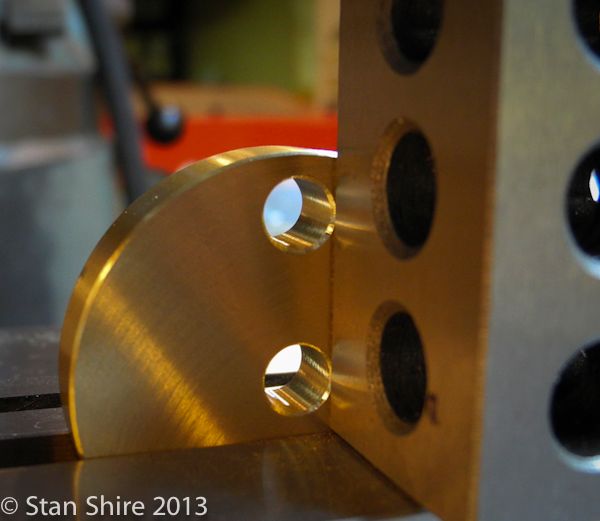
After finding the centerline, I used a .50 ball end mill to remove what shouldnt be there.

Quality time with Oliver to smooth out tool marks and to round over the sharp corners.
Two more parts for the finished box.
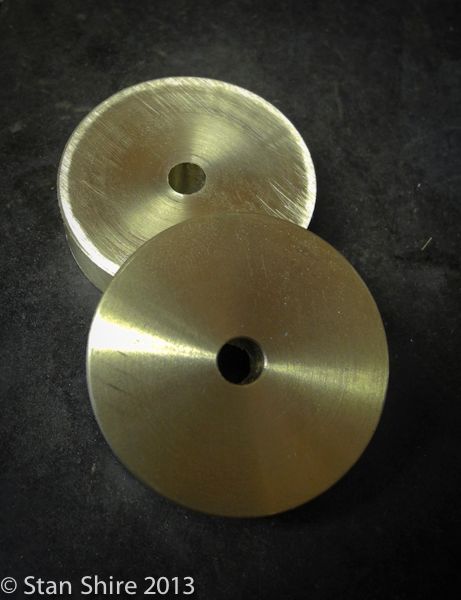
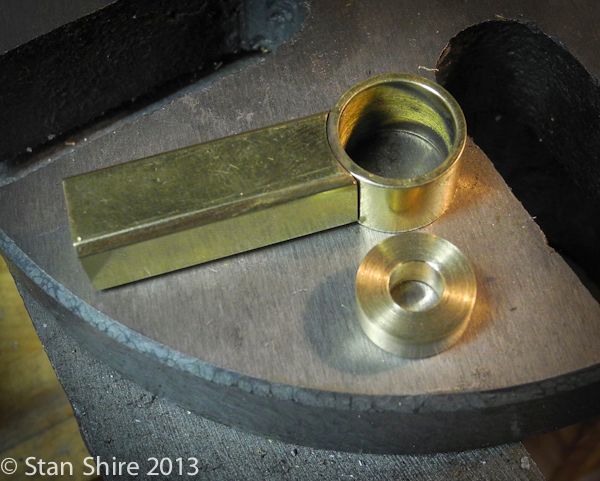
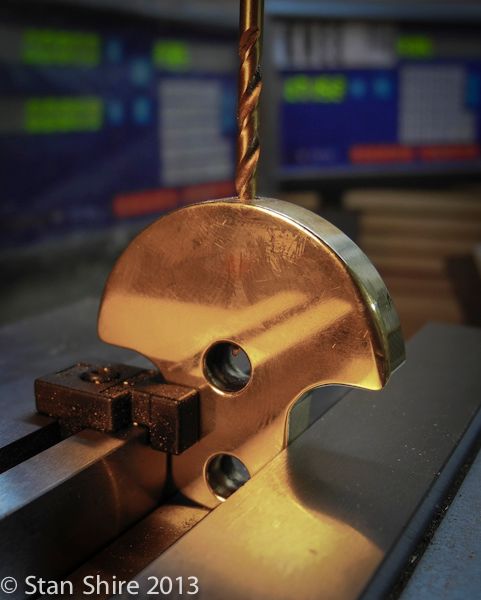
Next, two aluminum spacers, 1.25 diameter. These slip on the rotary valve between the valve block and the cylinders.
After drilling and reaming to .501, both spacers are parted off.
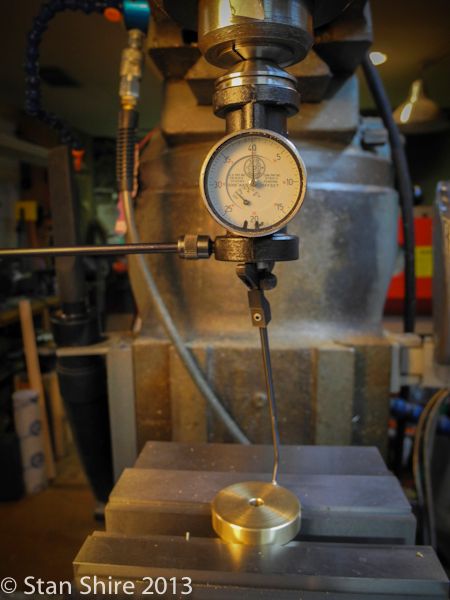
Since the bearing towers are .5 wide and the bearings are .25 wide, I needed a filler to take up the space. I turned these to .001 over the I.D. of the ring. The center hole is .015 oversize so there isnt any chance of interference with the shaft. When I looked at this picture, I realized that I need to do more fettling to blend the ring with the base.
Heres the filler ready to press in.

And pressed.
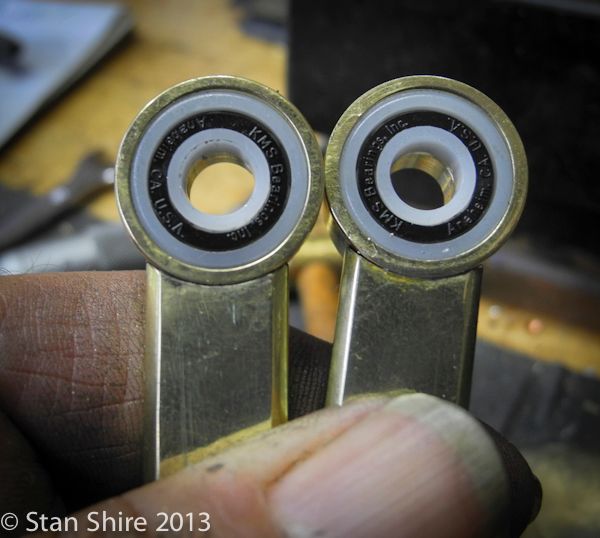
The housing, flipped over with the bearing ready to go under the press. Anxious to see how these acetal bearings work out. They are supposed to be No-lube under 2500 RPM.

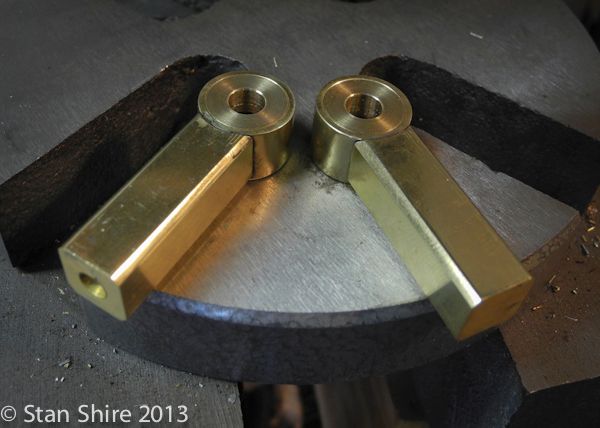
Two more for the finished box.
The cranks after sanding and polishing. The hole being done here will be for the 6-40 setscrew to affix the crank to the shaft.
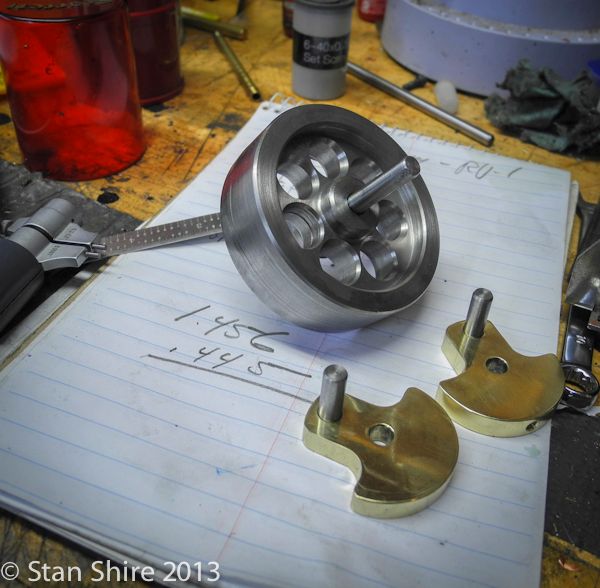
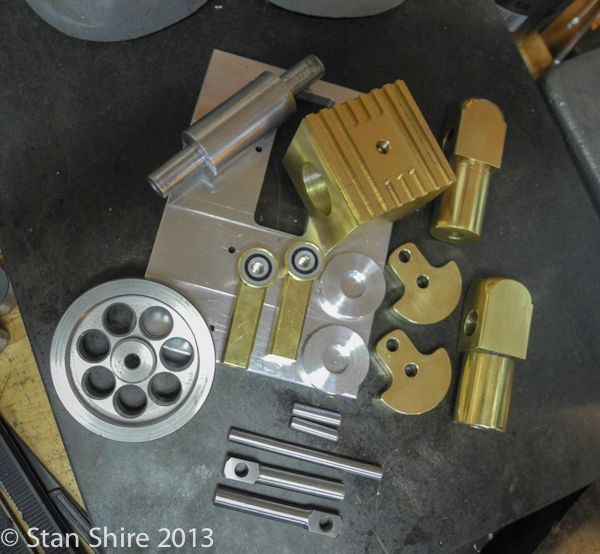
Family portrait of all parts.
The shafts, after press fitting. Tomorrow, Ill assemble everything and drill the intake and exhaust ports in situ.
Then, get some air in it and see if its a runner.