Hi,
Some of you beginners like me may need to update your mill, and will find value in simple repairs like this. This is not the re-scraping of your lathe, or anything as challenging as that, but it might be informative. There is no need to be anxious about this process, however, remember, beginners are always anxious when stepping off the high board


So, my 50 year old mill that I dearly love, needed a new X axis lead screw nut, which I purchased recently. This is a new nut made to spec, and cost a whole lot, but there is no old stock available elsewhere.
Here we go.
Step 1 is to remove the handle assembly on the left end of the table. This involved:
removal of the acorn nut
Remove handle
Remove flat shim
Remove woodruff key (don't drop it under the mill more than twice)
Remove 3 screws in bearing cover plate
Remove 2 screws holding the bearing carrier from the table end
Using a typical puller, remove holder with bearings from end of table
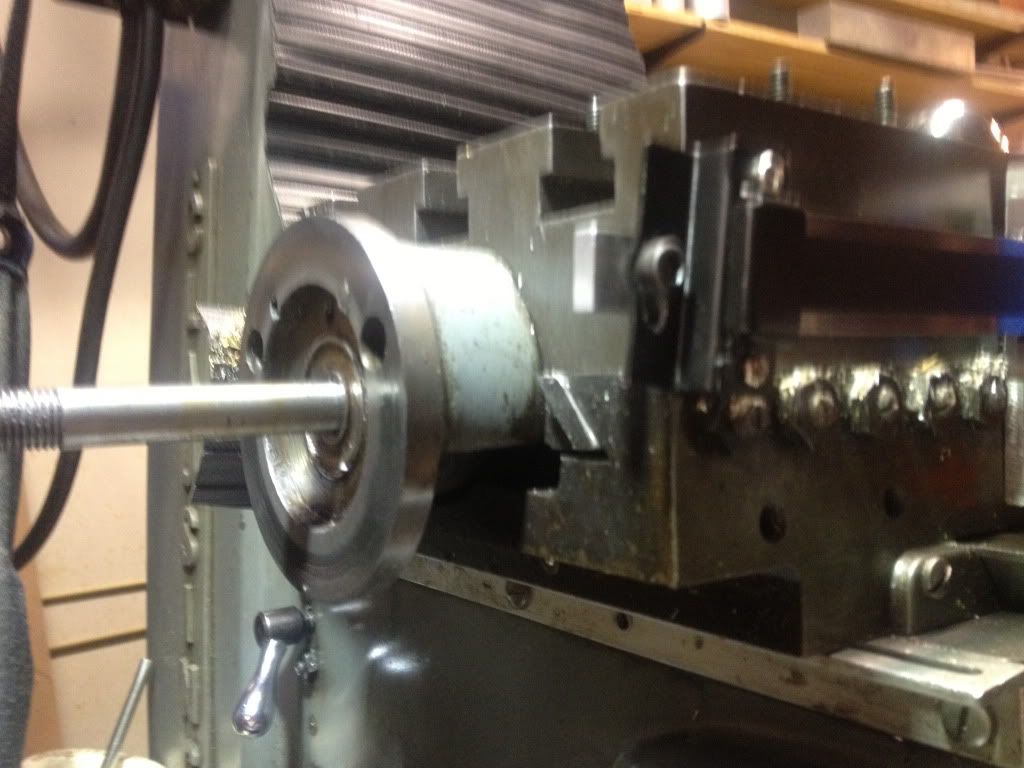
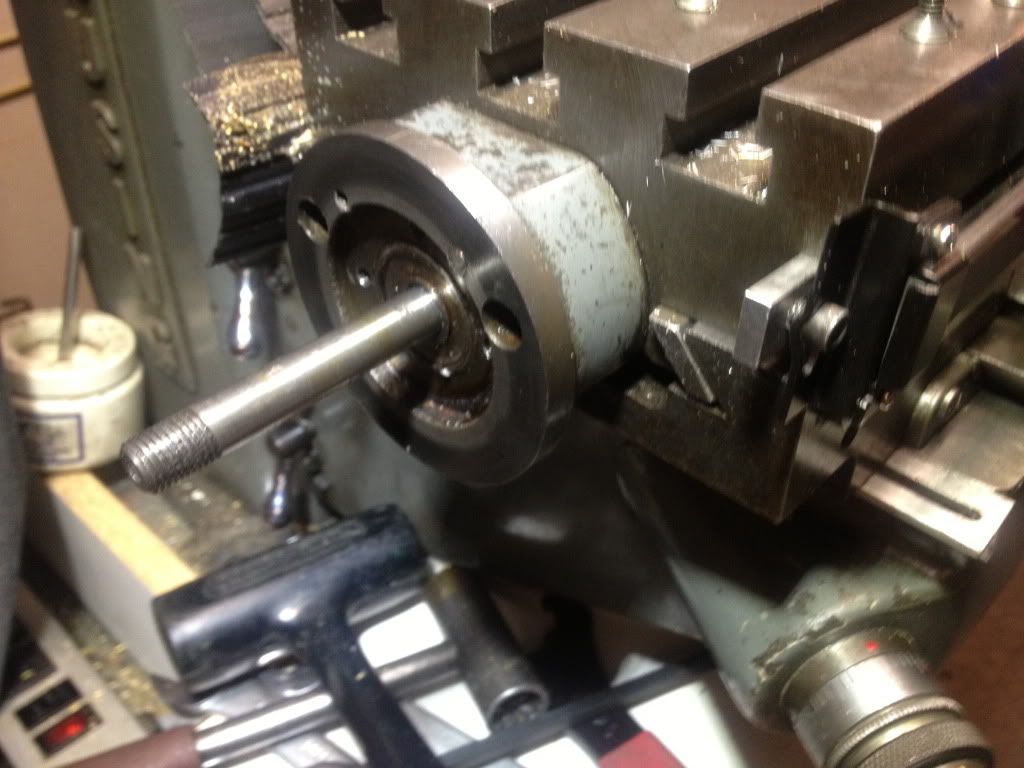
You can see above I have everything off up to the holder.
Now you must remove the table screw from the right end of the table (because I have power feed in the way on that end) by simply turning the handle and pulling the table manually out of engagement with the nut hidden below until the table slides past the end of the cross slide and exposes the nut.
I rested the right end of the table on a floor stand while this was going on.
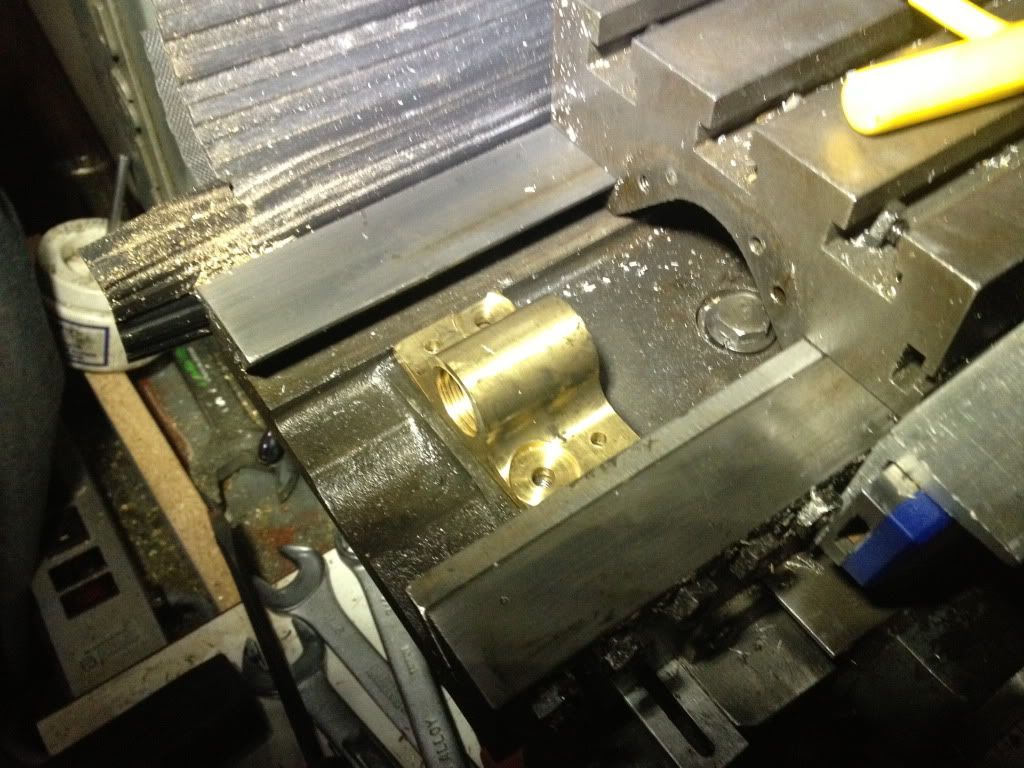
Now, with the table out of the way, you can see the nut, bolted to the cross slide with 2 bolts, and 2 roll-pins.
Remove the old nut, with the roll pins(I re-used the old roll-pins because they were OK), replace it with the new, and voila, you are almost there. You can see below that the new nut is in place ready for the fasteners to go in, and you can see lots of crud on the ways, etc.
Now, reverse the steps by putting the table screw back into the new nut by turning the handle in from the right end, and reassemble everything, and you should be done.
I took the opportunity to clean everything in sight, re-lube the ways, and re-tighten the gib screws to spec. ("Spec" is until they felt nice).
The fun part of this process is getting used to a table that is nice and snug when you move it!!


I hope you enjoyed this little diversion, and you pros will probably have a good chuckle.
Thanks for looking,
Mosey


