This will be a fairly lengthy post, so please bear with me

I offered to make the metric conversion and some missing gears, as well as a leadscrew handwheel for a fellow member's Myford lathe. A package containing some lumps of cast iron and a lump of aluminium arrived yesterday; accompanied by another package containing 6 bottles of very nice high quality fermented red grape juice

- Thanks W!
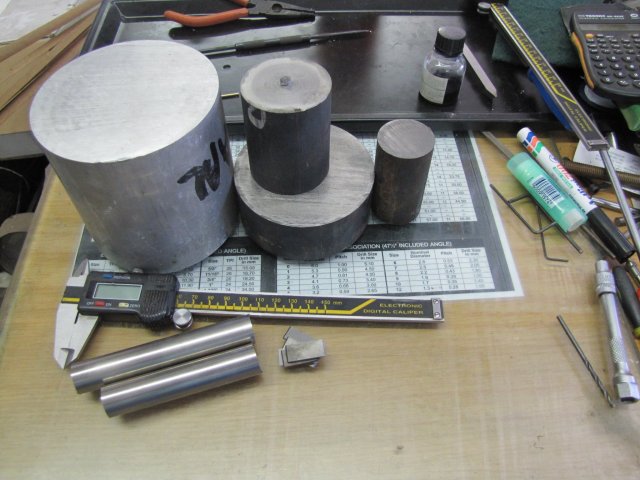
There were also five very nice bits of tungsten included; perfect for making up an indexable grooving tool. I added a couple of sections of printer shafting that will be needed for the project:
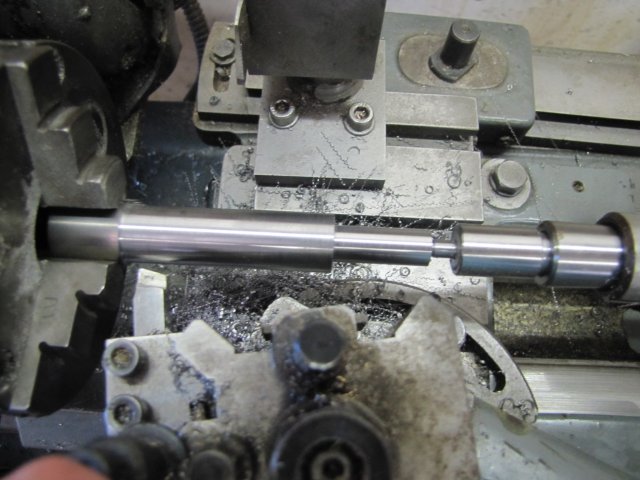
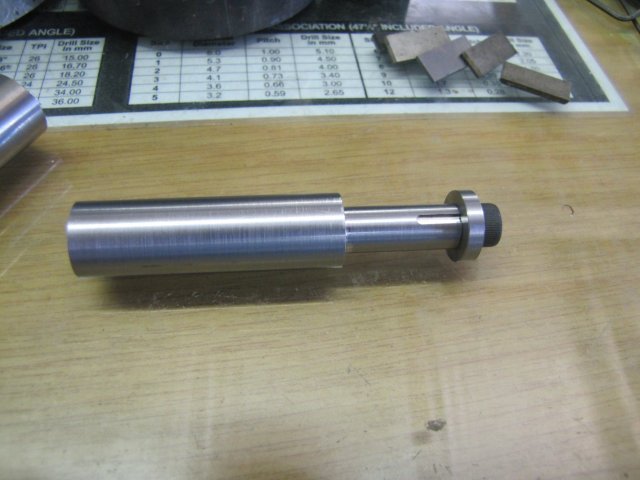
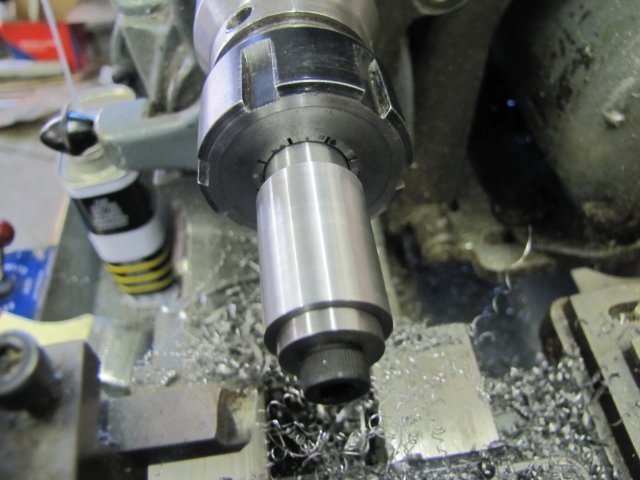
The longer section of printer shafting volunteered first, and was turned down over it's length to 16mm to fit my ER25 mill collets, with an accurate 24.5mm long 10mm diameter section at the end:
It was then drilled and tapped for an M6 screw at the end. (and Yes - it's a 24.5mm long section; not a 1" (25.4mm) section

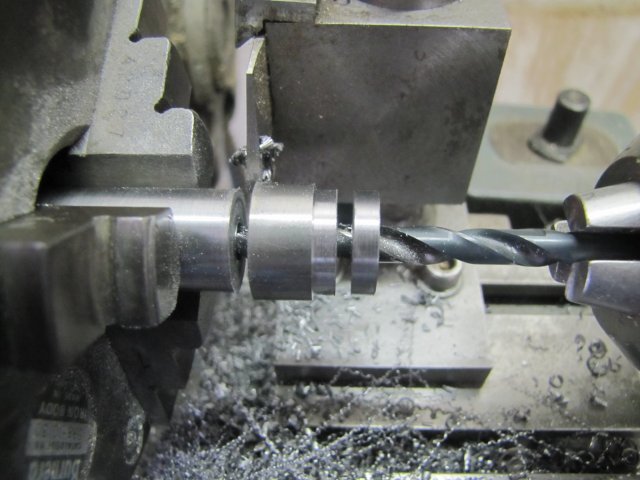
Then I flipped it in the chuck, and turned and drilled the back section to make a thick matching washer to the front, before parting things off; I'm a lazy rotter, so the washer and the removal of the last thick section were done one-after-the-other:
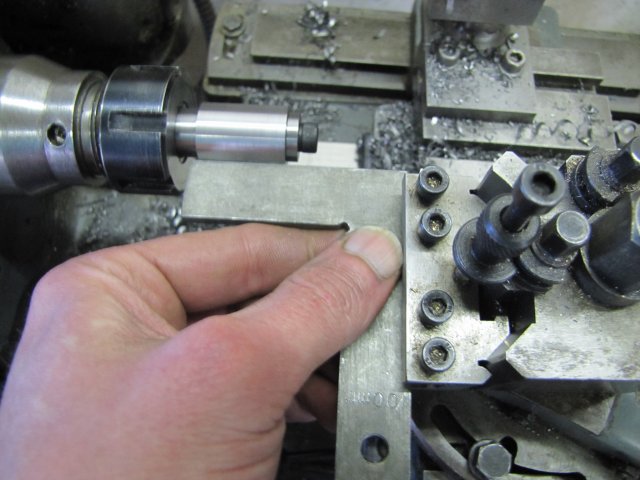
A quick trip to the mill, and the end had a 2mm thick x 1mm deep slotted section added:
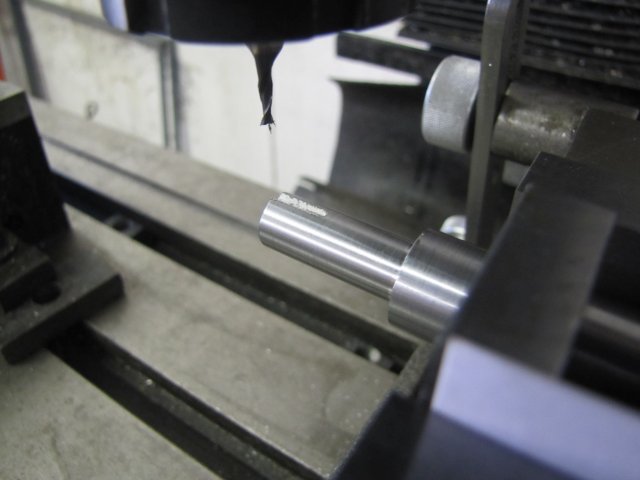
Mandrel done - this one will be used to mount the gear "hob" on - and I took the bit of extra effort to make it well, as it can be used for many future projects:
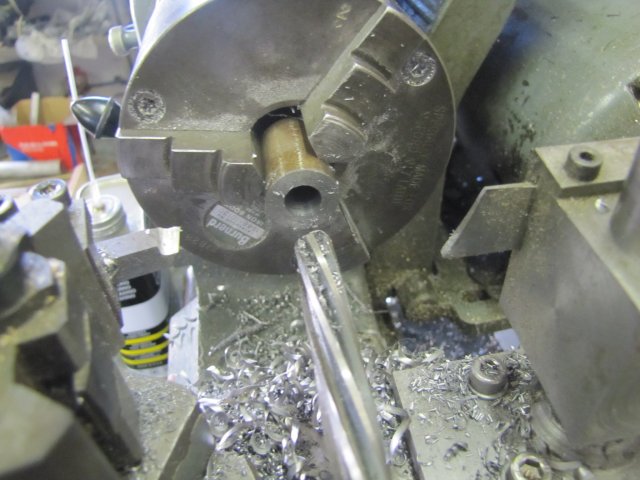
As I'll be making five gears in total, I made up a mandrel for these as well. I just carefully clocked up the other bit of printer shaft in the 4-jaw (less than 0.005mm run-out), and turned the end down to 5/8" for a close fit for Myford change gears:
I did this so that I can remove and re-install the mandrel at will; It takes me less than two minutes to center up a shaft in the 4-jaw to this accuracy. The bit of shafting was also drilled and tapped M6 at the end.
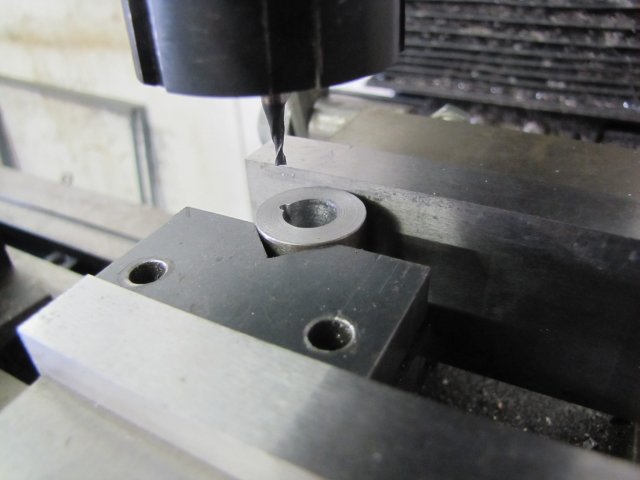
Next bit - a 25mm long slug of 20mm diameter silver steel (drill rod) - that was drilled and reamed 10mm to fit the first mandrel I made:
Off to the mill with that, and a "keyway" section milled into it; the keyway may be round, but will work with a bit of 2mm rod on the first mandrel:
Myford change wheels use a 14.5
o pressure angle. Dang - the first (and only) set of gears I made were 20
o, so some tool grinding required.
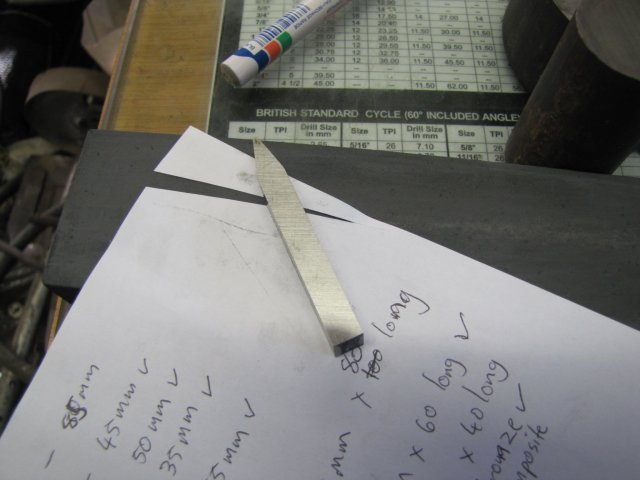
I grabbed a fresh good quality HSS-Co8 tool blank from my stock, and used my precision protractor to mark it out for the necessary tip:
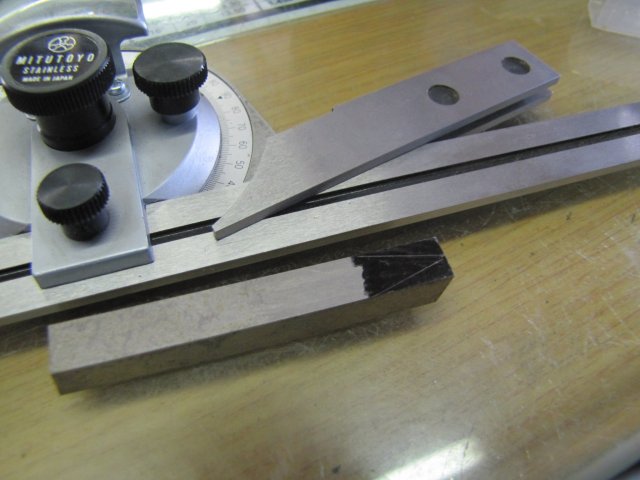
The scribe marks literally are just as deep as the permanent marker ink; my scriber won't touch HSS!
Off to the bench grinder, and after a couple or ten minutes, one side was ground down. I don't know how fast other home-shoppers grind down tool bits; for me it takes a while and especially on a bit like this, I do a lot of dunking in water while grinding it up. My own rule of thumb is that the HSS should never reach a temperature where it starts to colour.
I took a break and a photo:
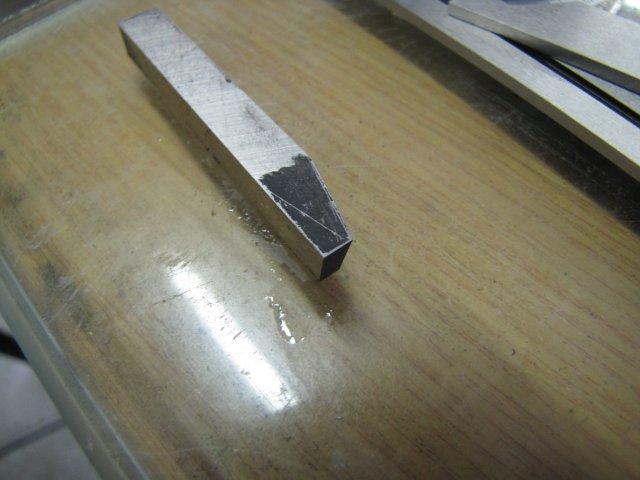
The next side took a bit longer to grind down. As the tip gets thinner, more frequent cooling is needed, as the thin sections are the first to start overheating. HSS is actually a pretty poor conductor of heat, so the thin tip section of the toolbit can overheat in a jiffy.
Lazybones that I am, I just ground the toolbit down till the tip fit the root of one of my own changewheels properly - I do have all the calculations and measurements to calculate out the correct tip dimensions, but this was easier

:
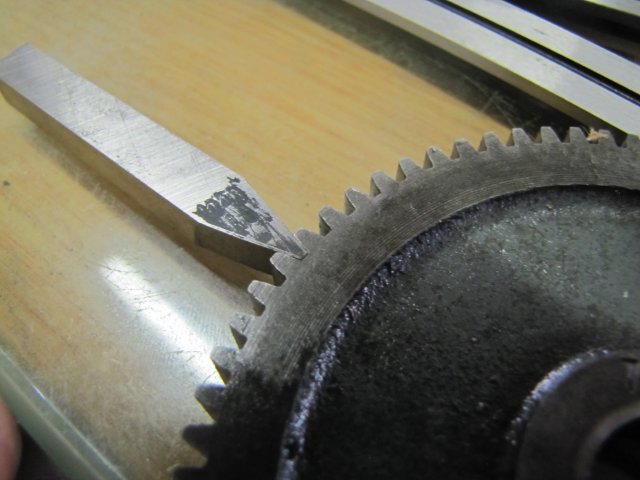
After a final honing on the fine side of an oilstone, the toolbit was sharp enough to make a neat and clean cut in paper:
It will also do that to skin

Back to the lathe, and the silver steel section I'd reamed earlier was mounted on the mandrel that was made - I just used a short section of 2mm brazing rod as the key - and lightly skimmed off to true up the outside:
Then I set up the toolbit that was ground up. As the toolbit was marked out relative to the parallel sides, I could just use a small square to make sure things were set up properly. I don't know of many people who own 29
o fishtail gauges:
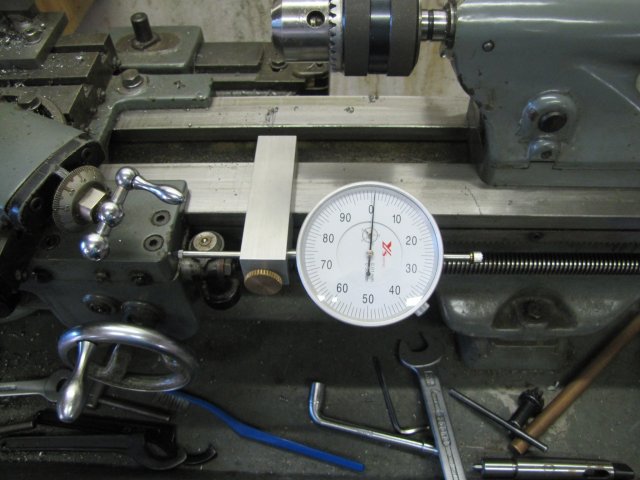
I plonked the long-travel DI on the bed - I needed to get accurate 3.99mm spacings for the gear hob (well, 3.9898mm to be more accurate, but 1.2 microns are a bit hard to measure in my shop
):
Cutting commenced; this was a fairly big job, as it was done without tailstock support and each groove had to be plunged 2.85mm deep. That's the reason why I honed the toolbit up that sharp, and for this operation I used the Myford's lowest high-range speed (200RPM) with LOTs of cutting fluid. A plain HSS cutting bit will keep a keen edge even machining one of the tougher steels like silver steel - as long as it's not pushed to the point where it heats up too much. And it mustn't be allowed to "rub" either - one needs to see the chips coming off all the time; if things rub, the silver steel will work-harden and take the edge of the cutting tool near-instantly:
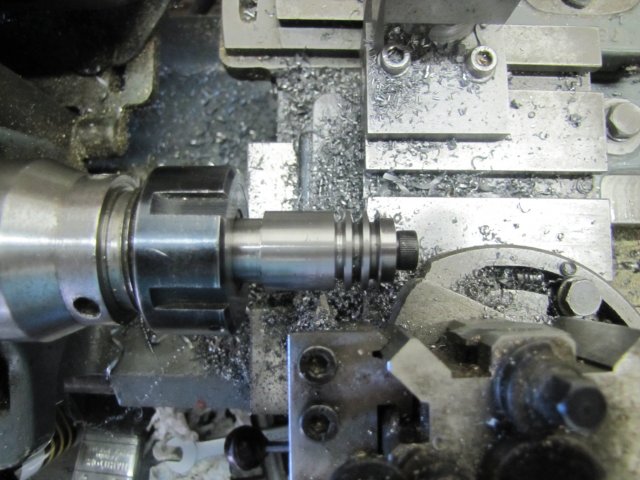
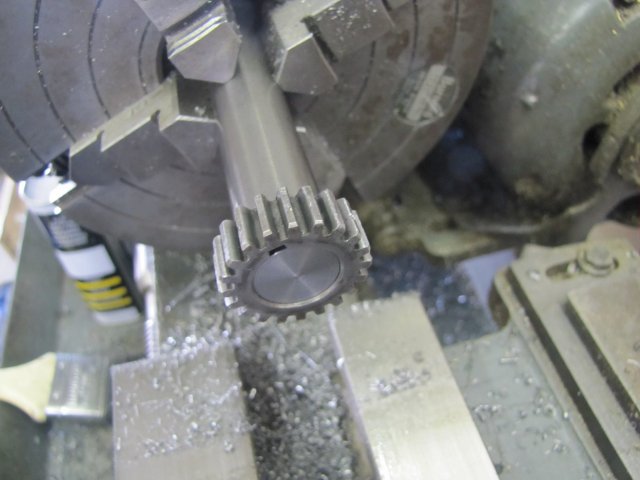
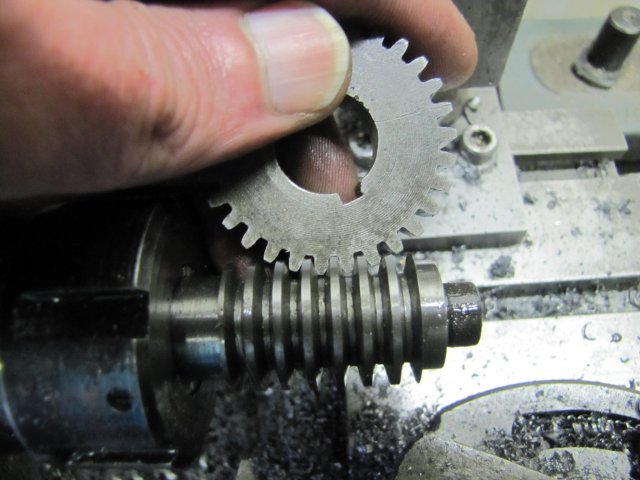
Once all the grooves were done, I tested it against a gear - Looks OK to me:
I left off there for today - I don't think I'll be able to do more on this project till next weekend.
Regards, Arnold


