Some more of the Mastiff.
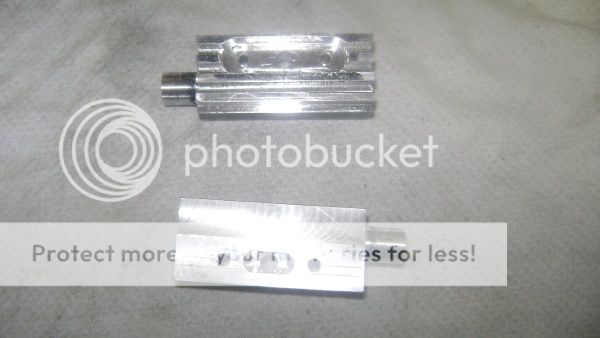
These are the combined intake/exhaust manifolds. I still have to drill the exhaust port holes yet.
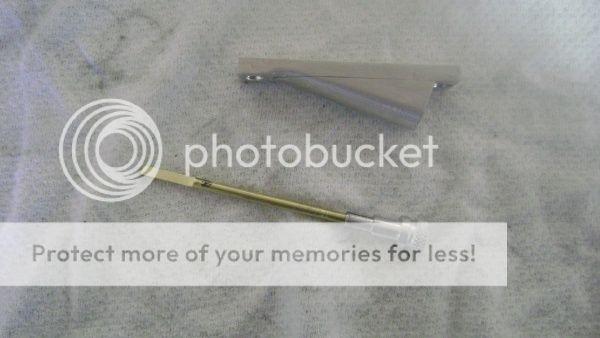
The oil dipstick and housing.It will be bolted to the side of the crankcase.
Some more of the Mastiff.
These are the combined intake/exhaust manifolds. I still have to drill the exhaust port holes yet.
The oil dipstick and housing.It will be bolted to the side of the crankcase.
A posed shot of the complete setup for turning.
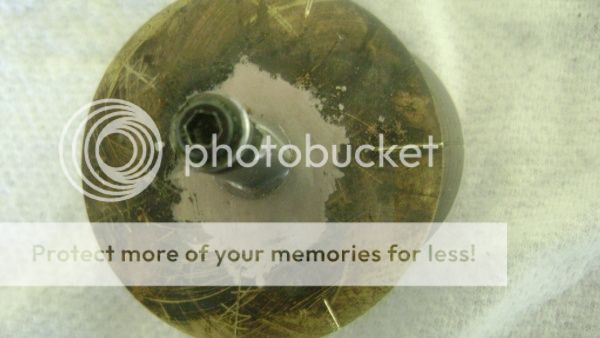
The fixture will hold material for 2 lobes to be turned at a time.
One side of the plate is for intake and the other side is used for exhaust.
After the lobes are turned they cut in two with a thin slitting saw and finished machined and hardened as they are made out of drill rod/silver steel.
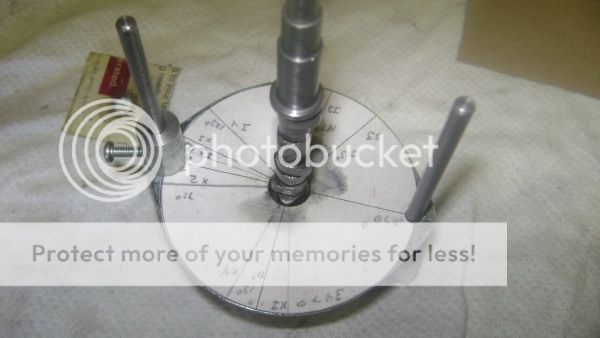
Now the fixture for assembling the cam lobes onto the 1/4in stainless steel rod to make up the cam.

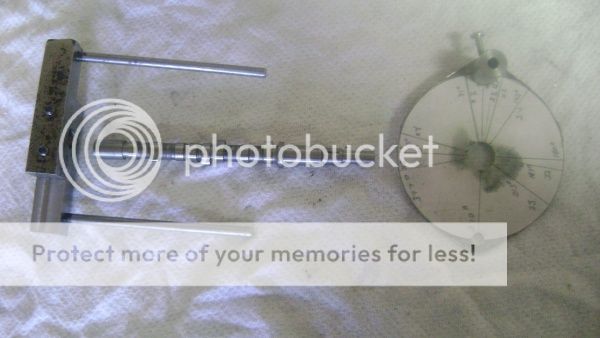
A posed shot of the setup.
The cam lobes are lined up with the appropriate marks and lock tited on.
That's it for now, hope you enjoy it.
Ron
A posed shot of the setup.
The cam lobes are lined up with the appropriate marks and lock tited on.
That's it for now, hope you enjoy it.
Ron


