Thanks for stopping by Dave and Alan. I took some shots with my cell phone as I did the truck box molds to document the process.
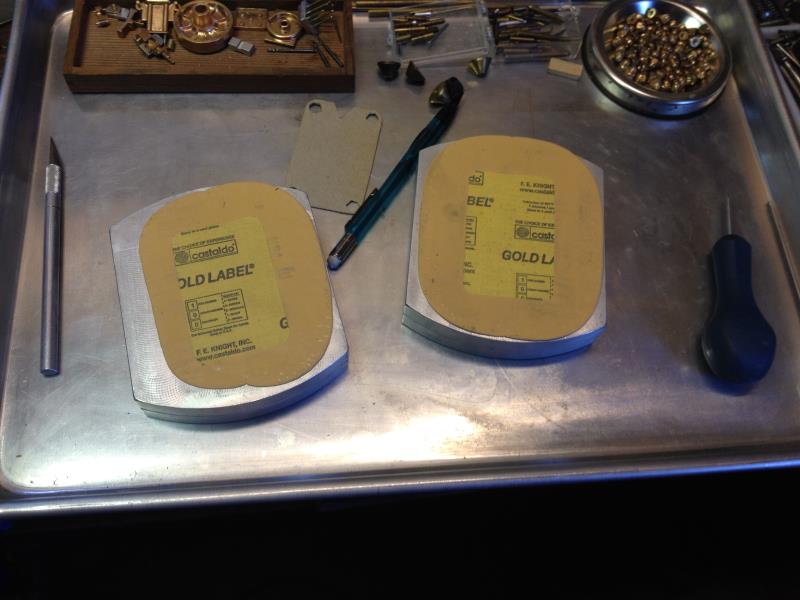
Here is the setup with 8 rubber sections per mold. One side of the rubber has a yellow printed cloth cover and the other side has a thin blue plastic covering to keep it clean as the pattern is cut out. There are 2 pieces of the mold frame held with pins top and bottom.
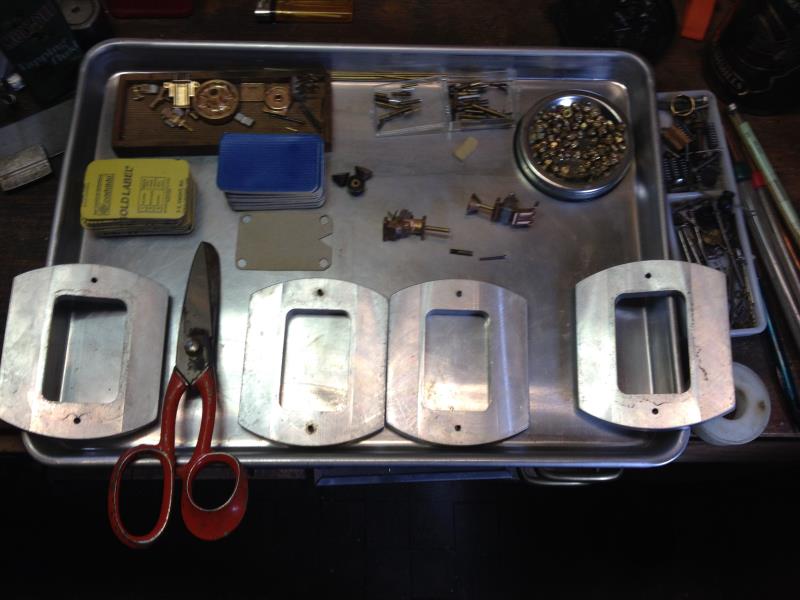
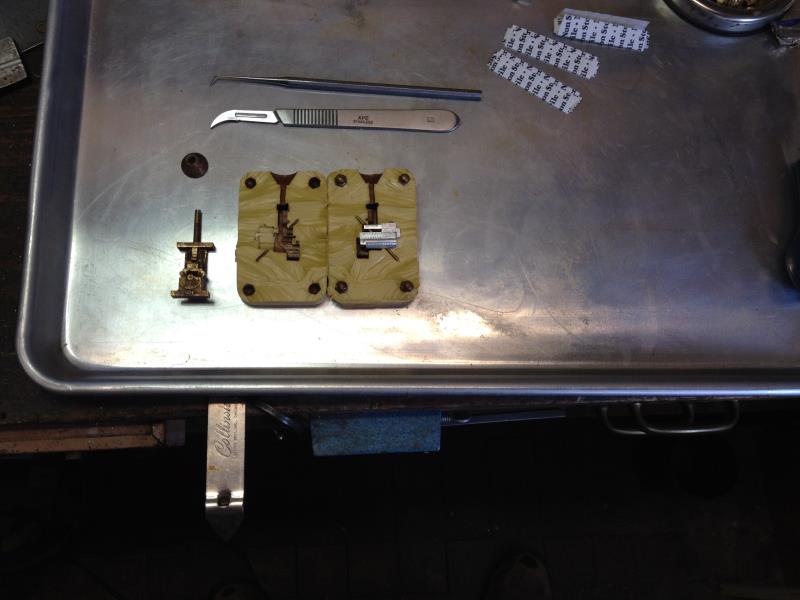
Here is the first half of the molds done. I use the cardboard template to locate the 4-40 acorn nuts I use for mold locks. The top section of the mold frame has been added. I trace the pattern on the cloth back and then cut out the rubber to fit around the pattern. I use the cut cloth back as a pattern to mark the next layer of rubber.
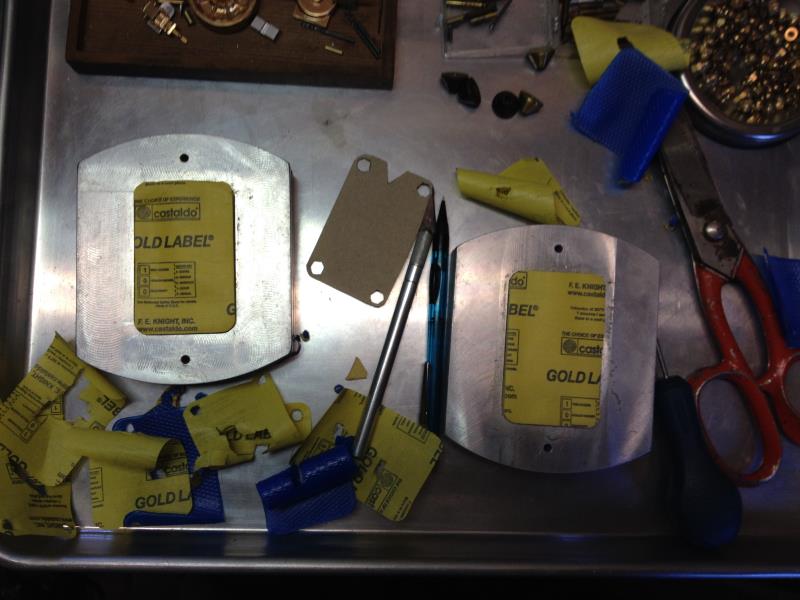
Now both molds are full and the cloth cover was left on for the outside of the first and last layer of rubber.
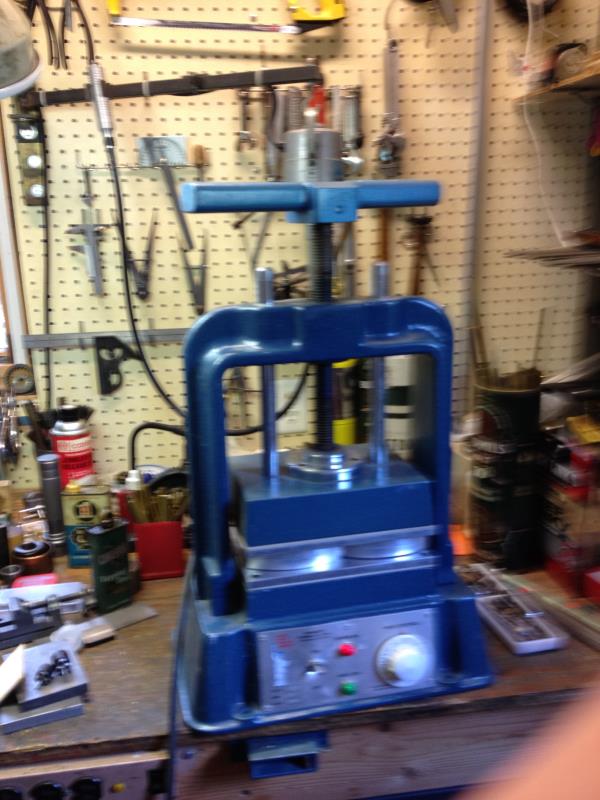
Both molds in the vulcanizer at 307
0 for one hour.
Still hot!!! The excess rubber just flows out between the mold frame and the heated plates.
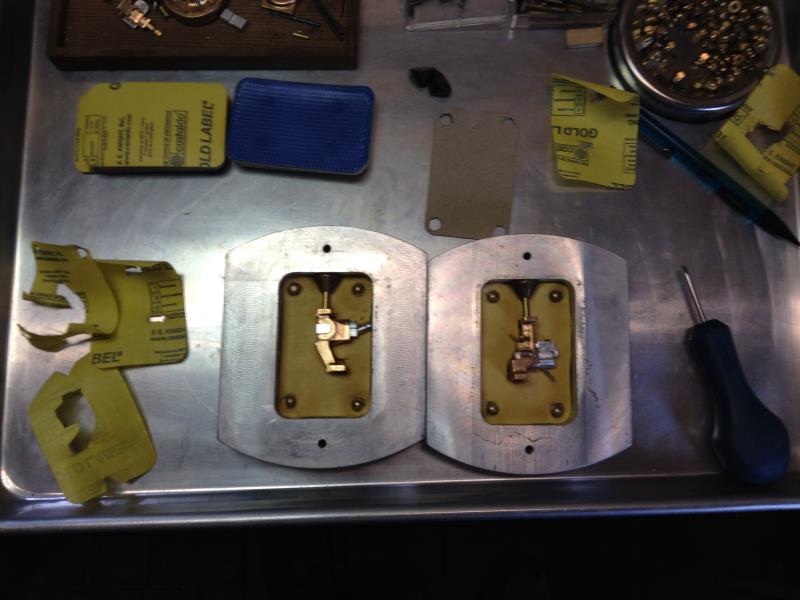
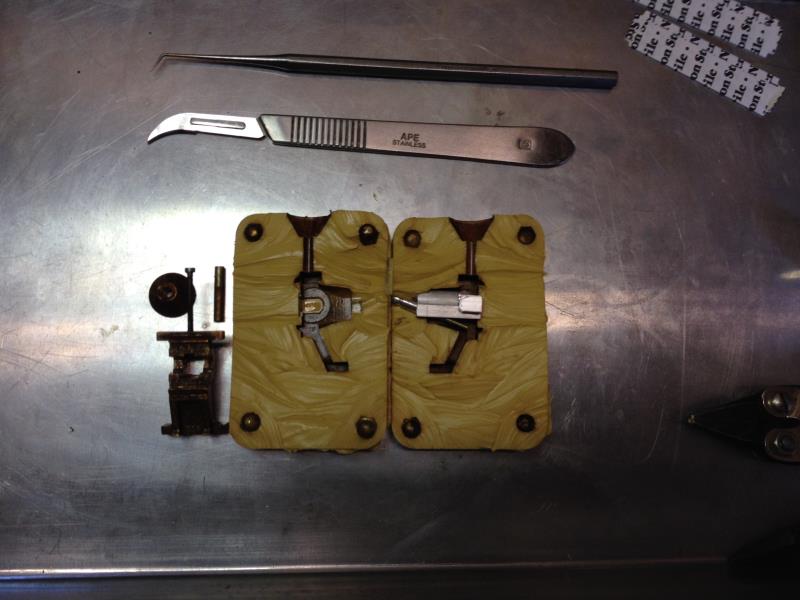
Now to carefully cut the mold. I use the dental probe to locate the acorn nuts in the corners and cut them out first so I do not miss them. The can opener C-clamped to the bench has had the sharp edges removed and it acts as a fixed finger to hold the mold open as a sharp scalpel is used to cut the rubber. This is the left side pattern removed and the core pieces in the rubber mold.
This is the right box mold with the pattern removed and the core in place.
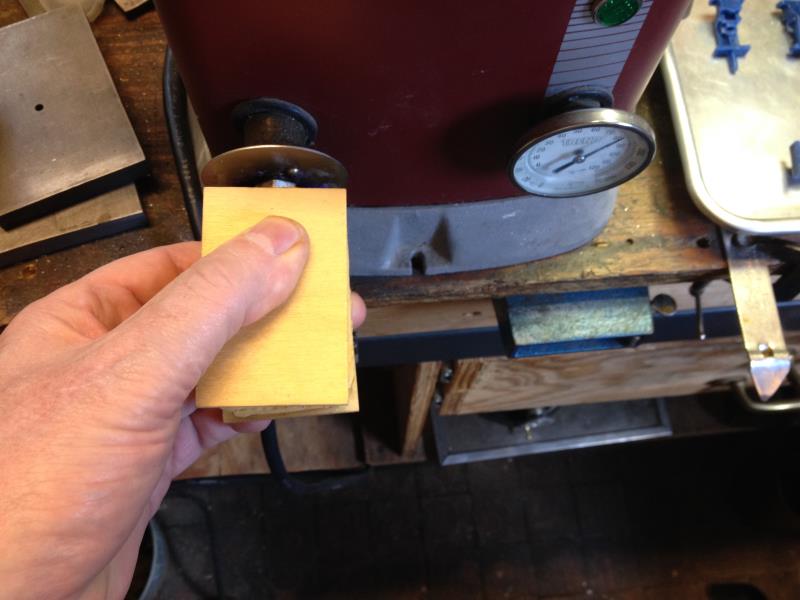
Now it is time to heat up the wax pot. I push the mold on to the valve and hold it for a count of 15 seconds. I have about 10psi on the pot. There is a thin section of plywood on the top and bottom of the mold so my finger clamp will have equal pressure on the mold.
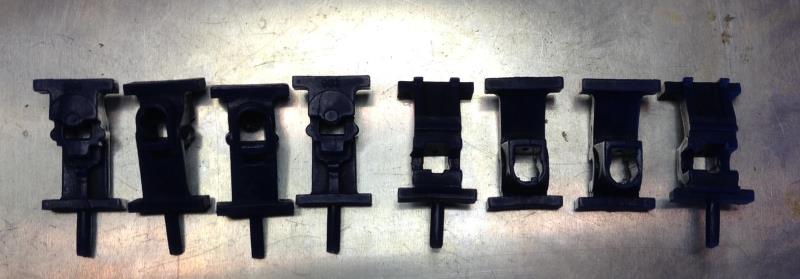
Finally this enough of the boxes for one Shay. I need three times that plus a few spares. I only knocked two of the sprues off with clumsy handling. I like it when I do not have to add a sprue for casting metal.
Dan


