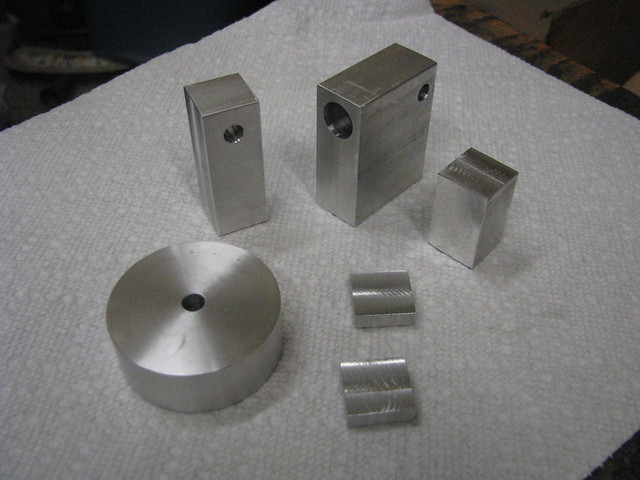
Took the same approach to this engine as I did with Elmer's Standby. Reduce the materials required, simplify the build, and use minimal tools. For this one I scaled it up a bit and used the same main material; .75" x 2" aluminum bar. From that we get the cylinder, main shaft support, flywheel, support for the bell crank, the bell crank, and main crank. Here are the pieces;
 IMG_5908
 by
black85vette, on Flickr
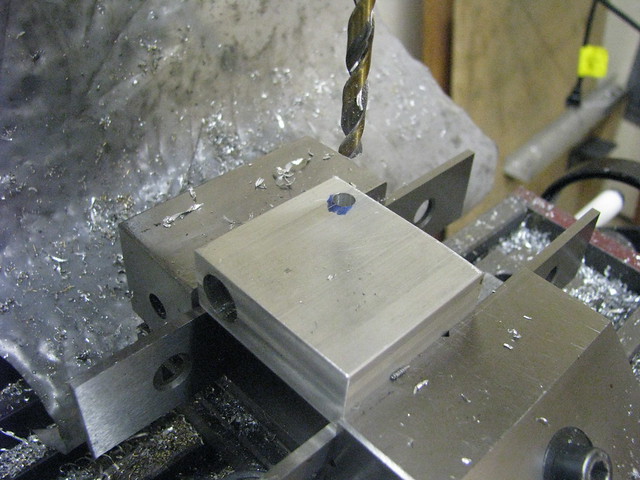
The cylinder is .5" drilled 1.375" deep. Piston is .5" long and stroke will be .75". Behind the cylinder is a .25" hole cross drilled. This will house the valve.
 IMG_5909
 by
black85vette, on Flickr
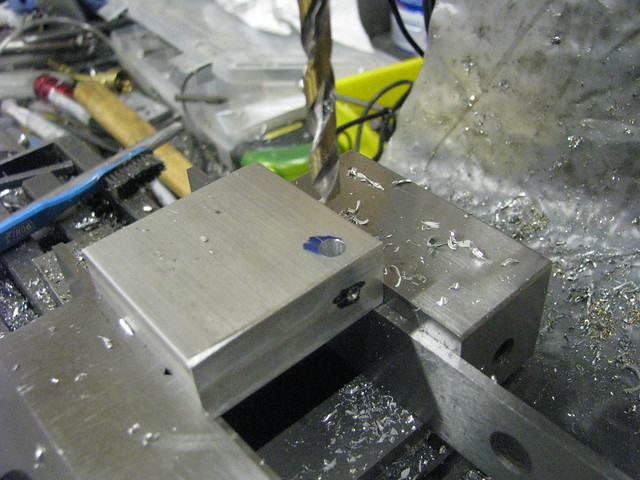
From the rear of the cylinder a .125" hole is drilled all the way through to the cylinder. The air supply will connect here.
 IMG_5910
 by
black85vette, on Flickr
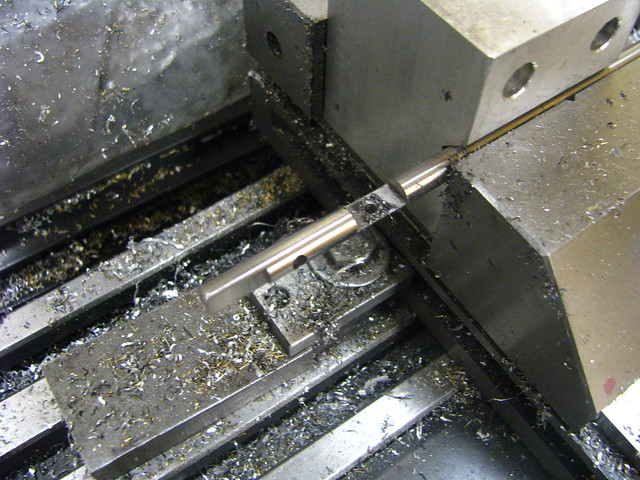
The valve is the main change I made to the original runner design. The original had a piston valve that had to push against the air pressure to work. Instead I brought the air supply in the rear and used a hole in the valve to control the air inlet. I made a flat on the end of the valve that is .5" long and .050" deep. This is the exhaust port. On the other end of the valve is a flat that is rotated 90 degrees for the linkage and tapped for a screw to attach the link arm.
 IMG_5912
 by
black85vette, on Flickr
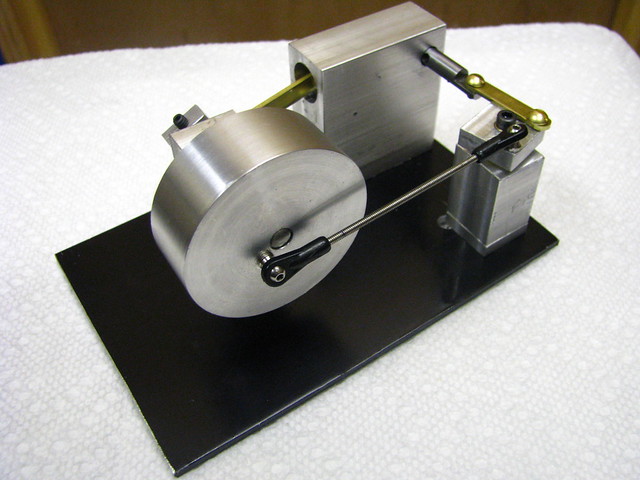
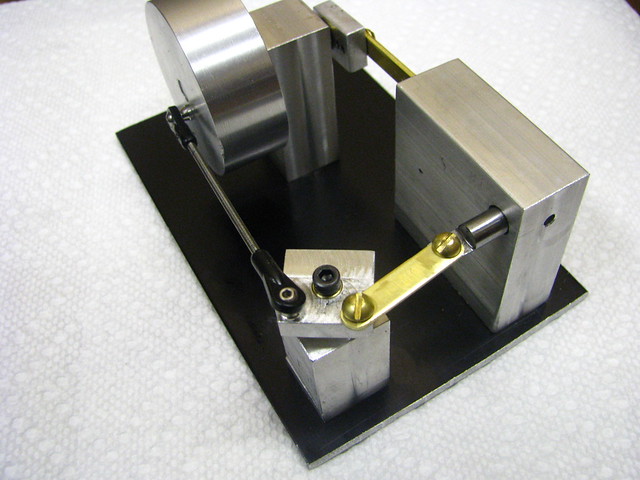
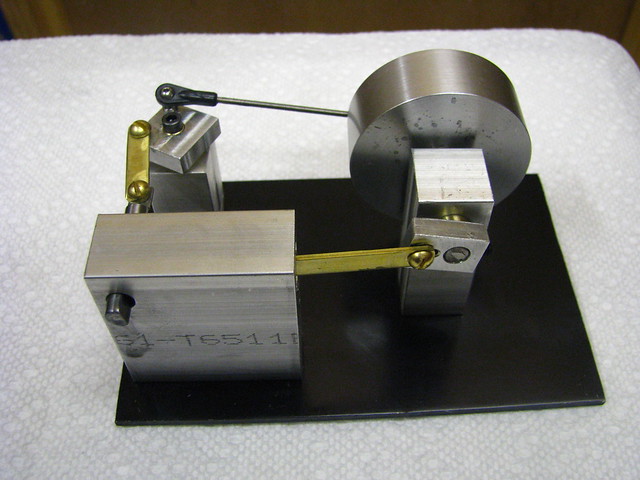
I took a little different approach to the link for the bell crank. This link has the ends 90 degrees apart and it has to move in two different planes. In the past I have used a .25" round rod and just drill it with the ends rotated 90 degrees. I have seen a flat piece used and twisted in the middle to get the holes aligned. In this case I decided to use some linkage from an RC helicopter rotor. These ball links are threaded and can pivot over a wide range. Plus the threaded rod that connects them makes it very easy to adjust the length.
 IMG_5913
 by
black85vette, on Flickr
Here is the bell crank. I made a brass pivot for it to ride on. Then drilled / tapped holes at two corners.
 IMG_5914
 by
black85vette, on Flickr
 IMG_5915
 by
black85vette, on Flickr
Flywheel and Piston are the same as the last engine so no need to show them.
There you have it. I have some drawings in process and will get something posted.
Also thinking about moving my original EZ Engine over to this same material / format.


