Thanks all who replied

The best use of leave I have found is to provide more time in the workshop 

- That's true Jo - though I can really do with a
proper holiday for a change...
At least I had a bit of shop time over the weekend...
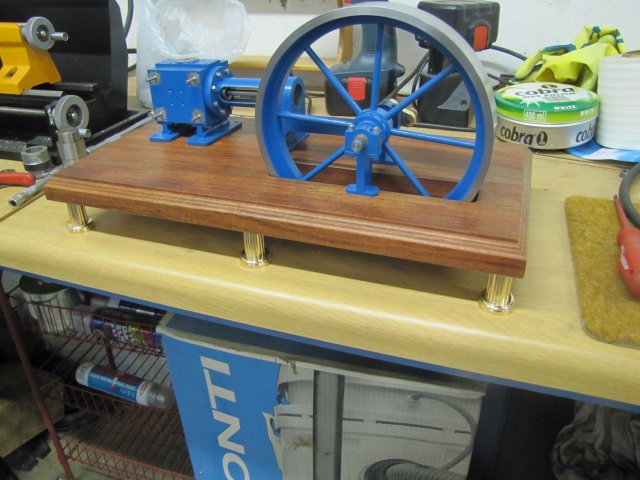
A bit of work was done on the mounting feet for the engine base - this is not on the plans, and will depend on each builder's own needs. Basically, the base needs to be quite thick, as the flywheel protrudes a good amount below the engine base level. I could have done more woodwork and made a riser "box" to go beneath the base plank, but opted rather for some riser feet.
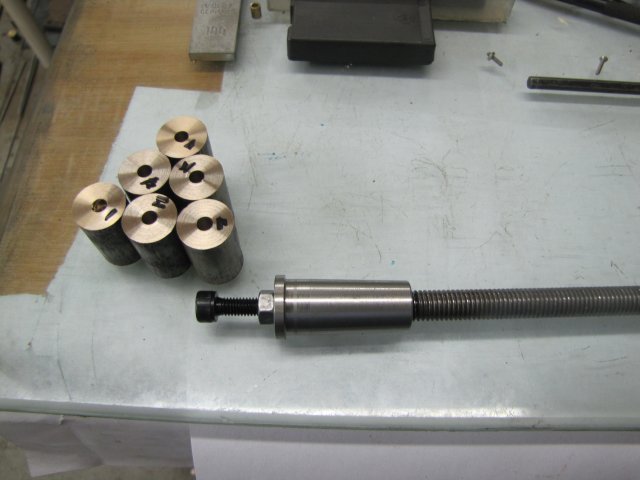
Some 25mm (1") bronze was given a quick clean-up to get rid of the outer skin:
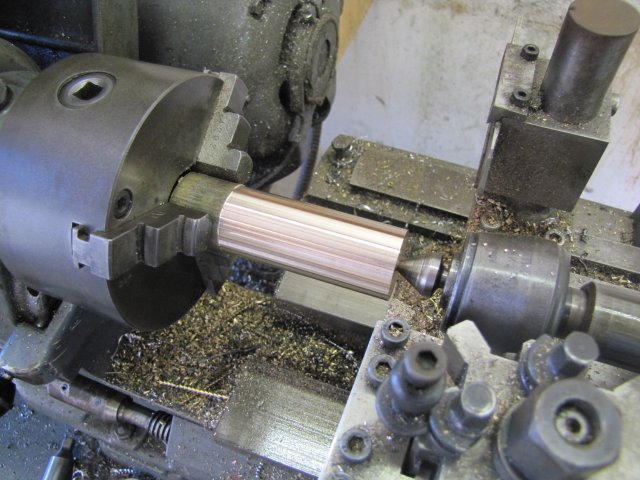
Then I used a quickly-ground round nose form tool to trim the end down - after checking on the lathe's leadscrew handwheel where the rear parting tool contacted the end of the workpiece, as well as noting the setting on the cross slide:
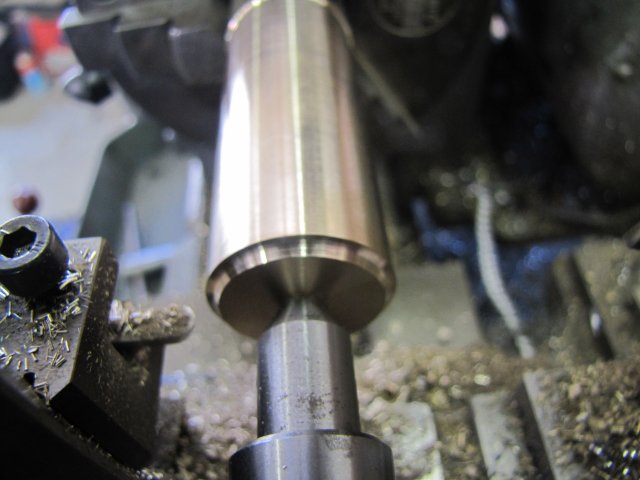
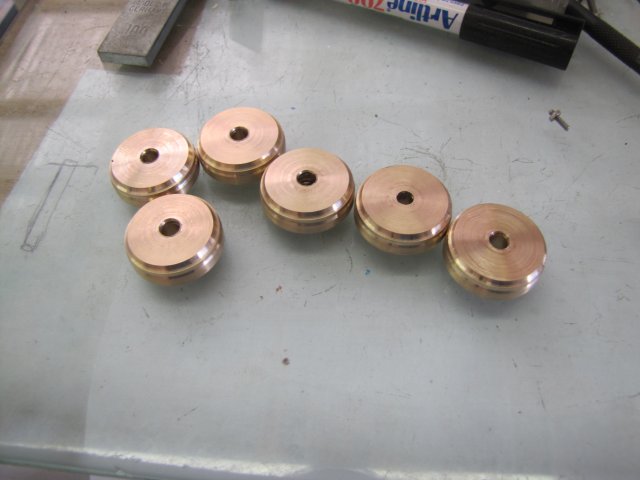
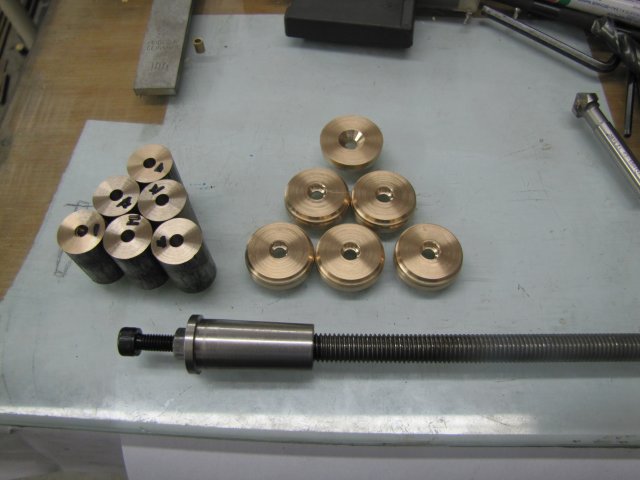
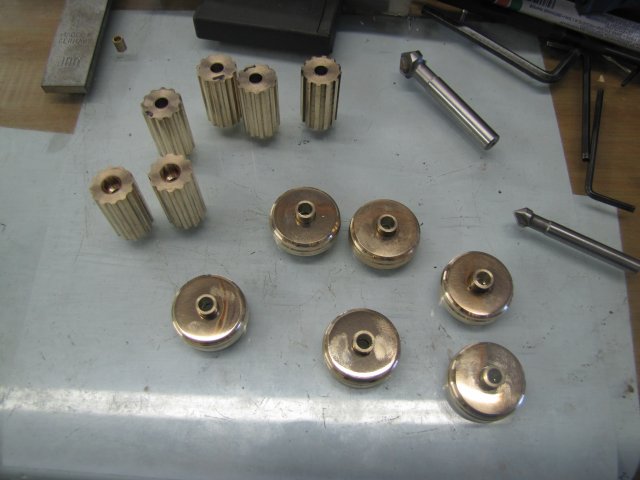
An additional form cut was made at a shallower setting - and the length once again checked off the leadscrew handwheel, and a disc parted off. Five more followed using the same readings, and I had this lot:
I then bandsawed six 26mm long slugs off some 16mm bronze, and faced one end of each, as well as drilled a 5mm hole through them.
This left the "problem" of facing the other side of each to get them the same length. Up to now, I've always managed to find some way to do this type of job, but everything was just at odd lengths and wouldn't fit chucks for easy repeatability, so I first made a quick tool...
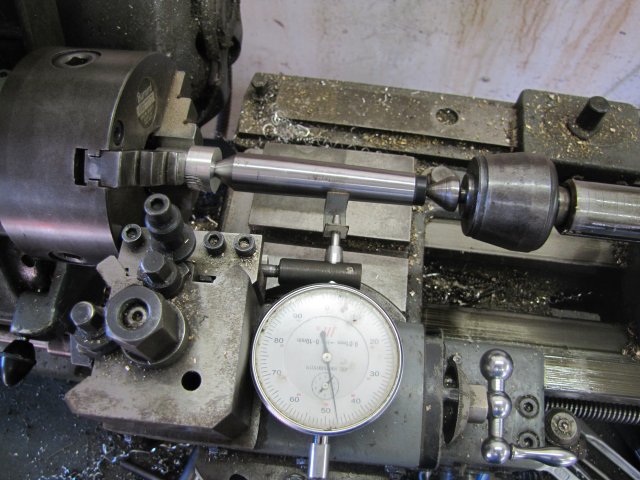
I used a normal MT2 center to set the cross slide to the same angle as the Morse taper. The scrap aluminium in the chuck end was just faced and center drilled so I could mount the MT2 center, and I indicated the top slide angle from that:
A handy bit of 20mm stainless was turned down a bit and then I turned the taper on it with the top slide:
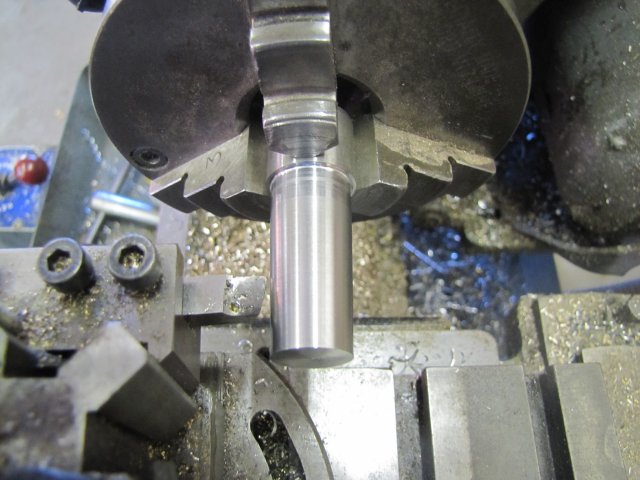
One advantage of screw-on chucks are that one can actually unscrew the chuck to check things:

Far from a perfect fit - but close enough for this job:
The end was then drilled and tapped for M10 thread - to add a draw-bar, and next it was mounted in the lathe's spindle with a draw bar through the headstock. Then I faced it dow to a thin flange at the nose end, and drilled and tapped it for M6:
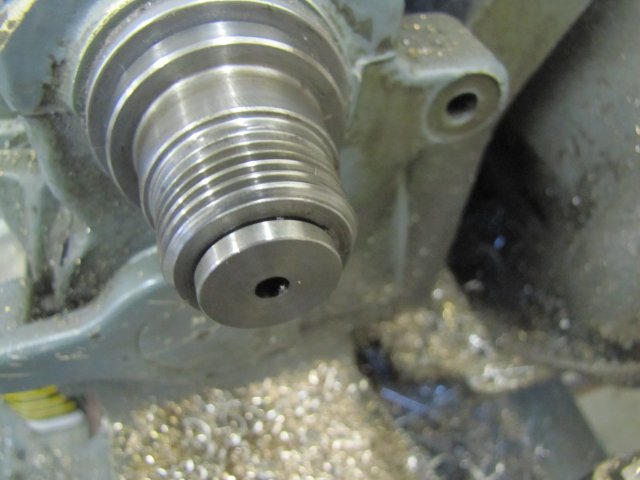
This makes a rudimentary back stop that fits inside all of the lathe's chucks, and with a cap screw, or as time and needs dictate other bits to screw in there, a way to set things at fixed depths in chucks - here I just used a cap screw to set a quick depth on it before screwing back the chuck:
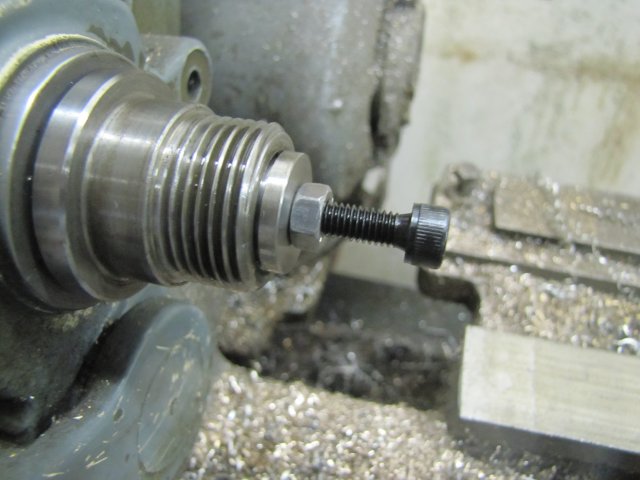
With that, it was easy to face the rest of the bronze slugs to the same length:
The bottom side of each of the discs turned earlier received a generous counter sink - I did that on the small lathe, as it's chuck conveniently gripped at that size:

For Saturday, this lot ended my shop session - not much to show, but it was a good session:
On Sunday I made a quick arbor for the 16x26mm bronze slugs, and skimmed the cruddy outside layer off - down to 15.2mm OD. Then I did some calculations...
15.2 x 3.142 = 47.76 - close enough to 48mm circumference. Hmmm... That was conveniently divisible by 12 - so I could make 12 "flutes" on each at a 4mm spacing. To have things appear symmetric, that would leave 2mm flutes and gaps. Digging through my selection, I decided to use a 3mm ball nosed cutter to cut the flutes - but that would leave only 1mm between the flutes...
Some more maths - how deep did I need to cut with the 3mm ball nose cutter to have the flutes about 2mm wide?:
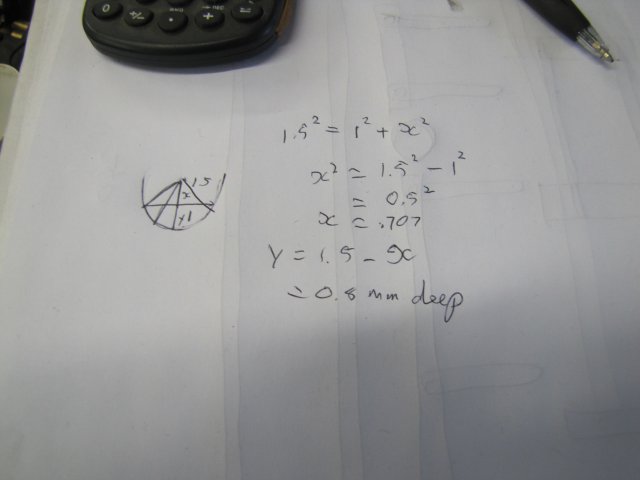
Before the
phi lands in the soup - I used pretty rough math, and rounded some things in between while going along. It was close enough for this job.
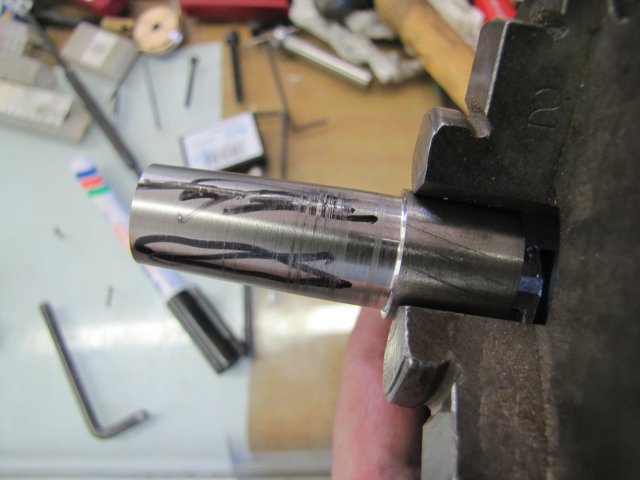
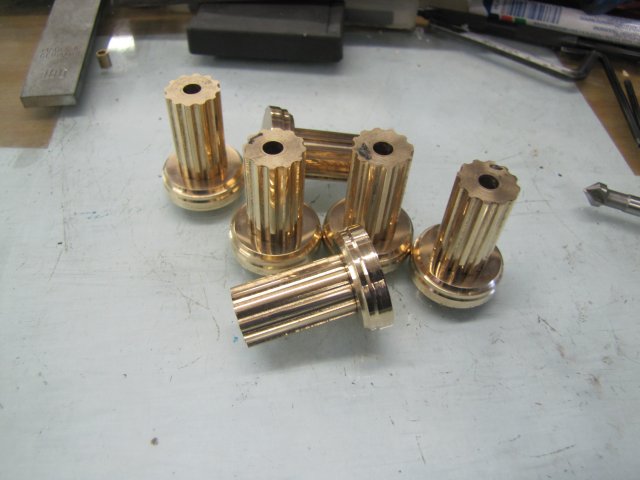
I then proceeded to cut 12 grooves into each workpiece with the ball-nosed cutter:

A while ago, I was asked by a fellow member to sometimes include wider shots of the machine-setups I use, so I snapped this:
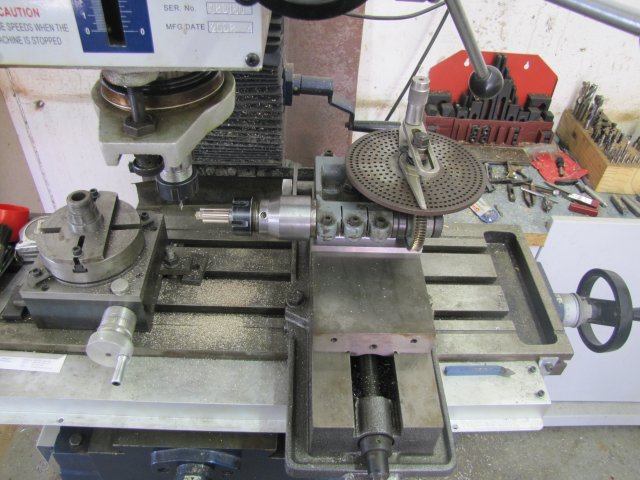
This setup is only good for very light work - there's not a lot of support for the workpiece, and the long overhangs will easily lead to lots of vibration issues for bigger cuts.
After a bit of spit 'n polish, I added some bits of 7mm tubing to the "feet" - to match holes I'd drilled into one end each of the uprights. A drop of bearing retainer keeps it together:
A final bit of cleanup, and some more bearing retainer later, and I have six feet for the base:
It should look OK once mounted to the base:
That ended my shop time for the weekend. A hectic work week is about to commence, and I'm already booked to work on next Saturday as well, so I don't think there will be updates soon...
Kind regards, Arnold


