Thanks Nic. The type of steel can make a big difference to surface finish. Unfortunately, I have to make do with what I can find locally, otherwise I have to order in at huge expense... There's one up side though; trying my best to get good finishes in the mostly poor steel I can get has taught me a lot about what's involved - I'm pretty happy with the finishes I can get in most non-ferrous metals, 303 stainless and silver steel now

. And yes, it's a big engine - more than double the size of the Popcorn I built.
Tel, thanks mate; yes, I did consider the holes' impact on the valve bore, and drilled them just shy of it. Looking at your photo, I can now see that I must have had a brain-malfunction when I thought the bolts at the top and bottom holes would interfere with the steam passages, so it might just be better locating the bolt holes like you did

. I was also considering drilling the bolt patterns both ends with the bigger bolt pattern. I see you re-arranged the bolt pattern on the steam chest cover as well...
I had a bit of a rough week, and was feeling out of sorts yesterday, so stayed away from the shop and did some menial tasks around the house. This morning, I decided I'll face the heat and set off to the shop to drill some holes.
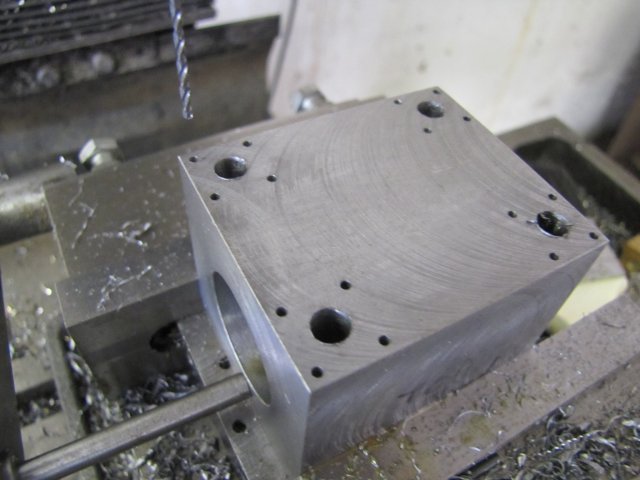
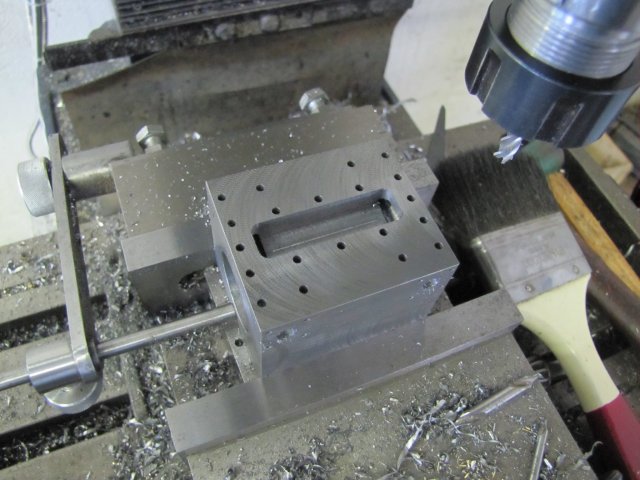
After deciding which side of the steel block would become which, I drew some markings on it (to prevent a brain-fart), and set it up in the mill on top of two of my crude home-made parallels to raise it a distance off the vise bed. This is so that there would be room to pass a reamer through the valve bores. Then I located it's center on the DRO and also set the vise back-stop up to keep position, as it would be rotated a couple of times. I started off machining on the "Front" face; this is where the valve gear would be mounted, and I wanted things as accurate as possible here. My main concern was that the holes for the valve bores might wander slightly as they pass through the block, and I want them accurate at the valve gear side, mostly for the fact that each valve gets a cover with a through-hole on this side, and I want to keep these to a close tolerance. The valve covers at the "Back" side are just flat plates, and if the hole wandered a bit, it would not matter.
Better stick a photo in, before you get too bored:
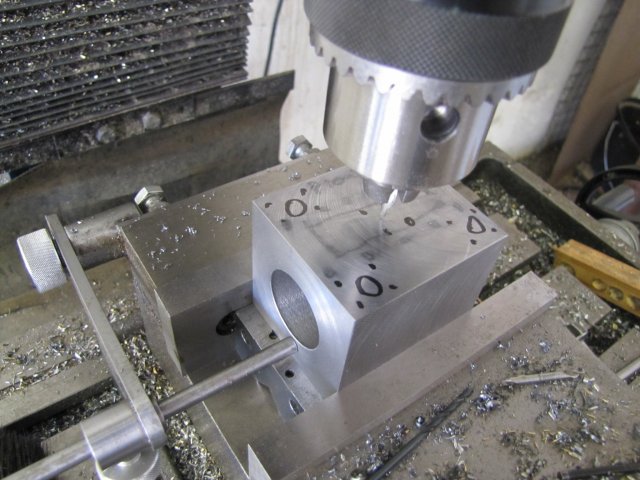
I've so far enjoyed having the DRO on my mill very much, but today, I really
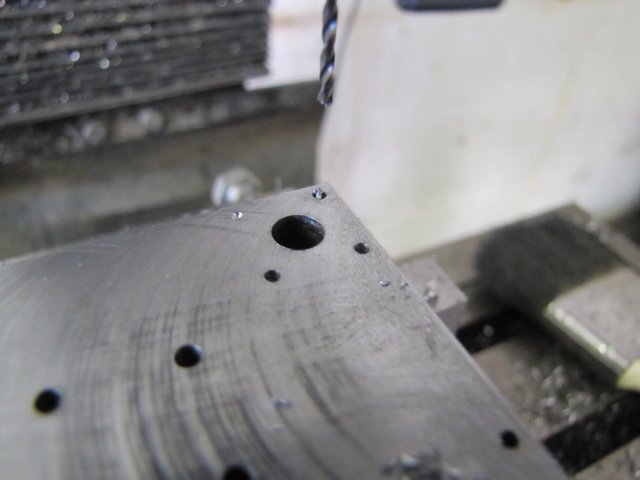
appreciated it. It's bolt circle function got a good workout; first was the holes for mounting the valve gear - a four hole bolt circle for tapping M3 to mount the valve pivot smack bang in the center of the face. With the DRO's absolute coordinates set to 0 there, it was easy to move to each of the valve hole centers, set relative coordinates to zero, and drill 5.5mm through, followed by 5.9mm and finally the 6mm reamer. My reamer is a bit short to completely do each hole though... At each hole, this was followed by four 1.6mm holes (to tap M2 later) in the valve cover bolt circles. Everything went well up to the second last 1.6mm hole for the face... While drilling it, I shifted position slightly, and momentarily applied too much pressure to the feed arm. SNAP - one broken 6mm drill, with a section stuck in the hole

:
It's the first drill I've broken in a long time. It was due to happen at some point, so no use getting upset at it. Santa arrived very late in my house this year, but brought a nice package full of new milling cutters of all shapes and sizes from Hong Kong about two weeks ago. Amongst that are ten 1.5mm carbide slot mills that "Peter" popped in free of charge, so that was one option to get rid of the bit of drill left in the hole. However, that could be messy, and with a tiny bit of the broken bit left sticking out, I decided to gently try and coax it out with a pair of needle-nosed pliers. After dropping a bit of tapping fluid on it to help lubricate in the hole, I lightly closed the pliers on it while simultaneously twisting the pliers anti-clockwise. On the second grab, I felt something give, and the bit of drill had twisted out just enough to get a better grab on it to remove it:
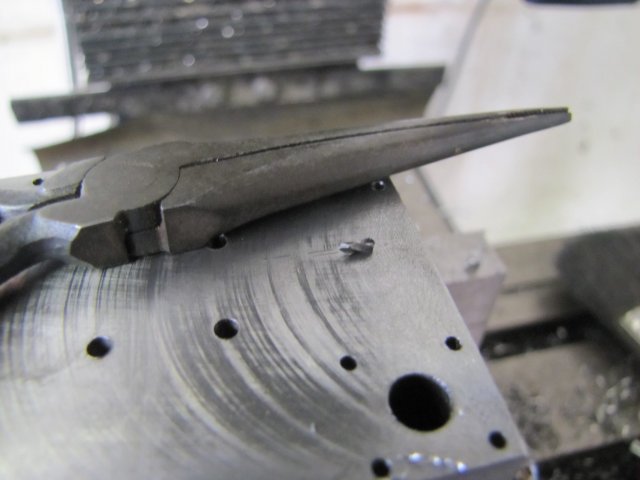
I was very careful not to drop the bit of drill, as I wanted to see if it was the entire piece. By carefully checking the end, I could see that it was the entire bit, and thus there were no other significant bits left in the hole.
That was the last of my brand new 1.6mm drill bits, so I grabbed a more-used one, and finished drilling the holes; a lot more carefully!
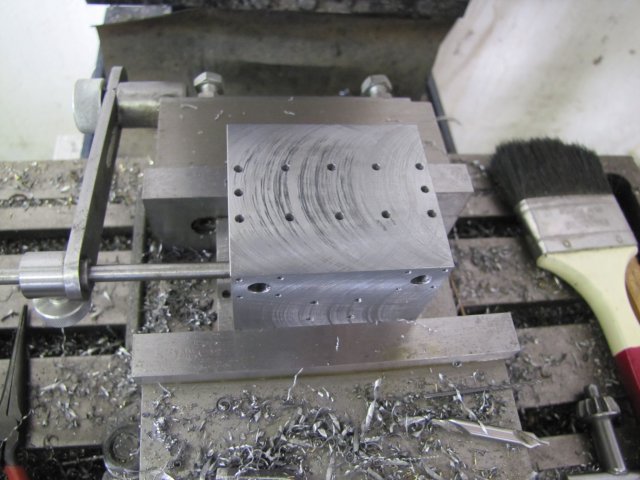
After flipping the workpiece 180
o on it's X axis, I drilled the bolt circles for the Back face around the valve holes:
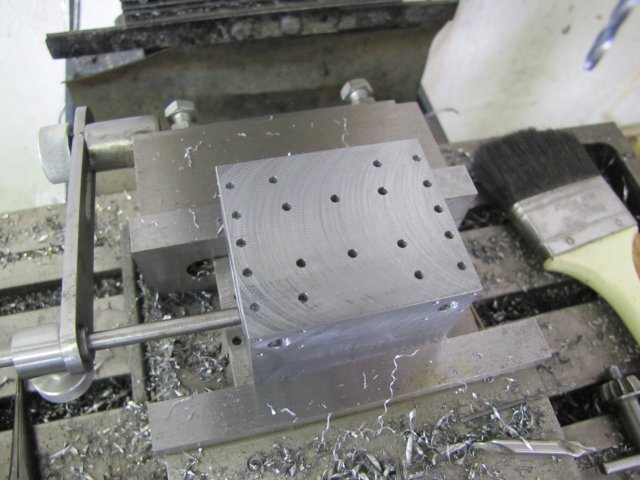
Another 90
o flip, and I drilled the bolt pattern for the top steam chest cover:
I was about to change the drill chuck for the collet chuck to start milling out the steam chest, when I decided I could just as well finish all the holes on the bottom as well, so I did that:
While the workpiece was oriented this way, I started milling out the bottom "exhaust" chest. Good practice for doing the steam chest on the top, and I got to play around with another new bit from "Peter" - a 10mm carbide slot mill. I'd decided on getting rid of most of the metal with a 10mm mill leaving lighter machining clearances for a 6mm mill to form the final size of the pocket. Here I paused to test the depth of the pocket with my once-shiny home-brew depth gauge. Back when I made it Marv suggested I add a threaded hole to it to screw a bolt through to measure pockets in cases just like this. Thanks Marv! :
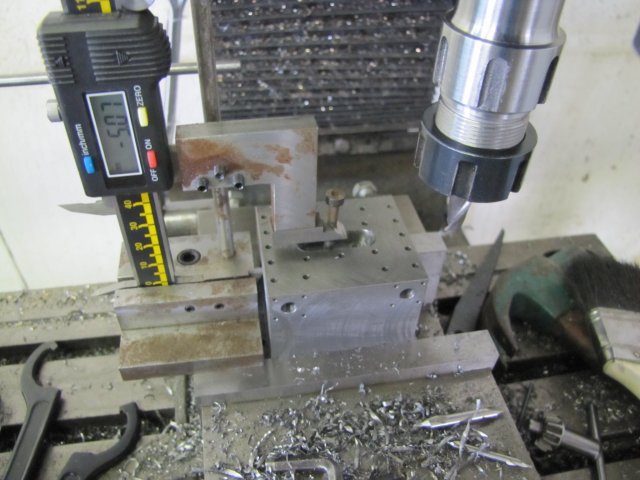
It's important that both the steam and exhaust pockets on this design are done to the correct depth, as it influences the timing of the engine.
You'll see in the photo above the pocket looks too short - and it was. I deducted the whole cutter diameter from the needed X dimensions, rather than just half the diameter

. After milling out that bit more with the 10mm mill, and switching to a 6mm mill, the pocket was machined to size and final depth (45x12x7.5mm):
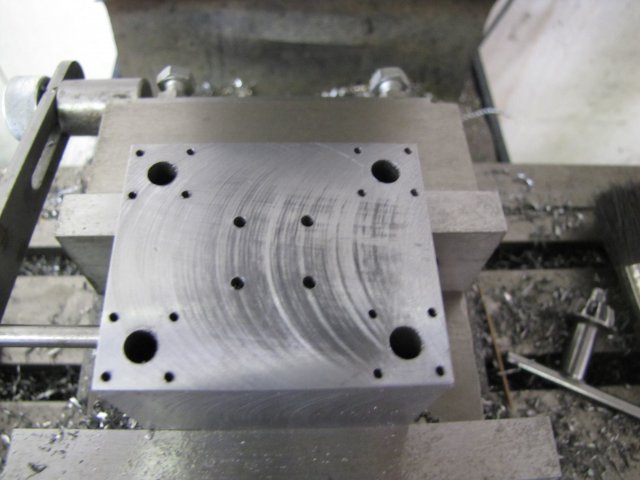
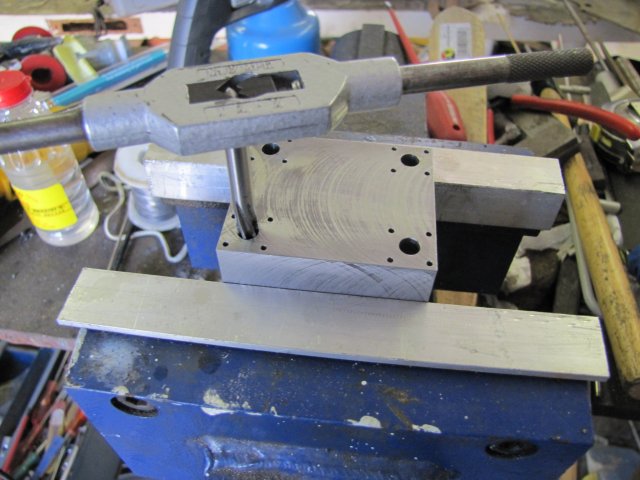
I felt tempted to mill the top steam chest as well, but it was really hot here and I was getting a bit tired, so I decided not to tempt fate with more machine work. So I finished hand-reaming the valve bores in the big vise:
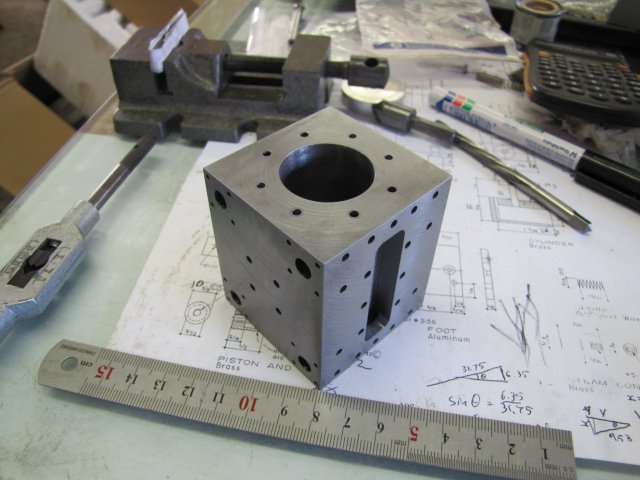
It's starting to look like a block of Swiss cheese, and there's another bolt circle to drill for the cylinder cover on the left face, as well as the steam ports. And somehow I feel I should have built a tapping stand first
:
I'll see what I can get done next weekend; machining during this week will be out, as I'm going on a business trip.
Kind regards, Arnold


